Installing a vanity unit can transform your bathroom, adding both functionality and style. If you’re wondering how to install a vanity unit, you’re in the right place. This guide will walk you through the process, ensuring a smooth and successful installation. Whether you’re a DIY enthusiast or a first-time installer, following these steps will help you achieve a professional finish. From selecting the right tools to securing the unit in place, we’ll cover everything you need to know. So, let’s dive in and learn how to install a vanity unit that enhances your bathroom’s appeal and usability.
Importance of Installing a Vanity Unit
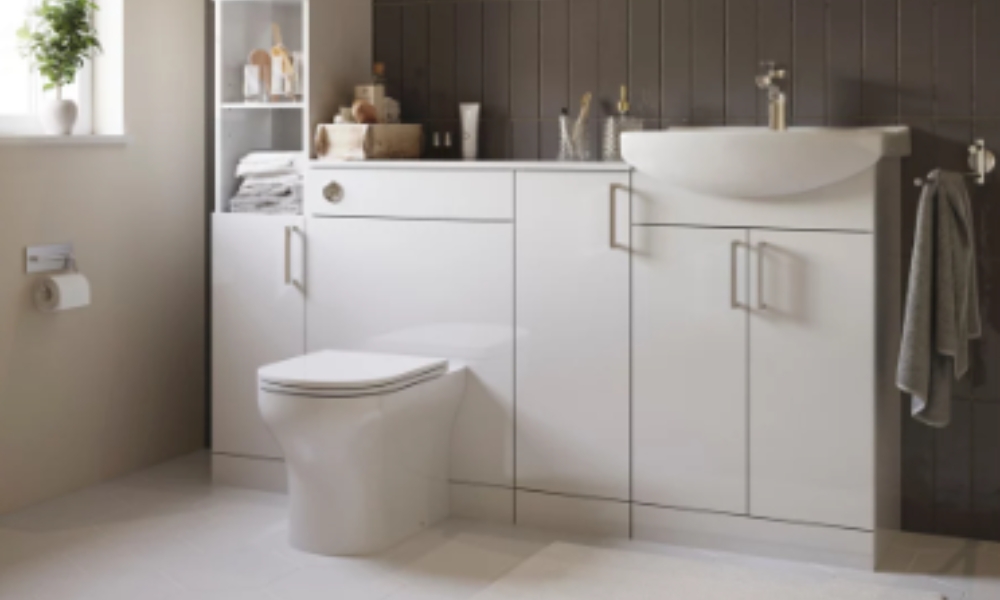
Installing a vanity unit is a pivotal upgrade for any bathroom, significantly enhancing both its aesthetic and functional appeal. A well-chosen vanity units not only provides essential storage space, helping to keep your bathroom organized and clutter-free, but it also serves as a stylish focal point. What Are Vanity Unit is often the centerpiece of bathroom design, reflecting your personal taste and elevating the overall look. Understanding how to install a vanity units ensures you can take full advantage of these benefits, making your bathroom both beautiful and practical.
Benefits of a Vanity Unit
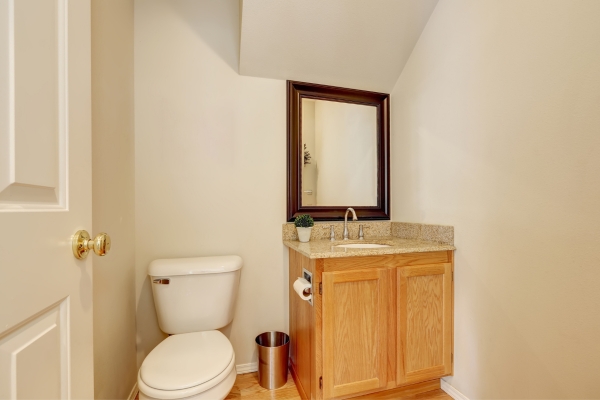
A vanity unit offers numerous advantages beyond mere storage. It combines a sink, countertop, and storage space into a single, cohesive piece of furniture, making the most of your bathroom’s layout. By installing a vanit unit, you can efficiently utilize available space, especially in smaller bathrooms where maximizing every inch is crucial. Additionally, vanity units come in various styles, materials, and finishes, allowing you to choose one that perfectly matches your decor. They also hide plumbing, giving your bathroom a cleaner and more sophisticated appearance. Knowing how to install a vanity units can transform your bathroom into a more functional and stylish space.
Installation Process
1. Prepare the Area

The first step in the installation process is to prepare the area where the vanit units will be installed. Start by removing the old vanit, if applicable, and thoroughly cleaning the space. Ensure the floor and walls are level and free of any damage. Turn off the water supply and disconnect any plumbing fixtures. It’s also a good idea to mark the location of the new vanity on the wall to ensure proper alignment. Taking the time to properly prepare the area will make the installation process smoother and help you avoid potential issues down the line.
2. Assemble the Vanity

Once the area is prepared, the next step is to assemble the vanit unit. Depending on the model, you may need to attach the vanity’s base, install drawers or shelves, and secure the countertop. Follow the manufacturer’s instructions carefully to ensure all components are correctly assembled. If the vanits includes a sink, you may need to install it onto the countertop and connect the faucet. After assembly, position the vanits unit in its designated spot, ensuring it is level and securely attached to the wall. Proper assembly is crucial for the vanity unit’s stability and longevity. By knowing how to install a vanits unit, you can ensure it functions well and looks great for years to come.
3. Measure and Mark

Before you begin installing a vanit unit, it’s crucial to measure and mark the designated area accurately. Using a tape measure, determine the exact dimensions of the space where the vanit will be placed. Mark the height on the wall where the top of the vanit will sit, ensuring it aligns with your plumbing fixtures. Also, mark the positions for any necessary screw holes that will be used to secure the vanit to the wall. This step is vital as it ensures that the vanit unit will be installed straight and level, providing a professional finish.
4. Install the Faucet and Drain

With the measurements and markings complete, the next step is to install the faucet and drain. Before securing the vanity to the wall, it is often easier to install the faucet and drain while you have full access to the sink and countertop. Follow the manufacturer’s instructions to attach the faucet to the sink, making sure all connections are tight and secure. Install the drain assembly, ensuring that all seals and gaskets are properly placed to prevent leaks. Pre-installing these components simplifies the overall process and ensures a watertight seal once the vanity is in place.
5. Secure the Vanity
After installing the faucet and drain, it’s time to secure the vanity units to the wall. Position the vanit in its designated spot, using the previously marked lines as a guide. Check to ensure the vanit is level and make any necessary adjustments. Once aligned, use screws to attach the vanit to the wall, securing it through the pre-marked holes. If your vanity includes a backsplash, now is the time to attach it as well, using adhesive to secure it to the wall. Ensuring the vanit is firmly secured will provide stability and prevent any movement over time.
6. Connect the Plumbing
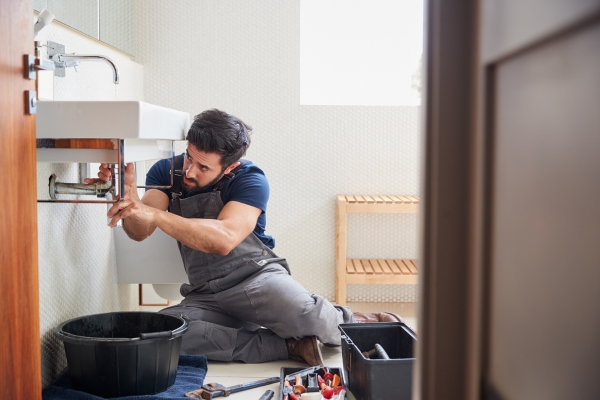
The final step in the installation process is to connect the plumbing. Reconnect the water supply lines to the faucet, ensuring that both the hot and cold lines are correctly attached. Tighten all connections to prevent leaks. Connect the drain pipe to the drain assembly, making sure all connections are sealed and secure. Turn on the water supply and test the faucet and drain for any leaks. If everything is functioning correctly, you have successfully completed the installation. By understanding how to install a vanity units, you can ensure your bathroom upgrade is both efficient and stylish.
7. Seal the Edges
Once the vanit unit is securely installed and the plumbing is connected, it’s important to seal the edges. Apply a bead of silicone caulk around the edges where the vanity meets the wall and the countertop meets the sink. This step helps prevent water from seeping into the gaps, which can cause damage over time. Use a caulk smoothing tool or your finger to ensure a smooth and even seal. Allow the caulk to dry according to the manufacturer’s instructions. Proper sealing is essential for maintaining the longevity and appearance of your vanit unit.
8. Test for Leaks
After sealing the edges, the next step is to test for leaks. Turn on the faucet and let the water run for a few minutes. Check all the connections under the sink, including the water supply lines and the drain pipe, for any signs of leakage. If you notice any drips or moisture, tighten the connections as needed. It’s crucial to ensure that everything is watertight before considering the installation complete. Addressing leaks promptly will prevent potential water damage and ensure the vanit unit functions properly.
9. Finishing Touches

With the installation and leak testing complete, it’s time for the finishing touches. Clean the vanity unit and surrounding area to remove any dust or debris from the installation process. If your vanit has drawers or doors, make sure they open and close smoothly. Add any additional hardware, such as knobs or handles, to complete the look. You can also install a mirror or additional lighting above the vanit to enhance the bathroom’s functionality and aesthetics. These finishing touches will make your bathroom look polished and professional.
Conclusion
Installing a vanity unit is a rewarding DIY project that can significantly enhance the functionality and appearance of your bathroom. By following these steps—preparing the area, assembling the vanit, measuring and marking, installing the faucet and drain, securing the vanit, connecting the plumbing, sealing the edges, testing for leaks, and adding finishing touches—you can ensure a successful installation. Understanding how to install a vanit unit not only improves your bathroom’s organization and style but also provides a sense of accomplishment. Whether you’re a seasoned DIYer or a beginner, this guide will help you achieve a professional and lasting result.

