
A clean beer faucet is essential for maintaining the taste and quality of your beer. Whether you’re a homebrewer, a bar owner, or just someone who enjoys a good draft at home, regular cleaning of your ale faucets ensures that your beverage remains fresh and free from contaminants. This comprehensive guide will walk you through the steps required to clean a beer faucet effectively.
Why Cleaning Your Beer Faucet is Important?
Before diving into the cleaner process, it’s essential to understand why this task is crucial:
- Maintains Beer Flavor: Residue build-up can alter the taste of your ale, leading to off-flavors that can ruin the experience.
- Prevents Contamination: Bacteria and mold can grow in a dirty tube, posing health risks.
- Ensures Proper Flow: A cleaner faucets ensures that your ale flows smoothly, preventing foaming and uneven pours.
- Prolongs Equipment Life: Regular maintenance prevents corrosion and wear, extending the life of your faucets and other equipment.
Tools and Materials Needed
To clean your beer faucet, you’ll need the following tools and materials:
- Faucet wrench
- Beer line cleaning kit
- Soft brush or faucet brush
- Clean cloth or paper towels
- Bucket or container for soaking parts
- Warm water
Step-By-Step Cleaning Process
1. Turn Off The Beer Supply
Start by turning off the CO2 supply and disconnecting the keg from the beer line. This step ensures no ale is being pushed through the lines while you’re cleaner, preventing any mess.
2. Disassemble The Faucet
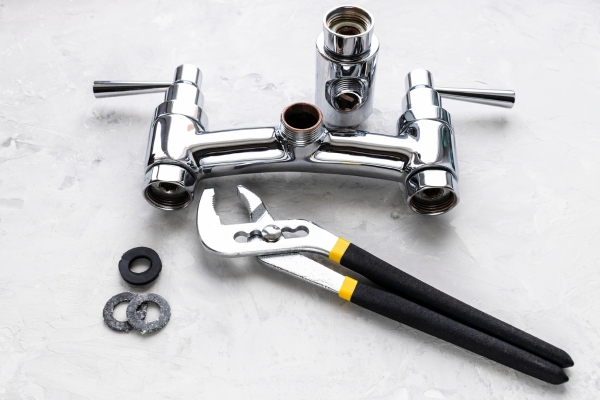
Using a faucet wrench, carefully remove the faucets from the shank. Disassemble the faucets into its components: the handle, body, lever, and other small parts. Place all parts in a bucket or container for soaking.
3. Soak The Components
Fill the bucket with warm water and add the cleaning solution from your line clean kit. Submerge all the faucets components in the solution and let them soak for at least 15-30 minutes. This soak helps to break down any stubborn residues, including beer stone and yeast build-up.
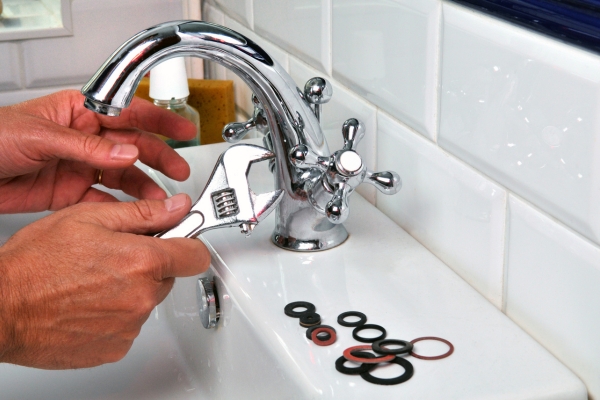
4. Clean The Faucet Parts
After soaking, use a soft brush or faucets brush to scrub each component thoroughly. Pay special attention to any nooks and crannies where residue might accumulate. Ensure all parts are free from any debris, and rinse them under warm water to remove any remaining cleaning solution.
5. Clean The Beer Lines

While the faucet parts are soaking, it’s a good time to Clean Brass Faucet the lines. Attach the pump from the cleaning kit to the ale line, and fill the lines with the clean solution. Let it sit for about 10-15 minutes, then flush the lines with cleaner water until all the cleaning solution is removed. This step is crucial to prevent any leftover cleaner solution from mixing with your ale.
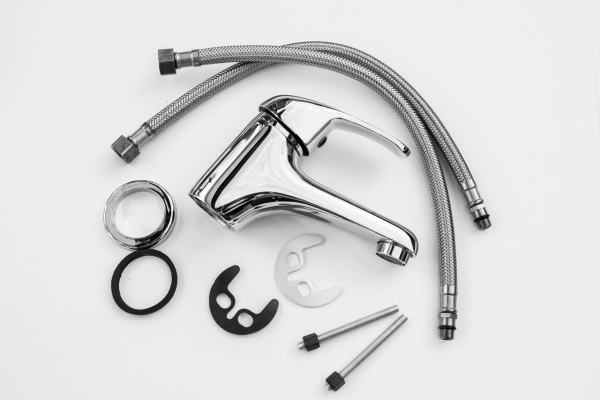
6. Reassemble The Faucet
Once all the parts are cleaner and dry, reassemble the faucets. Ensure that all components are fitted correctly to avoid any leaks or malfunctions. Reattach the faucet to the shank using the faucet wrench, making sure it’s securely tightened.
7. Reconnect The Beer Supply
Reconnect the keg to the ale line and turn the CO2 supply back on. Check for any leaks around the faucets and shank, and ensure that the flow flows smoothly.
Regular Maintenance Tips
- Weekly Cleaning: For home use, clean the tube once a week is recommended. For commercial settings, faucets should be cleaned daily.
- Deep Cleaning: Every few months, perform a deep cleaner by soaking the tube components overnight in a specialized line cleaner.
- Inspect Regularly: Regularly check the condition of your faucets and lines for signs of wear or damage. Replace parts as needed to maintain the quality of your ale.
Troubleshooting Common Issues
- Foamy Beer: If you’re experiencing excessive foam, it could be due to improper cleaning or assembly. Ensure that all components are cleaner and fitted correctly.
- Off-Flavors: If the tastes off after cleaning, rinse the faucets and lines thoroughly to remove any leftover clean solution.
- Sticky Faucet Handle: A sticky handle can indicate residue build-up. Disassemble and cleaner the faucets thoroughly, paying attention to the lever and handle areas.
Conclusion
Regular cleaning of your ale faucet is a small but essential task that greatly impacts the quality of your ale. By following this guide, you can ensure that it stays fresh, your equipment lasts longer, and every pour is perfect. Whether you’re a casual homebrewer or a professional bartender, keeping your faucets cleaner should always be a top priority. Cheers to clean pores and better-tasting beer!

