Revamping your bathroom space can be a rewarding project, and knowing how to paint a vanity unit is a crucial skill to master for a stunning transformation. Painting a vanity unit not only breathes new life into an outdated piece but also allows you to customize it to match your decor style. This guide will walk you through the step-by-step process, from preparation and priming to painting and finishing touches, ensuring your vanity unit becomes a focal point of beauty and functionality. Whether you’re a seasoned DIY enthusiast or a beginner, these tips will help you achieve professional-looking results with ease.
Why Paint Your Vanity Unit?
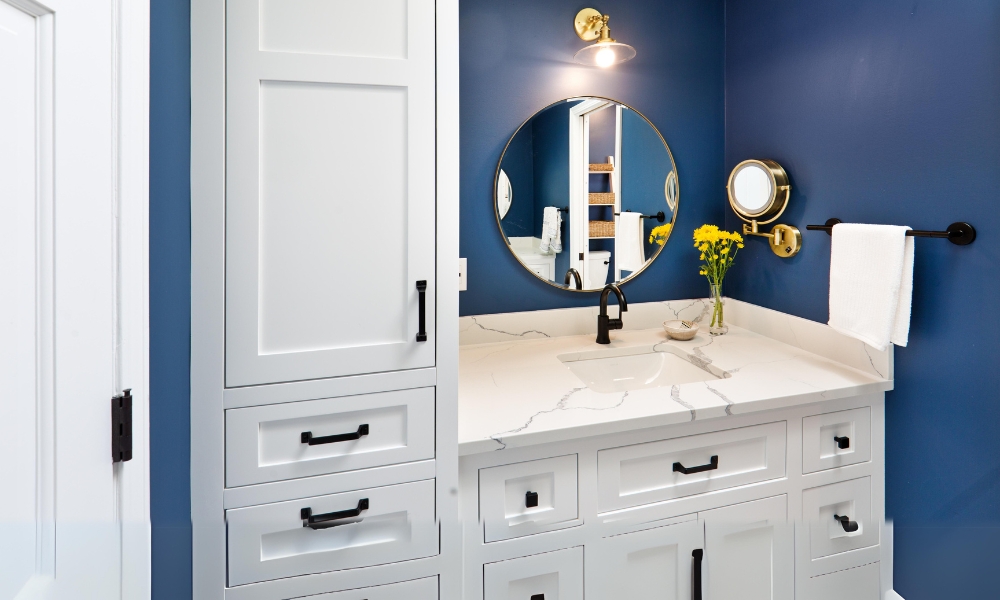
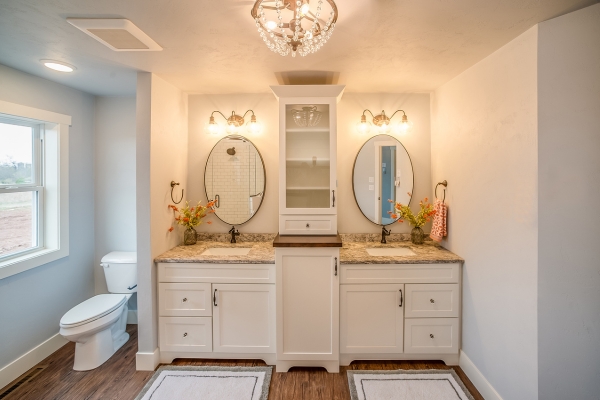
Painting your vanity units is a fantastic way to refresh your bathroom without the need for a full renovation. It allows you to update the look and feel of your space with relatively little expense and effort. Whether you want to modernize a dated unit, inject some color into a neutral bathroom, or simply change the aesthetic to match your evolving style, painting offers a versatile solution. By choosing the right color and finish, you can create a cohesive look that ties together your bathroom decor, making the vanity a standout feature.
Why Is It Important To Paint?
Painting your vanity units is important because it extends the life of the furniture and enhances its appearance. Over time, bathroom vanities can suffer from wear and tear due to moisture, spills, and general use. A fresh coat of paint not only covers up these imperfections but also provides a protective barrier against future damage. Additionally, painting allows you to sanitize and refresh surfaces, creating a cleaner and more hygienic environment. Regularly updating the paintwork on your vanity can keep your bathroom looking polished and well-maintained.
Benefits Of Painting A Vanity Unit
The benefits of painting a vanity units go beyond just aesthetics. Firstly, it’s a cost-effective way to give your bathroom a makeover without the expense of replacing the unit. Secondly, it offers customization opportunities—you can choose colors and finishes that reflect your personal taste and complement your overall design scheme. Thirdly, painting can enhance the durability of the vanity by sealing and protecting the surface from moisture and mildew. Lastly, the process of painting a vanity unit is relatively simple and can be a satisfying DIY project, providing a sense of accomplishment once completed.
Materials Needed:
- Screwdriver
- Drop Cloths Or Old Sheets
- Painter’s Tape
- Sandpaper
- Tack Cloth
- Primer
- Paint
- Paintbrushes
- Foam Roller
- Paint Tray
- Safety Gear
Painting The Vanity Unit
1. Selecting The Paint Finish
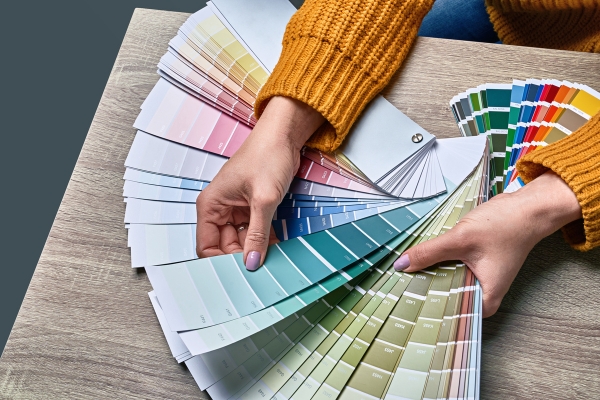
Choosing the right paint finish for your vanity units is crucial to achieving a professional and durable result. For bathroom vanities, a semi-gloss or gloss finish is often recommended because these finishes are more resistant to moisture and easier to clean. They also add a subtle shine that enhances the overall look of the unit. When selecting paint, consider high-quality, water-resistant options specifically designed for bathroom use to ensure longevity and resilience against everyday wear and tear.
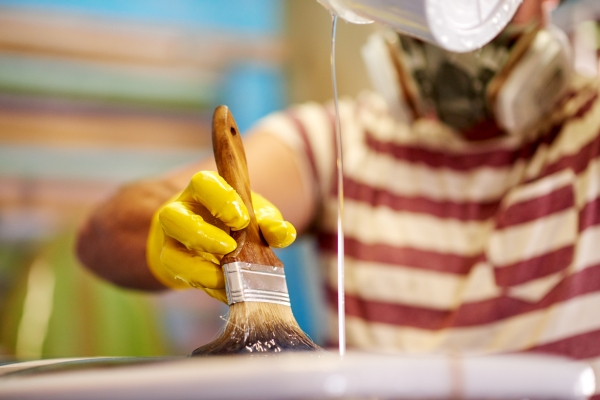
2. Techniques For Painting
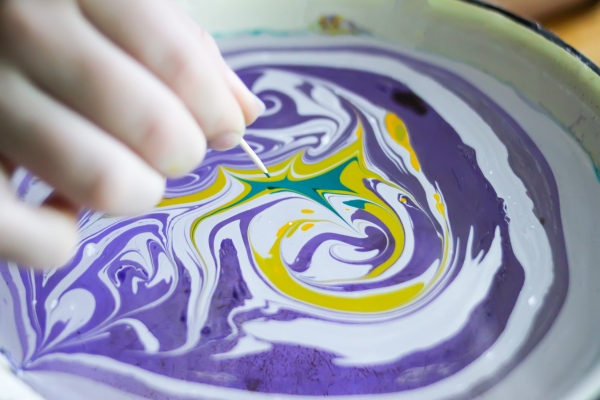
To achieve a smooth and flawless finish, proper painting techniques are essential. Start by sanding the vanity units to create a smooth surface and help the paint adhere better. Use painter’s tape to protect areas you don’t want to paint, such as the edges and hardware. Apply a primer to ensure an even base, particularly if you are painting over a dark color or a glossy surface. Use a high-quality brush or roller to apply the paint, working in thin, even layers. Brush strokes should be long and follow the grain of the wood, if applicable, to avoid visible brush marks.
3. Applying The First Coat

When applying the first coat of paint, it’s important to work methodically to avoid drips and uneven coverage. Start at the top of the vanity unit and work your way down, allowing each section to dry completely before moving on to the next. This helps prevent streaks and ensures a uniform appearance. Apply the paint in light, even strokes, and don’t overload your brush or roller. Allow the first coat to dry thoroughly according to the manufacturer’s instructions before applying additional coats. Typically, two to three coats are necessary to achieve full coverage and a vibrant finish.
4. Letting The Paint Dry
Proper drying time is crucial to achieving a smooth and durable finish on your batroom vanity unit. After applying the first coat of paint, it’s essential to let it dry completely before proceeding. This drying period can vary depending on the type of paint used, humidity, and temperature. Generally, it’s best to wait at least 24 hours to ensure the paint has fully cured. Rushing this process can lead to smudges, streaks, or peeling paint, compromising the overall quality of your work. Ensure the room is well-ventilated to facilitate drying and prevent dust from settling on the wet surface.
5. Applying The Second Coat
Once the first coat is thoroughly dry, you can proceed with applying the second coat. This coat is crucial for achieving a rich, even color and full coverage. Just like the first coat, apply the paint in thin, even layers, starting from the top and working your way down. Use long, smooth strokes to minimize brush marks and ensure a seamless finish. Depending on the paint and the desired final look, you might need to apply a third coat after the second one has dried. Allow adequate drying time between each coat to ensure a professional and durable result.
6. Finishing Touches
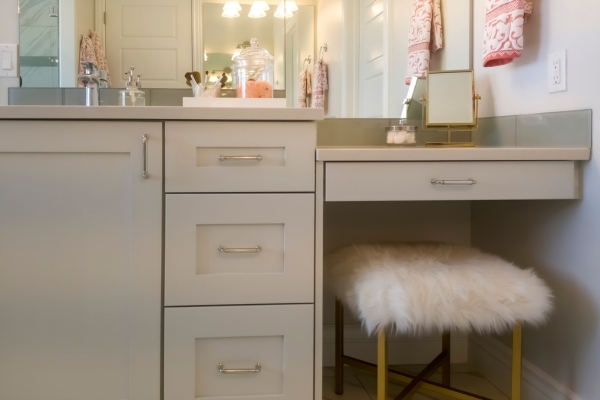
After the final coat of paint has dried, it’s time to add the finishing touches that will elevate the appearance of your vanity units. Carefully remove any painter’s tape used to protect edges and hardware. Inspect the vanity for any imperfections or areas that may need touch-ups, and address these with a fine brush. If desired, you can apply a clear protective topcoat to enhance durability and add a subtle sheen. Reattach any hardware, such as handles or knobs, ensuring they are secure and aligned. Clean the surrounding area to remove any dust or debris from the painting process.
Conclusion
Painting vanity units is a rewarding and cost-effective way to update your bathroom’s look and feel. By carefully selecting the paint finish, employing the right techniques, and allowing adequate drying time between coats, you can achieve a professional and durable result. The process not only rejuvenates the appearance of your vanity but also extends its lifespan, making it a worthwhile DIY project. With attention to detail and patience, you can transform an ordinary vanity into a stunning focal point that enhances your bathroom’s overall aesthetic.

