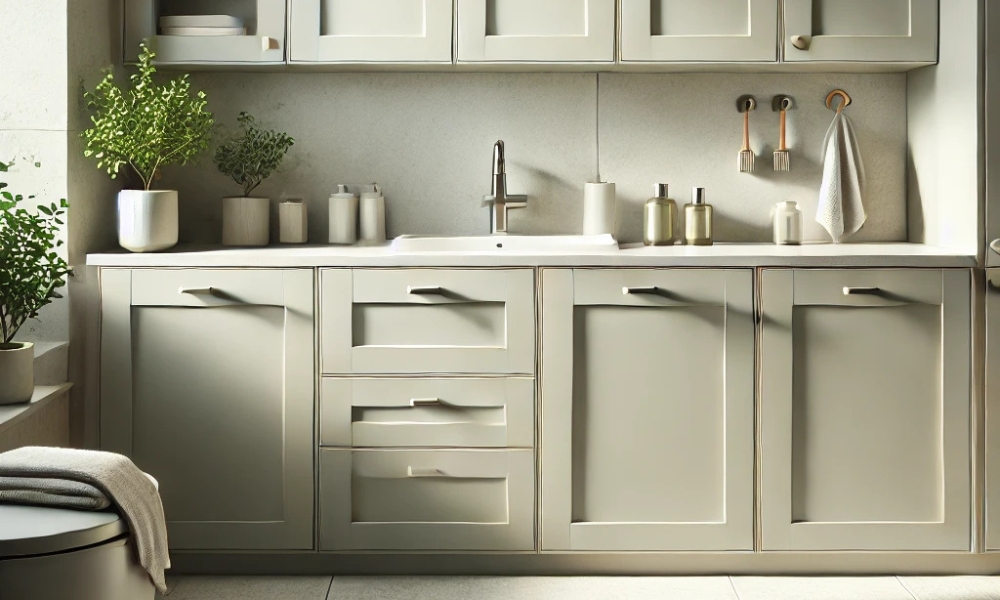
Revamping your bathroom doesn’t always require a complete renovation. Sometimes, a simple transformation can make a significant difference. If your bathroom cabinets Paint are made from materials like laminate, MDF, or plastic, painting them is an affordable and effective way to refresh the space. But painting non-wood cabinets is not as straightforward as picking up a brush and applying paint. The unique surfaces require specific preparation, techniques, and materials to ensure a smooth, long-lasting finish.
In this guide, we’ll walk you through the entire process of painting bathroom cabinets that aren’t made of wood, from choosing the right paints to mastering the application techniques. Whether you’re looking to give your cabinets a new look or simply want to update their appearance, you’ll find everything you need to get started here.
Materials You Will Need
- Paint
- Primer
- Sanding Supplies
- Paint Brushes & Rollers
- Painter’s Tape
- Cleaning Supplies
- Drop Cloths or Plastic Sheets
- Cabinet Hardware Remover
Preparing The Bathroom Cabinets For Painting
Proper preparation is key to ensuring that your painted cabinets look flawless and last for years. Here’s how you can prepare your non-wood bathroom cabinets for painting:
Cleaning And Degreasing The Cabinets
First, you need to clean your bathroom cabinets thoroughly. Non-wood materials like laminate, MDF, and plastic tend to attract grease, dust, and soap scum, especially in a bathroom environment. To start, use a degreaser or an all-purpose cleaner to wipe down the surfaces. Make sure to remove all soap residues, water spots, and grime. You can use a microfiber cloth or a soft sponge to avoid damaging the surface.
For particularly stubborn spots, consider using a mild abrasive cleaner to scrub the surface. Be sure to rinse well and dry everything with a clean, dry cloth before moving on to sanding.
Sanding Non-Wood Surfaces
Sanding is crucial because it creates a rough surface that allows the primer and paints to stick better. However, you don’t need to sand down to the bare material. Instead, lightly scuff the surface with fine-grit sandpaper (220-grit is a good choice). If you’re working with laminate or plastic, be gentle and avoid over-sanding, as it can cause damage.
Once you’ve sanded all surfaces, wipe them down with a damp cloth to remove all sanding dust. A clean, smooth surface will allow the primer to bond effectively.
Protecting Your Bathroom During The Process
Cover your floor, counters, and other areas in the bathroom with drop cloths or plastic sheeting to protect them from paint splatters. Use painter’s tape around the edges of the cabinets to avoid getting paints on the walls or nearby trim. Make sure to remove any hardware, such as handles and knobs, so that you can paint the cabinets thoroughly without obstruction.
Choosing The Right Paint For Non-Wood Cabinets
Not all paints are created equal, and choosing the right paint is essential for achieving a durable, smooth finish on non-wood surfaces like laminate, MDF, or plastic. Here’s a breakdown of the best paints options:
Types Of Paint For Plastic, Mdf, And Laminate
1. Acrylic Latex Paint
This water-based paint is an excellent option for MDF and laminate surfaces. It dries quickly, provides a smooth finish, and is easy to clean. Acrylic latex paints are ideal for bathrooms because they can withstand moisture, though you’ll want to use paints specifically designed for high-moisture areas.
2. Oil-Based Paint
While oil-based paints offer superior durability and a beautiful, glossy finish, they take longer to dry and emit strong fumes. If you’re after a high-gloss look and are willing to wait for drying time, oil-based paints are a great choice.
3. Chalk Paint
For a rustic, matte look, chalk paints work well on MDF and laminate surfaces. However, you’ll need to apply a protective wax or polycrylic finish to ensure it holds up over time in a bathroom environment.
4. Specialized Laminate Paint
If you’re working with laminate cabinets, look for paints specifically made for laminate. These paints often contain a bonding agent that ensures good adhesion to slick, non-porous surfaces.
Best Paint Finishes for Durability and Aesthetics
When painting non-wood cabinets, the finish is just as important as the type of paint you choose. Satin and semi-gloss finishes are best for bathroom cabinets because they are both durable and easy to clean. These finishes also provide a slight sheen that adds an elegant touch to your bathroom décor.
Avoid flat or matte finishes for bathroom cabinets, as they tend to absorb moisture and are harder to clean.
Step-by-Step Guide to Painting Non-Wood Cabinets
Step 1: Remove Doors, Handles, And Hardware
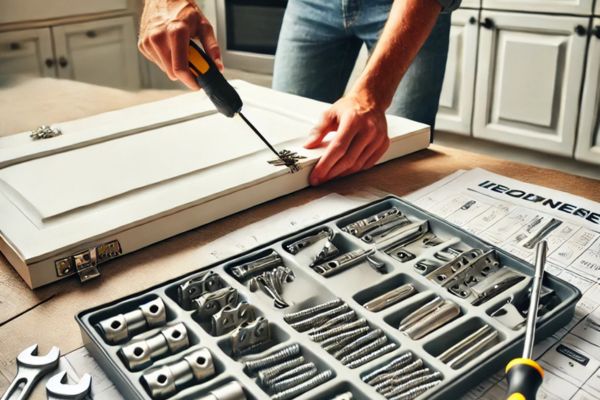
Before you start painting, take off all the cabinet doors, drawers, handles, knobs, and hinges. This will make the painting process easier and prevent you from accidentally painting over hardware or getting paints on areas that shouldn’t be painted. Use a screwdriver to carefully remove all the hardware.
Step 2: Clean And Sand The Cabinet Surfaces
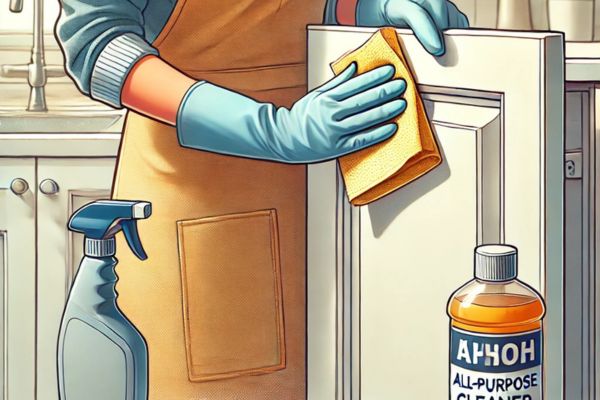
Once your doors and hardware are removed, clean the cabinet surfaces with a degreaser or all-purpose cleaner. This ensures that no dust or grime is left on the surface before you begin painting. After cleaning, lightly sand the surfaces to create a texture that helps the primer and paint adhere better.
Step 3: Apply Primer To Non-Wood Surfaces
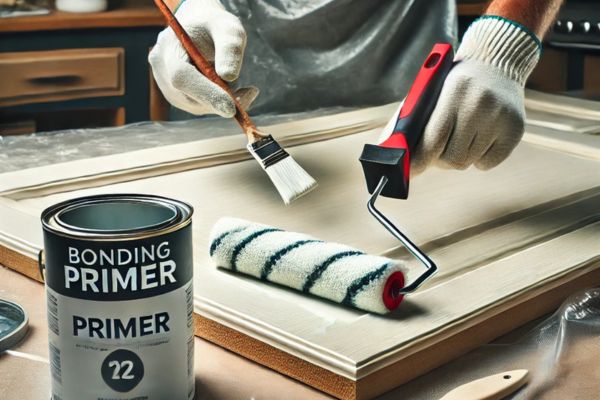
Now it’s time to apply a primer. Use a bonding primer or one designed for non-porous surfaces like laminate or plastic. Apply a thin, even coat of primer to all surfaces, ensuring that the primer covers every inch of the cabinet. Allow the primer to dry according to the manufacturer’s instructions.
Step 4: Painting The Cabinets
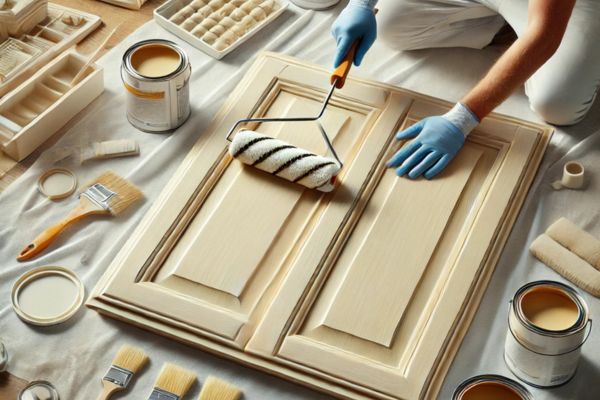
Once the primer is completely dry, it’s time to apply the paints. For a smooth and professional finish, use a foam roller to cover the larger, flat surfaces of the cabinet doors and frames. Foam rollers provide an even, bubble-free coat without leaving visible brush strokes. For corners, edges, and intricate areas, switch to a high-quality angled brush to ensure precision. Apply the paint in thin, even layers, letting each coat dry fully before adding another—this prevents streaks and ensures a durable finish. Whether you choose latex or oil-based paint, remember to use light, gentle strokes and avoid overworking the paints, as this can cause uneven texture or streaking. Patience is key: several thin layers will yield a much better result than one thick coat
Step 5: Reassemble And Finish Touches
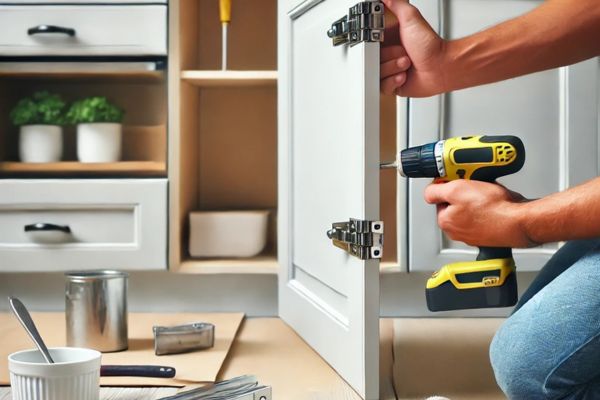
After you’ve applied the final coat of paints and allowed it to dry completely, the last step is reassembling your cabinets and adding any finishing touches. This is where your hard work comes together and the transformation is complete.
Techniques For A Smooth Finish
Achieving a professional, smooth finish on your non-wood bathroom cabinets largely depends on the techniques you use during the painting process. Here are some tips to ensure your cabinets look like they were painted by a pro:
Using The Right Brushes And Rollers
The tools you use play a critical role in achieving a smooth, even coat of paints. For non-wood surfaces like laminate or plastic, foam rollers work best, as they leave a smooth finish with minimal texture. When choosing a roller, make sure it’s designed for smooth surfaces. Foam rollers have the advantage of producing fewer bubbles or marks compared to traditional bristle rollers.
For edges, corners, and smaller areas, a high-quality, angled brush is your best bet. An angled brush allows you to paints along the edges and trim without getting paint on adjacent surfaces. Choose a synthetic brush designed for use with latex or oil-based paints, depending on your paints choice.
Avoiding Streaks And Bubbles
When painting non-wood surfaces, streaks and bubbles are common problems. To avoid these:
- Don’t overload your brush or roller: Applying too much paints can lead to drips or streaks. Load your roller or brush with just enough paint to cover the surface evenly.
- Use long, even strokes: When using a roller, apply paint in long, smooth strokes. Don’t press too hard, as this can leave marks or bubbles in the paint. Once the paint is on the surface, roll in the same direction for an even finish.
- Allow each coat to dry completely: If you’re applying multiple coats, give each one sufficient drying time before applying the next. This prevents the wet paints from becoming disturbed, which can result in streaking or uneven coverage.
- Watch for bubbles: Bubbles can form in the paint if it’s applied too thickly or too quickly. If you notice bubbles during the application, gently roll over them with your foam roller to smooth them out before they dry.
Troubleshooting Common Problems
Even with the best techniques, you may encounter a few challenges when painting bathroom cabinets that aren’t made of wood. Here’s how to troubleshoot some of the most common problems:
Dealing With Drips Or Runs In Paint
Drips and runs in paint can happen if the paint is applied too thickly or if it’s not spread evenly. If you notice a drip or run while the paint is still wet, use a brush or roller to smooth it out immediately. If the paint has already dried, you’ll need to lightly sand the area with fine-grit sandpaper, wipe it clean, and then reapply the paints. Make sure to apply thin coats and allow each coat to dry completely to prevent this from happening in the future.
What To Do If Paint Peels Or Chips
If you notice peeling or chipping paint after a few months, it could be because the surface wasn’t properly prepared. This is common when painting non-wood surfaces, especially if they weren’t adequately cleaned or primed. To fix this:
- Sand the area: Lightly sand the peeled or chipped area to smooth out the edges and remove any loose paints.
- Re-prime: Apply a thin coat of primer to the affected area before repainting.
- Repaint: Once the primer is dry, apply a new layer of paints, ensuring that it’s spread evenly.
Proper cleaning, sanding, and priming are key to ensuring the paint bonds well and doesn’t peel or chip.
Maintaining Your Newly Painted Cabinets
Once you’ve completed the painting process, it’s important to maintain your cabinets so they continue to look great for years. Here are some tips on how to care for your newly painted non-wood bathroom cabinets:
Cleaning Tips To Preserve The Paint
Keep your painted cabinets looking pristine by cleaning them regularly. However, you’ll want to avoid harsh chemicals that can damage the finish. Use a mild soap solution or a non-abrasive all-purpose cleaner with a soft microfiber cloth. Avoid scrubbing too hard, as this could lead to damage to the paint. Always wipe spills and water splashes immediately to prevent staining or damage.
It’s also a good idea to avoid using heavy-duty cleaners such as bleach, ammonia, or any products with strong chemicals that might break down the paint over time. Instead, go for products designed for painted or laminate surfaces.
How To Touch Up Damaged Areas
Even with the best care, your cabinets may experience some wear and tear over time. If you notice scuff marks, chips, or scratches, don’t worry—it’s easy to touch up the paint. Simply use a small brush to apply a thin layer of paint to the damaged area. Be sure to feather the edges so the touch-up blend seamlessly with the surrounding paint. If the damage is significant, you may need to lightly sand the area, re-prime, and reapply paint.
Frequently Asked Questions
1. Can I paint over laminate cabinets without sanding?
While it’s possible to paint over laminate cabinets without sanding, it’s not recommended. Lightly sanding the surface creates a better bond between the paint and the laminate, ensuring a longer-lasting finish. Be sure to clean the cabinets well before sanding to remove any grease or grime.
2. What type of paint is best for laminate or plastic bathroom cabinets?
For laminate or plastic cabinets, choose a high-quality bonding primer followed by either acrylic latex or oil-based paint. Acrylic latex paint is water-based, dries quickly, and is easy to clean, while oil-based paint provides a durable, glossy finish.
3. How long does it take to paint bathroom cabinets?
The entire process of painting bathroom cabinets can take a few days. Expect the job to take at least 3-5 hours for preparation, plus additional time for drying between coats. It’s important to let each layer dry fully before applying the next.
4. Do I need to use a primer on non-wood cabinets?
Yes, using a primer is essential when painting non-wood cabinets. A good bonding primer ensures that the paint adheres well to the surface and helps prevent peeling or chipping in the future.
5. How can I ensure a smooth, professional-looking finish?
To achieve a smooth finish, use high-quality brushes and rollers designed for smooth surfaces, apply thin coats of paints, and be sure to allow each coat to dry completely before adding the next. Take your time and apply the paint in even strokes, avoiding overloading your tools with too much paint.
Conclusion
Painting non-wood bathroom cabinets is a simple and cost-effective way to update your bathroom’s appearance. Whether your cabinets are made of laminate, MDF, or plastic, with the right materials and techniques, you can achieve a smooth, durable, and professional-looking finish. Remember that preparation is key—proper cleaning, sanding, and priming are essential for ensuring good paints adhesion and long-lasting results.
By following the steps outlined in this guide, you can successfully paint your non-wood cabinets and give your bathroom a fresh, new look without the need for a full remodel. With a little patience, some time, and the right materials, your cabinets will not only look great but also stand up to the humidity and wear and tear that comes with a bathroom environment.
