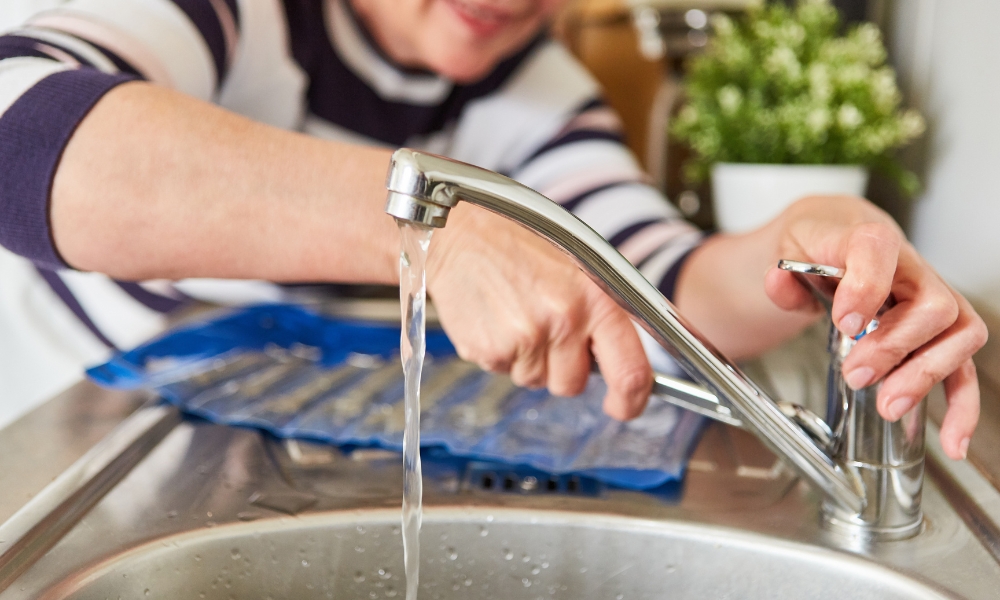
A dripping Kitchen faucet Moen is not only a nuisance Repair but can also lead to unnecessary water wastage and increased utility bills. If you have a Moen kitchen faucet that’s starting to leak, there’s no need to call a plumber just yet. With a few tools and some basic know-how, you can repair the faucet yourself. This step-by-step guide will walk you through the entire process, from turning off the water supply to replacing the old cartridge, ensuring that your faucet is back to its optimal performance in no time.
Why Is My Moen Faucet Dripping?
Before diving into the repair process, it’s important to understand why your Moen faucets might be dripping. Common causes include:
- Worn-out Cartridge: The cartridge is responsible for controlling the water flow. Over time, it can wear out, leading to leaks.
- Loose or Worn O-rings: These small rubber rings can wear out or become loose, causing water to seep through.
- Corrosion: Mineral deposits can corrode parts of the faucets, leading to leaks.
Tools And Materials You’ll Need
To repair your dripping Moen faucets, gather the following tools and materials:
- Adjustable wrench
- Phillips and flathead screwdrivers
- Replacement cartridge
- Allen wrench
- Plumber’s grease
- Needle-nose pliers
- Soft cloth or towel
Step-By-Step Guide
Step 1: Turn Off The Water Supply
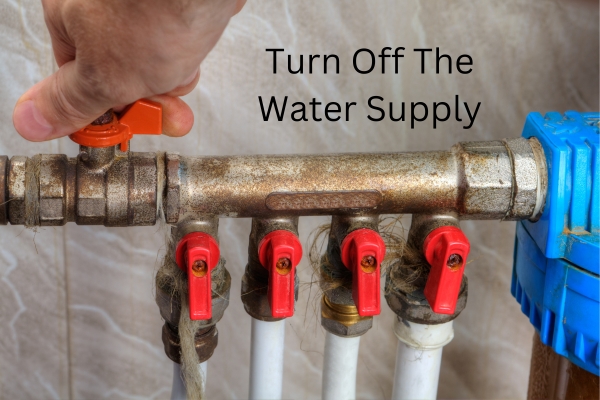
The first and most crucial step in repairing your Moen kitchen faucet is to turn off the water supply. This prevents any accidental water flow during the repair process, which could lead to a messy situation. Locate the shut-off valves under your sink, typically found on the hot and cold water lines. Turn these valves clockwise to stop the water flow. Once the water is off, open the faucets to drain any residual water from the lines, ensuring that the repair process will be smooth and dry.
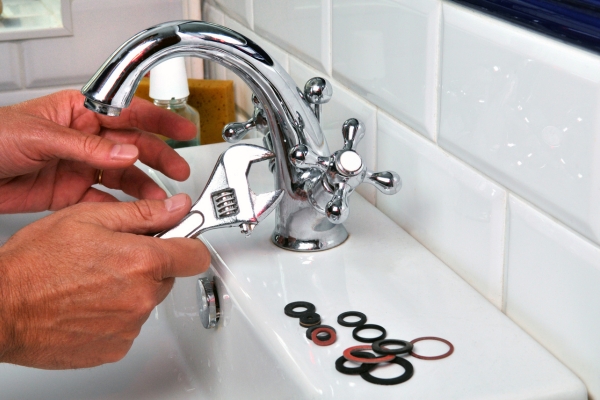
Step 2: Remove The Handle
With the water supply safely turned off, the next step is to remove the faucets handle. Most Moen faucets have a decorative cap on the handle that conceals the screw underneath. Use a flathead screwdriver to carefully pry off this cap. Once the cap is removed, you’ll see the screw that secures the handle in place. Use an Allen wrench to unscrew it, then gently lift the handle off the faucet body. This step is crucial as it allows access to the internal components of the faucets, where the actual repair work will take place.
Step 3: Remove The Retaining Clip
After removing the handle, you’ll find a retaining clip that holds the cartridge in place within the faucets body. This small clip is essential for keeping the cartridge secure, but it must be removed to replace the old cartridge. Using needle-nose pliers, carefully pull out the retaining clip. Be cautious during this step, as the clip is small and can easily be misplaced. Set it aside in a safe spot, as you’ll need it later when reassembling the faucet.
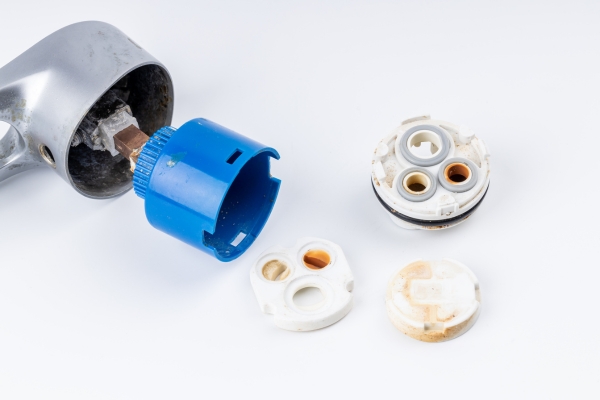
Step 4: Take Out The Old Cartridge
With the retaining clip removed, you can now take out the old cartridge—the likely culprit behind the dripping faucets. Grasp the cartridge with pliers and gently pull it straight out of the faucet body. It’s essential to note the orientation of the cartridge as you remove it, as the new cartridge will need to be installed in the same way. The old cartridge may be worn out or damaged, which is why it’s causing the leak. Replacing it with a new cartridge will typically resolve the issue and restore your faucets to its full functionality.
Step 5: Install The New Cartridge
Now that the old cartridge has been removed, it’s time to install the new one. Begin by applying a small amount of plumber’s grease to the O-rings on the new cartridge. This lubrication will ensure a smooth fit and help prevent future leaks. Carefully insert the new cartridge into the faucet body, making sure it aligns with the slots inside. It’s important to place the cartridge in the correct orientation, matching how the old one was positioned. Press it down firmly to ensure it’s seated properly. Installing a new cartridge is the key step in fixing your faucets, as this component controls the water flow and temperature.
Step 6: Reattach The Retaining Clip
With the new cartridge securely in place, it’s time to reattach the retaining clip. This small but vital piece holds the cartridge steady within the faucets body. Using your needle-nose pliers, carefully insert the clip back into its groove around the cartridge. Make sure it snaps into place, securing the cartridge firmly. The retaining clip is essential for the faucet’s stability and function, so double-check that it is properly positioned before proceeding. Once the clip is in place, the cartridge is locked in, and you’re ready to move on to reassembling the faucets.
Step 7: Reassemble The Faucet
Reassembling the faucets is the next step, bringing everything back together after replacing the cartridge. Start by placing the handle back onto the stem of the cartridge. Use your Allen wrench to tighten the screw that holds the handle in place. Make sure it’s snug but not overly tight, as over-tightening can cause damage. Once the handle is secure, replace the decorative cap, covering the screw for a clean, finished look. This reassembly process should be straightforward if you’ve kept track of all the components and their order during disassembly.
Step 8: Turn On The Water Supply
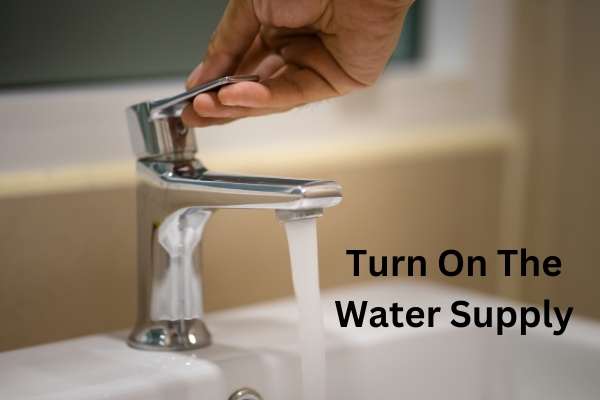
With the faucets reassembled, it’s time to turn the water supply back on. Go back under the sink and turn the shut-off valves counterclockwise to restore water flow to the faucets. Open the faucets slowly to allow water to flow through and check for any immediate issues. This step is crucial as it will reveal whether the repair was successful or if any adjustments are needed. The water should flow smoothly, and you should no longer hear the annoying drip that led you to repair the faucet in the first place.
Step 9: Test For Leaks
The final step in the repair process is to test the faucets for leaks. Turn the faucet on and off several times, checking around the handle and base for any signs of water leakage. Pay close attention to the areas where the new cartridge was installed and where the handle attaches to the faucets body. If you notice any drips, tighten the handle slightly or ensure the cartridge is fully seated. If everything looks good, congratulations! You’ve successfully repaired your dripping Moen kitchen faucets, and it should now operate without any leaks.
Preventive Tips For Future Maintenance
Once you’ve successfully repaired your Replace Delta Kitchen Faucet, it’s essential to adopt some preventive maintenance practices to keep it functioning smoothly and avoid future leaks. Here are a few tips to help you maintain your faucet:
- Regular Cleaning: Keep your faucet clean by wiping it down regularly to remove mineral deposits and grime that can cause wear over time. Use a mild cleaner and a soft cloth to avoid scratching the finish.
- Avoid Over-Tightening: When turning off your faucets, avoid applying excessive force. Over-tightening can wear out the internal components, leading to leaks. A gentle turn until the water stops flowing is sufficient.
- Inspect for Wear: Periodically check the faucet’s components, such as the cartridge and O-rings, for signs of wear or damage. Replacing these parts before they fail can prevent leaks and more extensive repairs.
- Use Plumber’s Grease: Apply plumber’s grease to the O-rings and moving parts during routine maintenance. This lubrication helps reduce friction and wear, ensuring smoother operation and a longer lifespan for your faucets.
- Monitor Water Quality: Hard water can cause mineral buildup in your faucet, leading to corrosion and leaks. Consider using a water softener if you live in an area with hard water, or regularly descale your faucets to prevent damage.
By following these preventive measures, you can extend the life of your Moen faucet and reduce the likelihood of future leaks and repairs.
When To Call A Professional
While repairing a dripping faucets is a task that many homeowners can handle, there are certain situations where it’s best to call in a professional plumber. Consider seeking expert help if you encounter any of the following issues:
- Persistent Leaks: If your faucet continues to leak after you’ve replaced the cartridge and taken all necessary steps, there may be a more complex issue at play, such as a damaged faucets body or deeper plumbing problem.
- Complex Faucet Models: Some Moen faucets, particularly those with advanced features or unique designs, may require specialized tools or knowledge for repair. If you’re unsure how to proceed, a professional can ensure the job is done correctly.
- Corrosion or Significant Damage: If you notice significant corrosion, cracks, or other damage to the faucets body or internal components, a professional plumber can assess whether repair or replacement is the best option.
- Lack of Tools or Experience: If you don’t have the necessary tools or feel uncomfortable with the repair process, it’s better to call a professional rather than risk causing further damage.
Calling a professional can save you time, stress, and potentially costly mistakes, ensuring that your faucets are repaired correctly and efficiently.
Conclusion
Repairing a dripping Moen kitchen faucet might seem like a daunting task, but with the right tools and a clear step-by-step guide, it’s a project that most homeowners can tackle successfully. By turning off the water supply, carefully disassembling the faucets, replacing the worn cartridge, and reassembling everything with precision, you can restore your faucet to perfect working order. Taking the time to follow preventive maintenance tips will also help you avoid future issues and extend the life of your faucets.

