Turning on an outside water faucet may seem like a straightforward task. However, for those unfamiliar with the process, it can be somewhat perplexing. Whether you’re prepping for gardening, washing your car, or merely indulging in some outdoor leisure, ensuring that your outdoor faucet is functioning correctly is paramount. This guide delves into the nuances of turning on an outside water faucets, offering a comprehensive approach that not only simplifies the process but also underscores its significance.
Understanding The Importance Of Your Outside Water Faucet
Your outside water faucets is more than just a simple tap. It’s a vital conduit for all your outdoor liquid needs, from nourishing your garden to filling up a pool or washing down your patio. A properly functioning outdoor faucets not only saves you time but also prevents potential water wastage. Moreover, these faucets are designed to withstand the elements, ensuring a reliable liquid source even in harsh weather conditions. Understanding how to operate and maintain this fixture is crucial in preventing costly repairs and enhancing the overall utility of your outdoor space.
Why It’s Essential To Know How To Turn On Your Outside Water Faucet
Knowing how to turn on your outside water faucets is indispensable for both convenience and safety. Improper operation can lead to a plethora of issues, including leaks, drink hammer, or even frozen pipes in colder climates. Additionally, by mastering the correct procedure, you can avoid unnecessary liquid wastage, reduce the risk of damage to your plumbing system, and ensure a steady liquid supply for all your outdoor activities. This knowledge becomes particularly important during seasonal transitions when the faucets may have been shut off for extended periods, requiring careful attention to bring it back into service.
Tools You May Need Before Starting
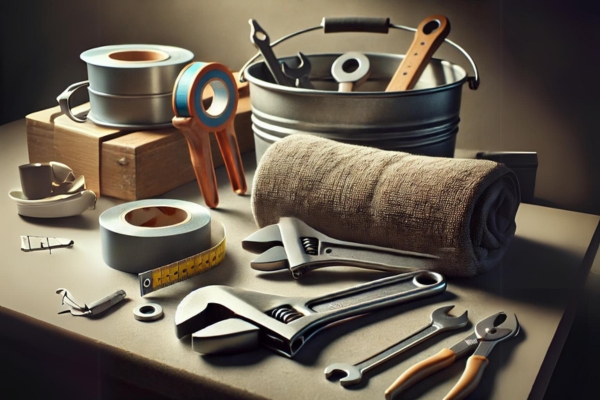
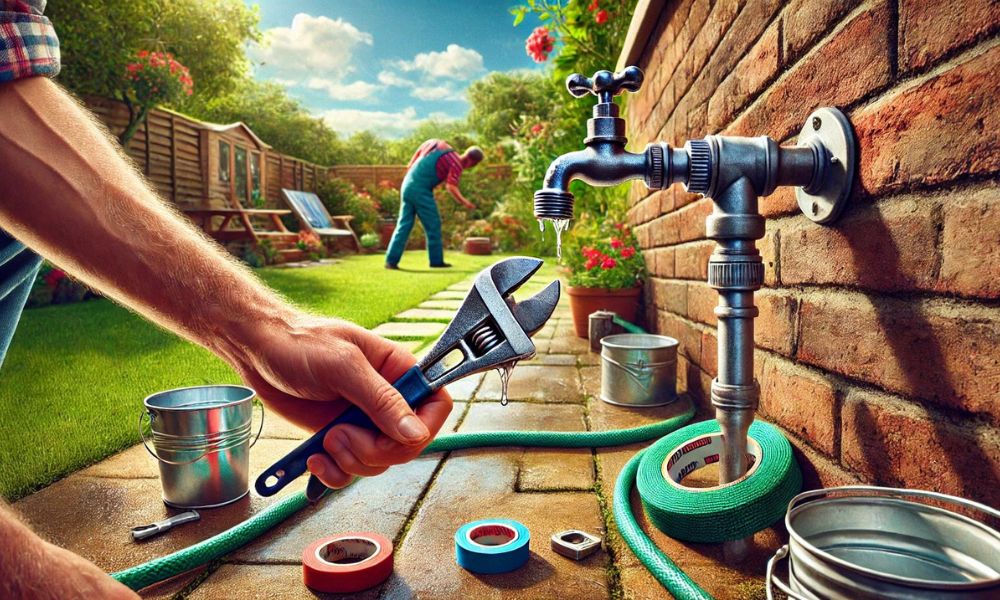
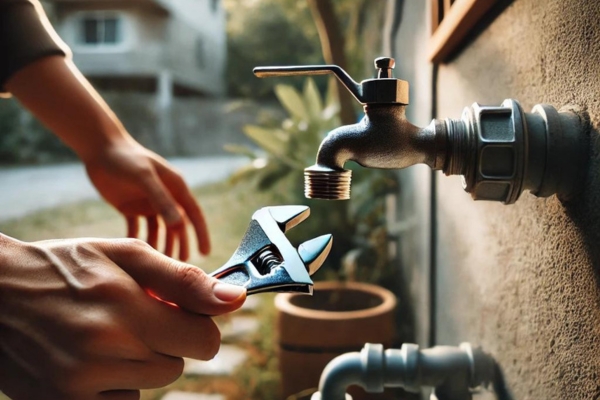
Before attempting to turn on your outside water faucets, it’s prudent to gather a few essential tools. A sturdy wrench, for instance, can be invaluable, especially if the faucet’s handle is stiff or has been unused for an extended period. Plumber’s tape is another handy item, perfect for addressing minor leaks around the faucets. Additionally, a bucket or towel may come in handy to catch any liquid that might spill during the process. Having these tools ready can streamline the task and help you troubleshoot any issues that arise.
Step-By-Step Guide To Turning On Your Outside Water Faucet
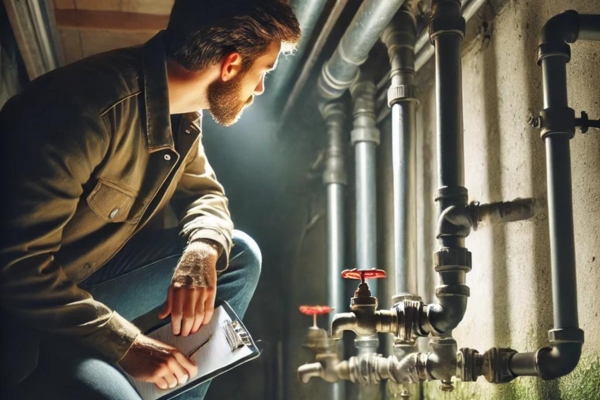
1. Locate The Main Water Supply Valve
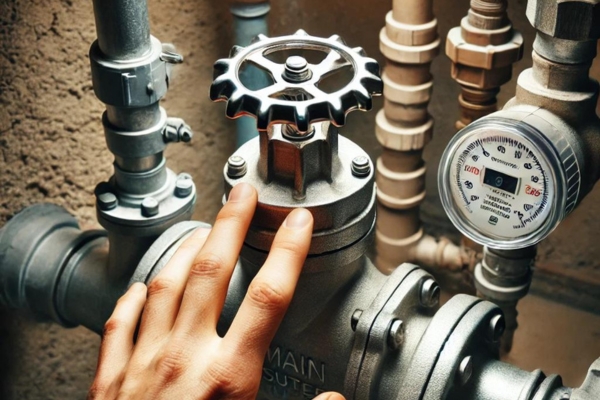
The first step in turning on your outside water faucets is to locate the main liquid supply valve. Typically found in your basement, utility room, or outside near your liquid meter, this valve controls the flow of liquid throughout your home, including to the outside faucets. Turning this valve on will restore drink flow to your outdoor fixtures, setting the stage for a seamless operation.
2. Ensure The Faucet Is Closed
Before opening the main water supply valve, ensure that your outside faucets is in the closed position. This precautionary step prevents liquid from rushing out uncontrolled, which could lead to unnecessary flooding or pressure build-up. A closed faucets also allows you to gradually introduce liquid into the system, minimizing the risk of a drink hammer—a sudden surge of liquid pressure that can cause significant damage.
3. Turn On The Main Water Supply

With the faucet closed, proceed to turn on the main water supply valve slowly. It’s advisable to turn the valve gradually to avoid a sudden surge of liquid pressure, which could compromise your plumbing system. Once the valve is fully open, liquid will begin flowing to the outside faucets, ready for use. This gradual approach ensures that the system stabilizes, reducing the risk of any abrupt pressure changes.
4. Check For Leaks Inside The House
After turning on the main water supply, it’s essential to inspect your indoor plumbing for any leaks. Pay close attention to the pipes leading to the outside faucet, as well as the areas around the main valve. Identifying and addressing leaks early can prevent drink damage and ensure that your system is functioning properly. This step is crucial in maintaining the integrity of your plumbing system and avoiding potential long-term issues.
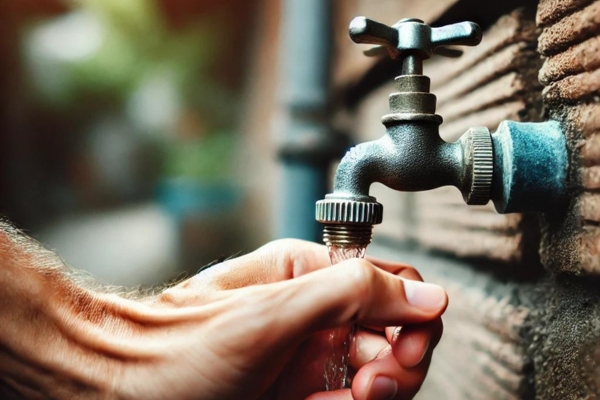
5. Go To The Outside Faucet
With the main water supply turned on and no leaks detected, it’s time to move to the outside faucet. This is where you’ll actually turn on the drink for outdoor use. Make sure you have your tools handy in case you encounter any resistance when turning the handle. Approaching this step with caution ensures that you can address any issues that may arise promptly.
6. Turn The Faucet Handle
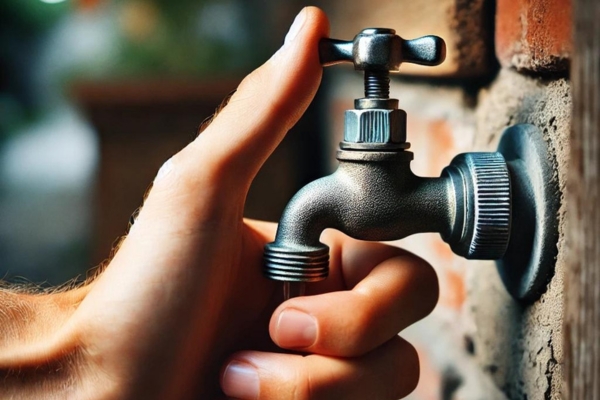
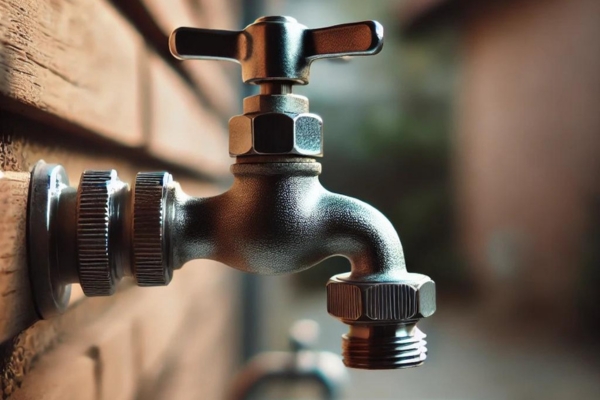
Gently turn the faucet handle counterclockwise to open it. If the handle is stiff, apply steady pressure rather than forcing it, as excessive force could cause damage. As you turn the handle, listen for the sound of water flowing through the pipes, signaling that the faucet is open. This sound is an indication that liquid is freely moving through the system, confirming that the faucet is operational.
7. Monitor The Water Flow
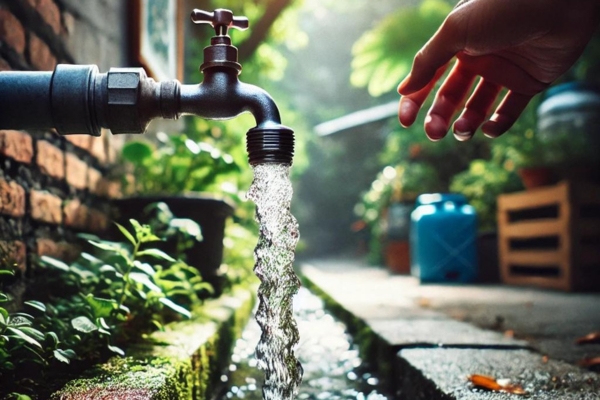
Once the faucet is open, allow the water to flow for a few moments. This helps to clear any debris or air bubbles that may be trapped in the line, ensuring a smooth and steady stream. Monitoring the flow also allows you to check for any irregularities, such as sputtering or inconsistent pressure. Consistent liquid flow is a sign that the system is functioning optimally.
8. Check For Leaks Around The Faucet
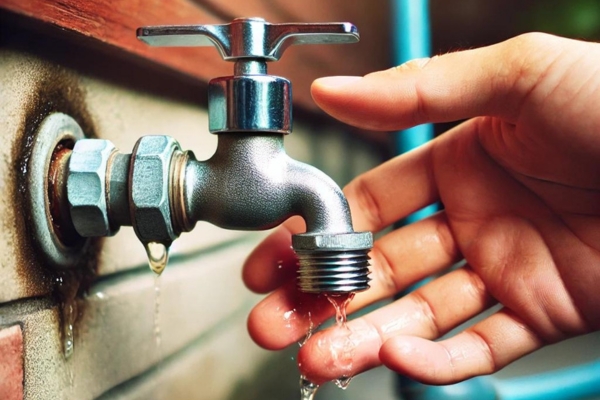
As the water flows, inspect the area around the faucets for any signs of leaks. Even small drips can lead to significant drink loss over time, so it’s important to address them promptly. If you notice any leaks, consider tightening the connections or applying plumber’s tape to seal the area. Properly addressing leaks early on ensures the longevity and efficiency of your faucet.
9. Adjust Water Pressure If Necessary
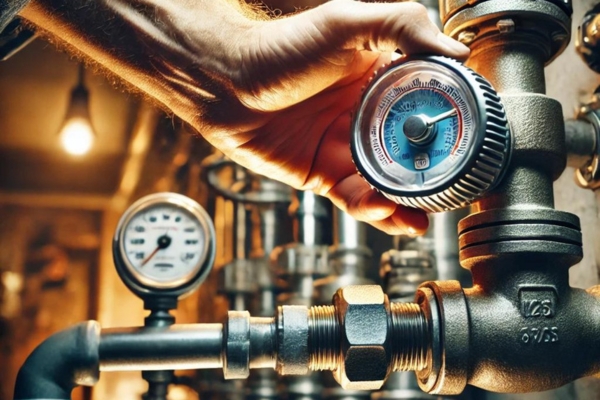
If you find that the water pressure is too high or too low, you may need to make adjustments at the main liquid supply valve. A slight turn in either direction can help you achieve the desired pressure. Proper liquid pressure ensures efficient use of the faucet without straining your plumbing system. This adjustment is key to maintaining a balanced and functional liquid flow.
10. Shut Off The Faucet After Use
When you’re finished using the outside faucets, turn the handle clockwise to close it. This simple action prevents drink from continuing to flow, conserving liquid and reducing the risk of leaks. Always ensure the faucet is tightly closed to avoid drips and unnecessary water wastage. Proper closure is a small but significant step in maintaining the efficiency of your liquid system.
Turning The Faucet Handle: Clockwise Or Counterclockwise?
When operating an outside water faucet, it’s essential to know which direction to turn the handle. In most cases, turning the handle counterclockwise opens the faucets, allowing drink to flow. Conversely, turning it clockwise closes the faucets, stopping the flow. Understanding this basic principle prevents confusion and ensures that you’re using the faucet correctly, reducing the risk of unnecessary wear and tear.
What To Do If The Faucet Is Stiff Or Hard To Turn?
If you encounter a stiff or hard-to-turn faucet, it’s important not to force it, as this can cause damage to the handle or the internal components. Instead, try applying a lubricant, such as WD-40, to the handle’s base. Allow the lubricant to sit for a few minutes, then attempt to turn the handle again. If the faucets remain stubborn, it may require professional attention to avoid further issues, ensuring that the problem doesn’t escalate.
How To Avoid Water Hammer When Turning On The Faucet?
Water hammer is a phenomenon that occurs when there’s a sudden change in liquid flow, causing pipes to bang or vibrate. To avoid this, turn the faucets handle slowly when opening and closing it. Gradually increasing or decreasing the flow of liquid reduces the chance of drink hammering, protecting your pipes from unnecessary stress and noise. This careful approach helps maintain the structural integrity of your plumbing system.
What To Do If No Water Comes Out?
If no water comes out of the faucet after turning it on, there are a few potential causes to investigate. First, ensure that the main liquid supply valve is fully open. If the valve is open and there’s still no liquid, check for blockages in the pipes leading to the faucet. It’s also possible that the faucets itself is faulty and may need to be repaired or replaced. Addressing these issues promptly ensures that you can restore drink flow without delay.
What to Do If Water Leaks After Turning On The Faucet?
Leaks can occur even after you’ve carefully turned on the faucets. If you notice water seeping from the faucet or surrounding pipes, it’s crucial to address the issue promptly. Start by tightening any loose connections with a wrench. If the leak persists, applying plumber’s tape around the threads can help create a watertight seal. Persistent leaks may indicate a more serious problem that requires professional repair, safeguarding your plumbing system from further damage.
Conclusion
A properly functioning outside water faucet is a valuable asset for any home, offering convenience and utility for a variety of outdoor tasks. By following these steps and taking the time to understand how your faucets operate, you can ensure that it remains in excellent working condition. Whether you’re watering your garden, washing your car, or simply enjoying the outdoors, a reliable faucets makes all the difference. Regular maintenance and prompt attention to any issues will keep your outdoor liquid supply flowing smoothly, enhancing the overall enjoyment of your outdoor space.

