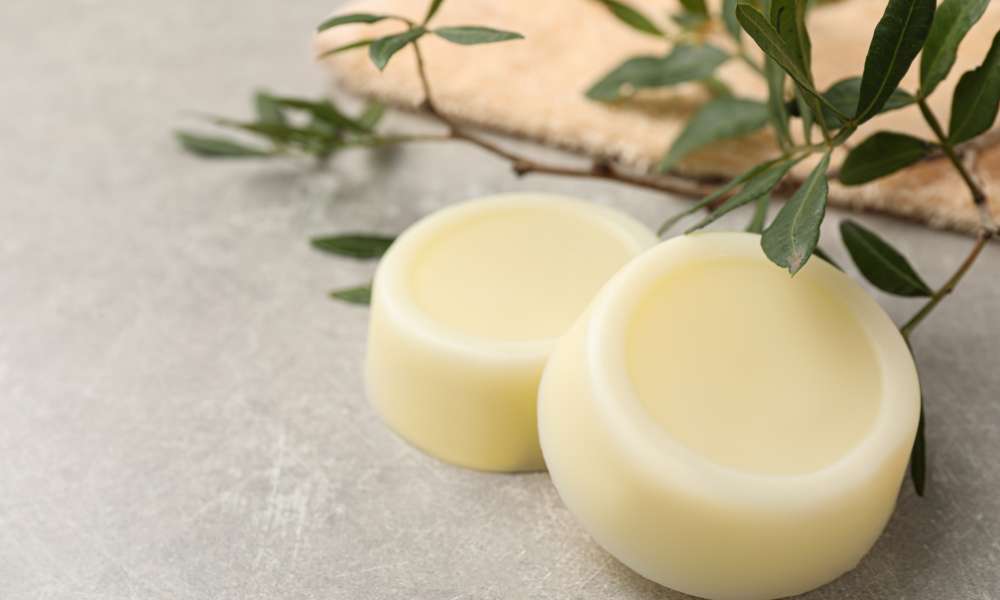
Shampoo bars have emerged as an eco-friendly alternative to traditional liquid shampoos, offering a compact. Travel-friendly option that reduces plastic waste. These bars are crafted using natural ingredients and essential oils, designed to cleanse, nourish, and revitalize hair without the need for synthetic additives. Learning how to make shampoos bars at home allows for customization to suit various hair types and preferences. Making it an appealing choice for those looking to adopt a more sustainable and personalized hair care routine. This guide will provide step-by-step instructions on creating your own shampoo bars. Emphasizing the importance of selecting quality ingredients and detailing the process to ensure successful outcomes.
How Long Do Homemade Shampoo Bars Last?
Homemade shampoo bars, when properly formulated and stored. Can last anywhere from 50 to 75 washes, equivalent to two to three bottles of traditional liquid shampoo. Their longevity is influenced by various factors. Including the ingredients used, the bar’s size, and how well it’s allowed to dry between uses. To maximize the lifespan of your shampoo bar, it’s essential to keep it dry and well-ventilated when not in use. Using a soap dish with drainage or a soap saver bag can significantly extend its usability. Making it not only a cost-effective option but also an environmentally friendly choice for your hair care routine.
Benefits of Shampoo Bars
Shampoo bars offer a plethora of benefits over their liquid counterparts. Firstly, they are known for their eco-friendly profile, minimizing plastic waste and reducing the environmental footprint associated with hair care products. Additionally, Use Clarifying Shampoo bars are typically made with natural ingredients, free from harsh chemicals and synthetic fragrances that can strip hair of its natural oils. They’re also highly concentrated, providing a rich lather that deeply cleanses without the need for excessive packaging. Furthermore, their compact size makes them perfect for travel, eliminating the worry of liquid restrictions and spills. It caters to a wide range of hair types and concerns, with formulations designed for hydration, volumizing. And scalp health, making them a versatile addition to any hair care routine.
Gathering Your Supplies
Embarking on the journey to make your own shampoo bars begins with gathering the necessary supplies. You’ll need a base of oils and butters, such as coconut oil, shea butter, or cocoa butter. Which serve as the foundation of your shampoo bar, offering moisturizing and conditioning properties. Lye (sodium hydroxide) is essential for the saponification process, turning oils into soap. Additionally, incorporating essential oils and natural additives like herbs, clays, or silk proteins can tailor your shampoo bar to your specific hair needs, providing scent, color, and additional benefits. You’ll also require molds to shape your bars and protective gear for safety during the soap-making process. With the right supplies in hand, creating your own shampoos bars can be a rewarding and creative experience. Allowing for endless customization and the satisfaction of using a product you made yourself.
Step-By-Step Guide To Making Shampoo Bars
Step 1: Melting The Base
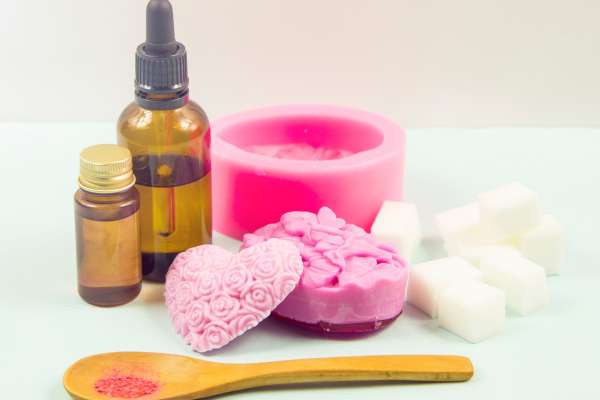
The first step in crafting your own shampoos bars is to melt the base ingredients. Which lays the foundation for the rest of the process. This involves gently heating a blend of natural oils and butters, such as coconut oil, olive oil, shea butter. And castor oil, in a double boiler or similar setup until they are completely liquid. These components serve as the core of your shampoo bar, providing essential moisturizing, cleansing, and conditioning properties. It’s crucial to melt these ingredients slowly and at a low temperature to preserve their beneficial qualities, ensuring your shampoo bar is effective and nourishing for your hair. Once everything is smoothly melted and combined, you’re ready to move on to the next step, where additional specific hair care ingredients will be incorporated.
Step 2: Mixing Essential Oils

Following the melting of your base oils and butters, step two involves the careful mixing of essential oils into your shampoo bar mixture. This step is pivotal as it not only infuses the bars with a pleasant aroma but also incorporates. The therapeutic properties of the oils Which can range from promoting hair growth to soothing scalp irritation. The selection of essential oils should be tailored to your hair’s needs and personal scent preferences, with options like lavender for relaxation. Tea tree for its antifungal qualities, or peppermint for a refreshing and stimulating effect. It’s important to add these potent oils slowly and after the base mixture has cooled slightly to preserve their integrity and ensure they are evenly distributed throughout the bars, enhancing the overall effectiveness and sensory experience of your homemade shampoo bars.
Step 3: Adding Extras
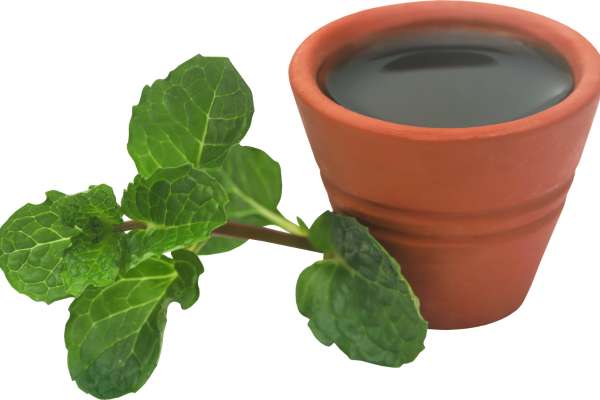
In step three of making shampoos bars, the customization truly begins with the addition of extras—ingredients specifically chosen for their hair-nourishing properties and to meet various hair needs. This is where you can incorporate natural additives such as herbal extracts, vitamins, proteins, and clays to target specific concerns like dryness, dandruff, or lack of volume. For instance, adding honey can offer incredible moisture, while green clay can help detoxify the scalp and strands. It’s essential to mix these extras thoroughly into the base to ensure even distribution. This careful integration allows for a tailored hair care solution, turning a simple shampoo bar into a multifunctional product that cleanses, conditions, and treats the hair and scalp, providing a truly personalized washing experience.
Step 4: Pouring And Shaping
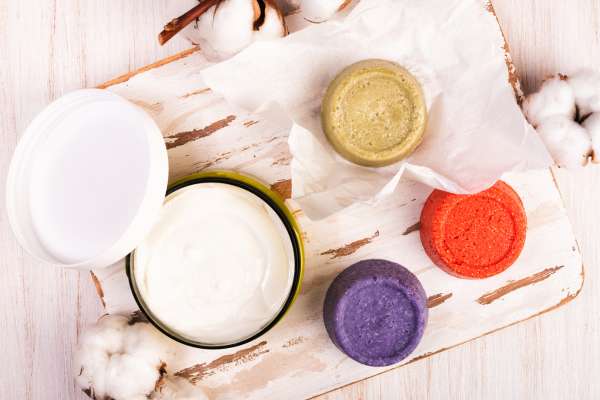
Step four is the transformative phase of pouring and shaping, where your shampoo bar mixture finally takes form. After thoroughly blending the base oils, essential oils, and any additional extras, carefully pour the liquid mixture into molds of your choice. Silicone molds are particularly favored for their non-stick properties and ease of use, allowing for a variety of shapes and sizes, from traditional bars to more intricate designs. Ensuring the mixture is evenly distributed within the molds is key to achieving uniform bars. Once filled, gently tap the molds on a hard surface to release any air bubbles, which can affect the bars’ structure and appearance. This step requires precision and a steady hand, but as the mixture sets and hardens, the satisfaction of seeing your custom shampoo bars take shape is incomparable, marking a significant milestone in the creation process.
Step 5: Curing Your Shampoo Bars
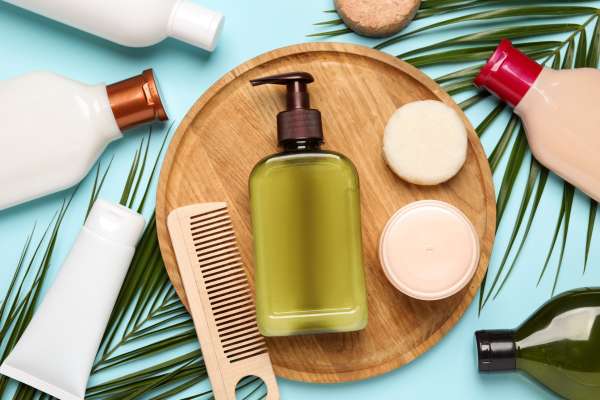
Step five marks the final stage in the shampoo bar creation process: curing. After the bars are poured and shaped, they need to be left to cure, a crucial period that allows the bars to harden fully and the saponification process to complete, especially in cold and hot process soap making. This step ensures your shampoos bars are set properly and will last longer during use. To cure, the bars should be removed from their molds and placed on a rack. A tray lined with parchment paper, in a dry, cool place away from direct sunlight. The curing process typically takes four to six weeks, during which the bars should be turned occasionally to ensure they dry evenly. This patience-testing phase is vital, as it directly influences the quality, effectiveness. And shelf-life of your homemade shampoo bars, making them ready for a gentle, nourishing hair care experience.
Customizing Your Recipe
Customizing your shampoo bar recipe is where creativity and personal care intersect. Allowing you to tailor your creation to precisely fit your hair’s unique needs and preferences. This customization can involve experimenting with different base oils to adjust the bar’s moisturizing properties, selecting specific essential oils that target scalp conditions or hair growth, and incorporating unique additives like silk proteins for shine or charcoal for detoxification. The beauty of making your own shampoos bars lies in this flexibility; whether you’re aiming for a bar that caters to sensitive scalps, emphasizes volume, or preserves color-treated hair, adjusting your recipe enables you to craft a truly personalized hair care product. By fine-tuning the balance of ingredients You can develop A shampoo bar that not only cleanses effectively but also enhances. The health and appearance of your hair, making each wash a bespoke experience.
Can Shampoo Bars Be Used On Colored Hair?
Shampoo bars can indeed be used on colored hair, with many formulations designed to be gentle enough to preserve. The vibrancy of hair color while providing thorough cleansing and conditioning. When selecting a shampoo bar for colored hair, it’s crucial to look for options that are sulfate-free and contain natural moisturizing ingredients, such as shea butter or oils like argan and coconut, which help maintain the hair’s moisture balance without stripping color. Additionally, some shampoos bars are specially formulated with ingredients that protect and enhance color-treated hair. It’s always a good idea to perform a patch test or consult the product description to ensure compatibility with colored hair. Allowing those with vibrant hues to enjoy the eco-friendly and nourishing benefits of shampoos bars without compromising their color.
Conclusion
Crafting your own shampoo bars is not only a creative and rewarding endeavor but also. A significant step towards adopting a more sustainable and personalized approach to hair care. From selecting base ingredients that nourish and cleanse, to customizing with essential oils and special additives for specific hair needs. Making shampoo bars allows for complete control over what goes into your hair products. These eco-friendly alternatives to traditional shampoos offer a myriad of benefits, including reduced plastic waste, natural ingredient compositions. And the versatility to cater to various hair types, including colored hair. By embracing the art of making shampoos bars, individuals can enjoy a tailored hair care experience that aligns with environmental values and personal hair care goals. Embodying a perfect blend of functionality, sustainability, and personalization.
