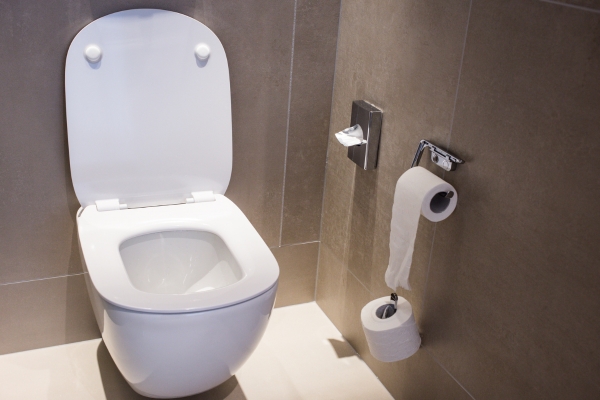
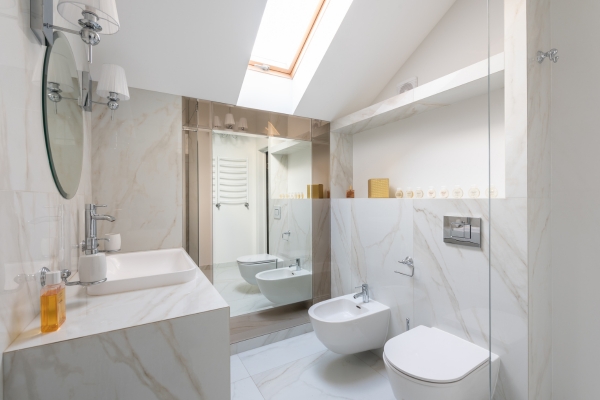
Installing a bio bidet can greatly enhance your bathroom experience by providing a more hygienic and eco-friendly alternative to traditional toilet paper. This guide on “How To Install Bio Bidets” will walk you through the process step-by-step, ensuring a smooth and efficient setup. Whether you are a seasoned DIY enthusiast or a beginner, understanding how to install a bio bidet will save you time and money while offering the luxury and cleanliness of modern bidets technology. Follow along to transform your bathroom routine with ease and confidence.
Is An Electrical Outlet Required For The Bio Bidet?
Most modern bio bidets do require a power source to operate their advanced features, such as heated seats, adjustable water temperature, and air drying functions. If your bathroom does not already have a nearby electrical outlet, you may need to hire a professional electrician to install one. Ensuring that you have the necessary electrical setup beforehand will make the installation process smoother and allow you to take full advantage of your bidet’s capabilities.
Step-By-Step Installation
1. Turn Off Water Supply
Before beginning the installation of your bio bidets, it is crucial to turn off the water supply to the toilet. Locate the shutoff valve, usually found on the wall behind the toilet, and turn it clockwise until it is fully closed. This step prevents any water from leaking or spilling during the installation process, ensuring a clean and safe environment to work in.
2. Empty The Toilet Tank
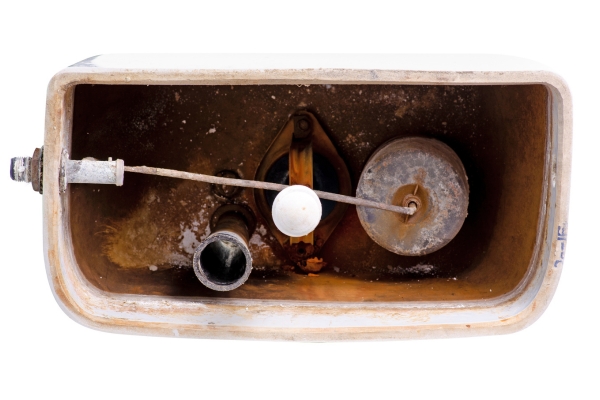
Once the water supply is turned off, the next step is to empty the toilet tank. Flush the toilet to drain as much water as possible from the tank and bowl. If there is any remaining water in the tank, you can use a sponge or a towel to soak it up. This step is essential to avoid any water spilling during the removal of the existing toilet seat and the installation of Clean Uspa Bidet.
3. Remove The Existing Toilet Seat
With the toilet tank emptied, you can now remove the existing toilet seat. Most toilet seats are secured with bolts located at the back of the seat. Use a screwdriver to loosen these bolts, and then lift the seat off the toilet. Keep the bolts and screws handy as you may need them to install the new bidets. Removing the old seat provides a clean slate for attaching the bio bidets, ensuring it fits securely and functions correctly.
4. Install The Mounting Plate
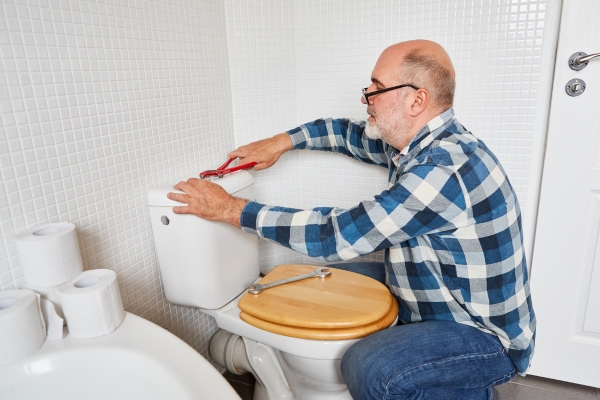
Next, you will need to install the mounting plate that comes with your bidet. Position the mounting plate over the bolt holes where the old toilet seat was attached. Align the plate properly, then use the screws provided to secure it tightly to the toilet. The mounting plate is essential for holding the bio bidets unit in place, so make sure it is firmly attached and level.
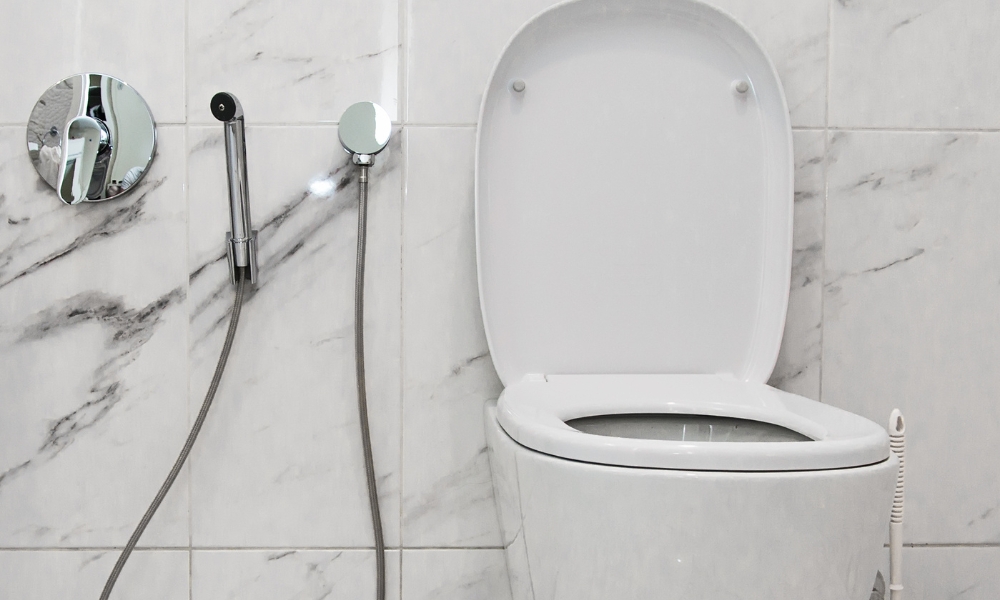
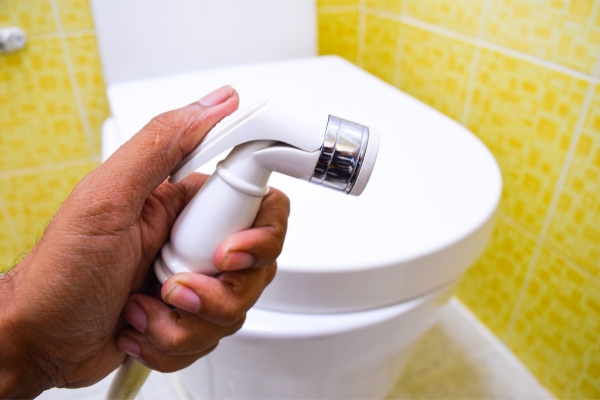
5. Attach The Bio Bidet Unit
With the mounting plate securely in place, you can now attach the bidets unit. Slide the bidet onto the mounting plate, ensuring it clicks into position. Follow the manufacturer’s instructions to make sure the unit is properly aligned and secured. The bio bidets should fit snugly on the mounting plate, providing a stable and comfortable seat.
6. Connect The Water Supply
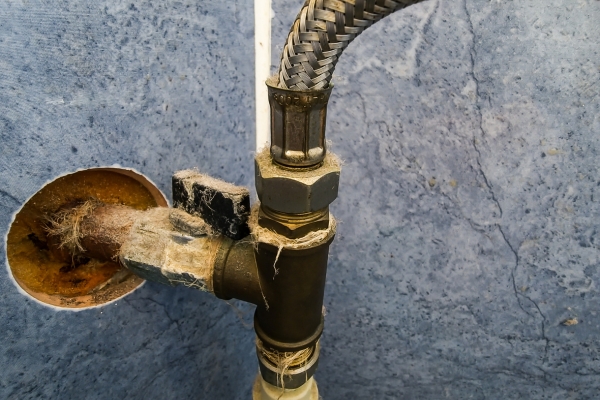
After attaching the bidet unit, the next step is to connect the water supply. Use the provided T-valve to split the water supply line, allowing water to flow to both the toilet tank and the bio bidets. Connect the T-valve to the toilet’s fill valve, then attach one end of the bidet hose to the T-valve and the other end to the bidets unit. Make sure all connections are tight to prevent any leaks.
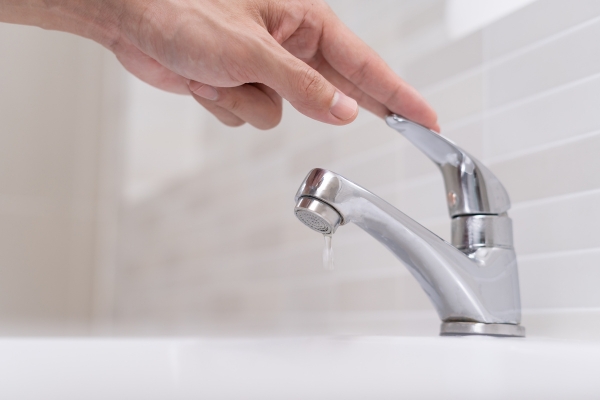
7. Turn On The Water Supply
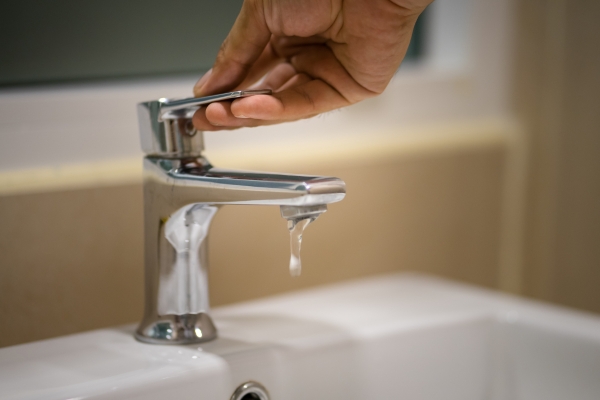
Once everything is connected, turn the water supply back on by turning the shutoff valve counterclockwise. Check for any leaks around the connections and tighten them if necessary. With the water supply restored, your bio bidets should be fully operational. Test the body’s functions to ensure everything is working correctly and enjoy the enhanced hygiene and comfort it provides.
8. Test The Bio Bidet
Now that the bidet is installed and the water supply is turned on, it’s time to test its functionality. Activate the different features of the bidet, such as the water spray, heated seat, and air dryer, to ensure everything is working as expected. Pay close attention to the water pressure and temperature settings, adjusting them to your preference.
9. Secure Any Loose Ends
During testing, you might notice some loose connections or minor adjustments that need to be made. Ensure all screws and bolts are tightened securely, and check the stability of the bidet unit. If any parts seem loose or misaligned, take the time to correct them now to prevent issues later on.
10. Final Adjustments
After securing any loose ends, make any final adjustments to the bidet settings. Adjust the water pressure, temperature, and nozzle positions to your liking. Familiarize yourself with the control panel or remote, if your bidet has one, to ensure you can easily access and operate all its features.
What Should I Do If There Are Leaks After Installation?
If you notice any leaks after the installation, first identify the source of the leak. Check all connections, including the T-valve, hoses, and the bidet unit itself. Tighten any loose connections and replace any damaged washers or seals. If the leak persists, you may need to disassemble and reassemble the connections to ensure a proper fit. In some cases, consulting the manufacturer’s troubleshooting guide or contacting customer support may be necessary for further assistance.
Conclusion
Installing a bio bidet is a rewarding project that enhances bathroom hygiene and comfort. By following these step-by-step instructions on how to install a bidet, you can ensure a smooth and successful installation. Proper preparation, careful execution, and thorough testing are key to enjoying the full benefits of your new bio bidets. Whether you are new to DIY projects or an experienced handyman, this guide provides all the information you need to complete the installation with confidence.

