In a world racing by at a dizzying pace, a warm bath can feel like a stolen moment, a reprieve from reality. Now, imagine enhancing that escape with a soft, perfectly contoured bath pillow—handcrafted to meet your every need. Why shell out for an off-the-shelf pillow when you can create a personalized one that perfectly suits your comfort cravings? Crafting your own bath pillows not only brings unmatched luxury to your self-care routine but also lets you control every detail, from texture to thickness, creating an indulgent experience that’s both affordable and deeply satisfying.
Why Make Your Own Bath Pillow?
Making your own bath pillow transcends mere cost-saving; it’s an opportunity to bring the spa home, right into your bathroom sanctuary. Unlike store-bought options, a DIY bath pillows is fully customizable, allowing you to choose the exact level of firmness, fabric quality, and overall aesthetic. You can handpick materials that resist mildew and withstand water, fitting the pillow’s curves to cradle your head in pure comfort. Plus, you’ll skip any questionable chemicals sometimes used in mass-produced pillows, knowing exactly what’s going into your creation. These custom-crafted pillows transform an ordinary soak into a true oasis, enveloping you in a spa-like bliss crafted entirely by you.
Choosing The Right Materials For A Diy Bath Pillow
Material choice is key when making a bath pillow that will withstand both water and time. For the outer fabric, select water-resistant options like marine vinyl or waterproof nylon—both work wonders for keeping moisture out and are delightfully easy to clean. Breathable mesh can also be a solid option, allowing water to flow in and out, which speeds up drying and resists mildew formation. As for the filling, closed-cell foam (think memory foam) provides a luxurious cushioning effect without absorbing water. Polyester stuffing is another great choice, giving a soft feel that resists moisture. Avoid cotton or feather fillings, which tend to absorb water, leading to a heavy, soggy mess that’s anything but relaxing.
Prepping Your Materials
Preparation sets the stage for flawless bath pillows. Start by gathering your carefully chosen fabric, stuffing material, sewing essentials, and a ruler. Cut the fabric according to your desired pillow dimensions—around 10 x 18 inches is a popular size but adjust as you like. Ensure clean, even edges, as they make sewing simpler and result in a polished look. If you’re working with a slippery fabric, fabric clips instead of pins will help hold things in place. Taking the time now to carefully prep your materials will pay off later, resulting in a bath pillows that’s both durable and delightful to use.
3-Step Guide To Making A Bath Pillow
Step 1: Sewing The Pillow Shape

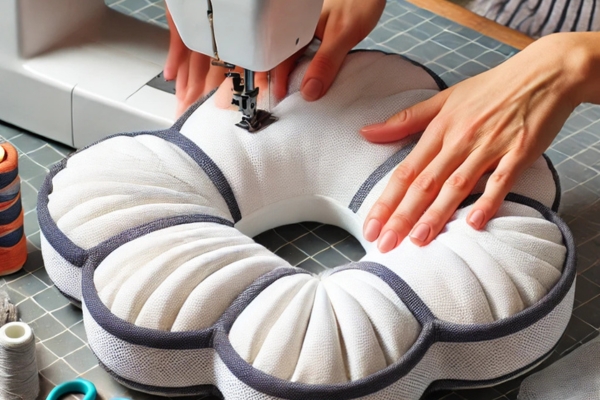
Place two pieces of fabric together with their inner sides facing each other, then sew along three edges, leaving one side open. This unsewn edge will allow you to insert the filling later. A sewing machine can be invaluable here, especially with thicker fabrics, offering smooth, even stitches that make a sturdy seam. For those using mesh, a zig-zag stitch provides added durability. After securing the edges, turn the fabric inside out, revealing the exterior surface of your soon-to-be pillows. This newly formed pocket is now ready to cradle the filling of your choice.
Step 2: Filling The Pillow

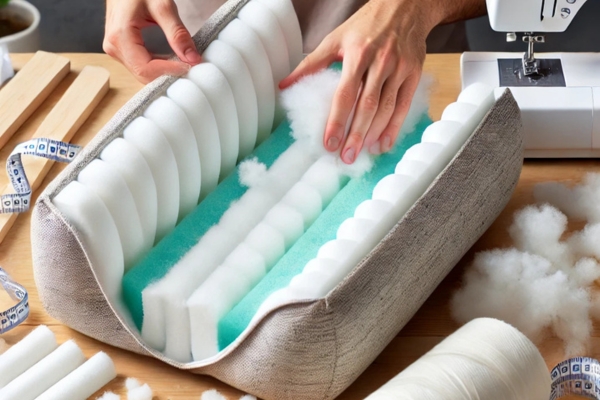
The choice of filling defines the comfort level of your bath pillow Clean Closed-cell foam, cut to snugly fit inside, offers firm support without soaking up water—a top choice for many DIYers. Polyester stuffing, meanwhile, gives a softer touch and greater flexibility. Carefully stuff the material into the pillows, distributing it evenly to avoid lumps or empty spaces. Remember, a little restraint goes a long way—overstuffing can make the pillow less comfortable and harder to close. Once satisfied with the fullness, sew the remaining edge shut to lock in your luxurious stuffing.
Step 3: Adding Stability Features (Optional)

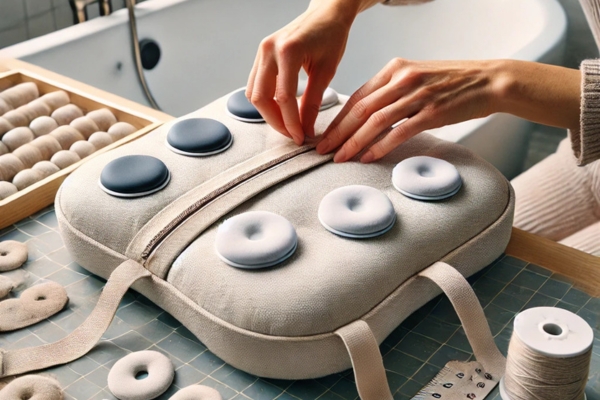
For added stability, you may want to consider features like suction cups or fabric ties, which can prevent the pillow from slipping around the tub. Suction cups can be sewn onto the back of the pillow, offering secure placement. Alternatively, fabric ties sewn onto each corner of the pillows provide another option, allowing you to fasten the pillow to the tub’s edges. These optional features enhance the bathing experience, ensuring the pillows stays exactly where you need them, uninterrupted by slips and slides.
Customization Ideas For Your Bath Pillow
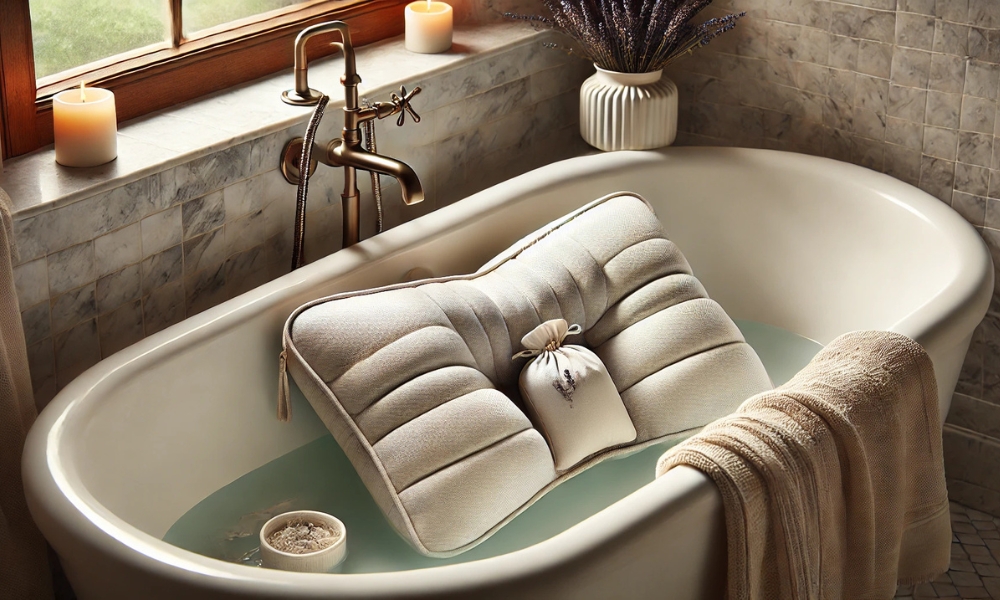
Why settle for a basic bath pillow when you can transform it into a personalized piece of luxury? Add a small sachet of dried lavender or chamomile inside the pillows for a calming, aromatic experience. For visual appeal, consider stitching decorative patterns, adding embroidered initials, or choosing fabrics with fun prints. If you’re a fan of versatility, create a removable cover so you can adjust the filling or change the pillow’s exterior as desired. For ultimate comfort, try a dual-fill approach: combine memory foam for support with gel inserts for added softness. This blend will give your bath pillows a unique, luxurious feel that’s as practical as it is indulgent.
How To Maintain And Clean Your Diy Bath Pillow
Regular care keeps your bath pillows fresh and ready for countless relaxing baths. After each use, remove the pillow from the tub and allow it to air dry in a well-ventilated area. For pillows with washable covers, use a mild detergent, and steer clear of bleach to preserve the fabric’s durability. If the pillow is water-resistant, spot-clean with a damp cloth and gentle soap. Prevent mildew by ensuring the pillow dries completely after each use. When not in use, store your bath pillow in a dry place, extending its life and keeping it free of unpleasant odors.
Frequently Asked Questions (FAQs)
Can I Make A Bath Pillow Without Sewing?
Absolutely! If you prefer a no-sew option, try using fabric adhesive or a waterproof hot glue gun to join the edges. You can also use an inflatable pillow as a base, covering it with a water-resistant fabric slipcover secured with Velcro or strong adhesive strips.
What’s The Best Filling For A Water-Resistant Bath pillows?
For water resistance, opt for quick-dry materials like closed-cell foam or memory foam beads, which resist absorbing water. If you want an inflatable option, you can skip filling and simply use an inflatable cushion insert that’s water-friendly.
What Size Should My Bath Pillows Be?
The size can vary depending on your preferences and the support you need. A standard size for neck support is around 12 inches by 8 inches, but you can customize the size to better fit your tub and comfort needs.
How Do I Make My Bath Pillow Softer Or Firmer?
If you prefer a softer pillow, add less filling or use materials like polyester fiberfill. For a firmer pillow, try memory foam or pack the filling more densely. Remember, the pillow’s comfort will also depend on the type of fabric you choose for the outer layer.
Can I Use Any Fabric For Bath Pillows?
It’s best to use water-resistant fabrics like polyester, vinyl, or neoprene for durability. Avoid fabrics like cotton, as they absorb water and can retain moisture, leading to potential mold growth over time
Conclusion
Creating a DIY bath pillow combines creativity, craftsmanship, and comfort, transforming your bath into a true sanctuary. With thoughtful material choices, a personalized design, and your unique touches, each pillow detail reflects your style and relaxation needs. This small but rewarding project lets you indulge in everyday luxury, elevating bath time from a simple soak to a cherished retreat. Follow these steps, and you’ll soon have bath pillows that are both functional and delightful, handcrafted to provide you with pure relaxation and satisfaction, bath after bath.


