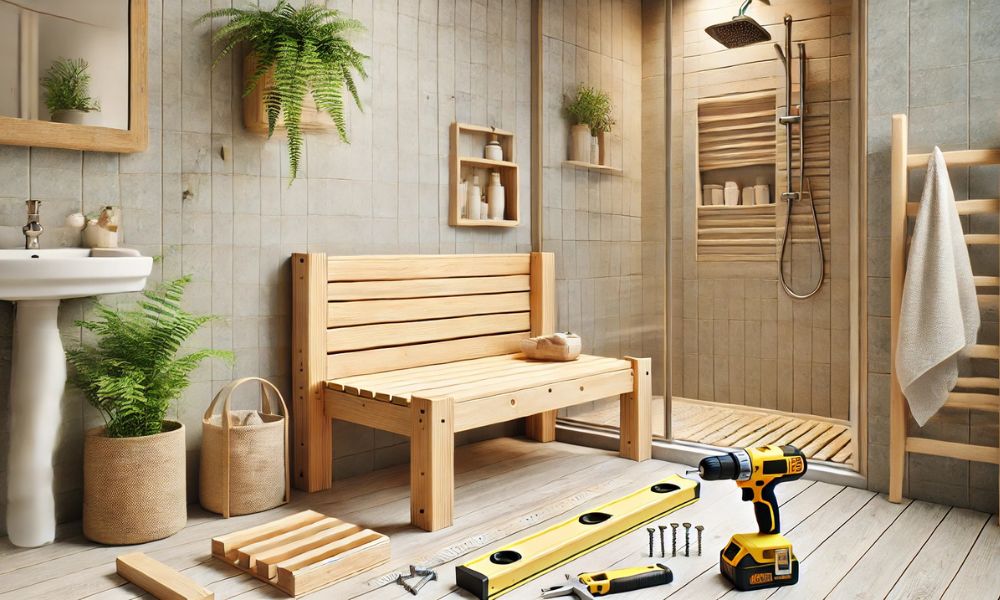
A shower bench isn’t just a luxury—it’s a true upgrade to your bathroom, blending both style and substance. Imagine basking in the warmth of a hot shower, leisurely perched on a seat that you built yourself. A custom bench doesn’t just offer comfort, it brings practicality into the fold, whether you’re looking to store toiletries or need a sturdy spot to rest. But beyond the obvious perks, Build a handcrafted shower bench allows you to curate the size, material, and aesthetic according to your exact vision, making it a project that’s as personal as it is satisfying. Let’s dive in, shall we?
Understanding The Basics: What You Need To Know Before You Start
Before you reach for the tools, let’s lay the groundwork. First things first, what kind of shower benchs are you envisioning? Wall-mounted, corner, or freestanding? Wall-mounted benches are perfect for compact spaces, offering sleekness without sacrificing style. Corner benches—oh, they’re the masters of maximizing space. They tuck neatly into unused corners, leaving the rest of the shower open and airy. Freestanding, though? It’s the wild card. These benches give you flexibility—move them around, use them anywhere. They’re like the chameleons of shower furniture.
But here’s the real kicker—assessing your shower layout. You must pay close attention to the size of your shower, tile placement, water drainage, and the structural elements of your bathroom. Don’t rush it! A little planning ensures that your bench doesn’t just fit; it flows with the overall design.
Choosing The Right Materials For Your Shower Benchs
Now that you’ve locked in the type of bench, the next step is a fun one—picking materials. Think of it as the foundation of your shower’s personality. You want something that can withstand the wet, humid conditions of a shower, right? Teak or cedar wood are two fantastic choices—moisture-resistant and beautifully rustic. These woods are tough, but they’re also a treat for the eyes. The natural water-resistance ensures your bench will survive the test of time.
But wood isn’t your only option. For a more modern or sleek vibe, consider stone or tile. Tiles, in particular, lend an almost seamless look, especially when used on the seat. Don’t forget to seal your chosen material properly, though! It’s your insurance policy against mildew and mold. A good sealant ensures the longevity of your bench and preserves its beauty.
Essential Tools And Equipment Needed
To build a stools, you’ll need a handful of basic tools and materials. Here’s a quick list:
- A saw (preferably a miter saw or circular saw)
- A drill and screws
- Waterproof sealant and grout
- Sandpaper or an electric sander
- Measuring tape and level
- Safety goggles and gloves
These tools are essential for cutting, assembling, and securing your bench, while the sealant will help protect it from moisture. Additionally, having a stable work surface will make assembly much easier and more efficient.
Step-By-Step Instructions
Step 1: Measure And Plan For Your Shower Benchs
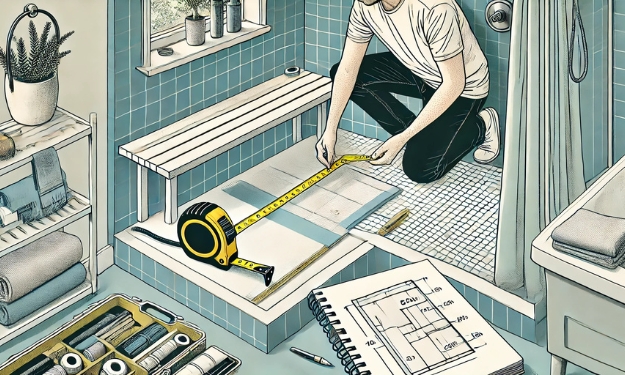
Before diving into the cutting and assembling, you must plan. Measure, measure, measure! It’s essential to know exactly where the bench will go. Think about the space available, the height you want your seat to be, and potential obstructions like shower heads or water handles. Remember, the stool has to fit both physically and aesthetically.
Don’t be afraid to sketch out your vision. A quick drawing can help make sense of your measurements, ensuring that you don’t end up with a bench that’s too large (or too small). Once you’re confident with the size, mark the spot in your shower where the stool will rest. Trust me, this planning phase is worth it.
Step 2: Preparing The Area And Gathering Materials
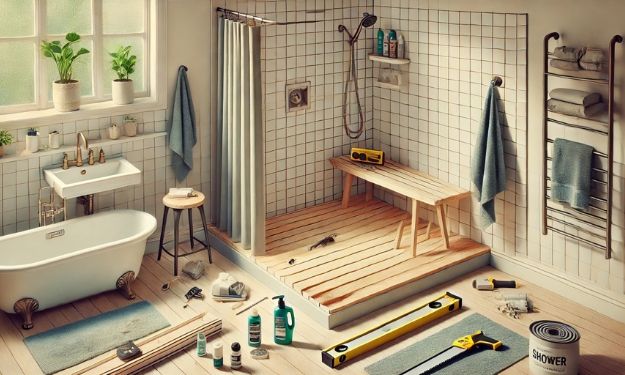
Clearing your shower space is a must. You don’t want to be tripping over shampoo bottles or stepping on tiles mid-project. Cleanliness is key—make sure the space is free of debris, and double-check that the surface is level. This will ensure that the bench is secure once it’s in place.
And before you even think about cutting wood or tile, do a thorough inventory of your materials. Make sure you have everything from wood or tile to screws, sealants, and tools. It’s a nightmare to start building and realize you’re missing half the materials.
Step 3: Building The Frame Of Your Shower Benchs
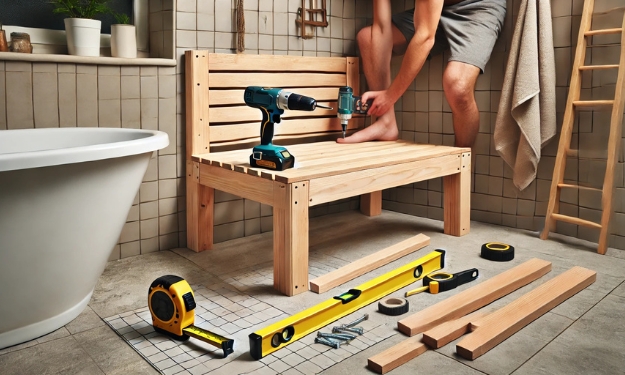
Now comes the exciting part—building the frame. Cut the frame pieces to match your measurements. You’ll likely start by creating a rectangular base. Use high-quality screws to assemble the frame, making sure everything is aligned and square. Take your time with this step—precision is everything here. A well-built frame provides the solid foundation your stool will need.
Don’t forget the level! A crooked frame is a disaster waiting to happen. Ensure the base is perfectly horizontal; this is your structural backbone.
Step 4: Adding The Seat To Your Shower Bench
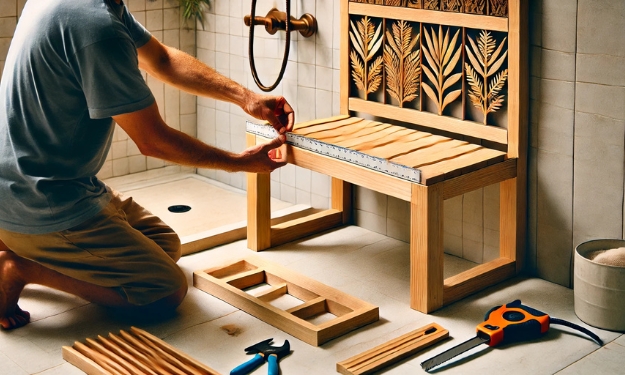
Once the frame is secured, the next step is to add the seat. If you’re working with wood, cut the seat pieces to fit snugly on top of the frame. Make sure there are no gaps, as this will affect the stability. If you’re opting for tile, apply cement backer board before laying down your tiles for extra durability.
Ensure that the seat is perfectly level, with smooth, rounded edges. Nobody wants a seat that’s uncomfortable or prone to splinters!
Step 5: Waterproofing Your Shower Bench
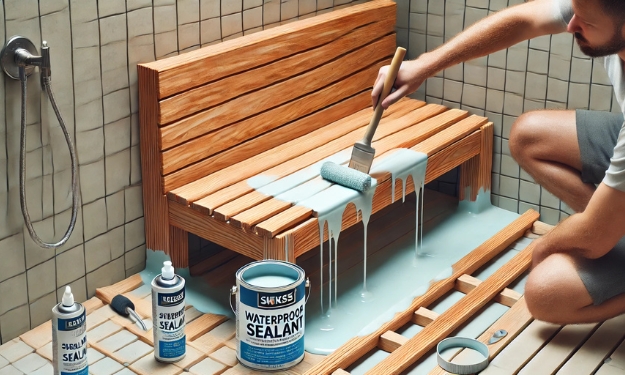
Waterproofing is arguably the most crucial step. Think of it as the final line of defense against mold and decay. Generously apply waterproof sealant over all surfaces, from the wood to the grout and joints. This will protect your bench from moisture that could otherwise cause structural damage. Allow the sealant to dry completely before you proceed.
For wooden benches, choose a sealant designed for wet environments. It’s a small investment that pays off in longevity.
Step 6: Installing The Bench In Your Shower

Now that your bench is ready, it’s time to install it. If you built a wall-mounted or corner stool, securely fasten it to the walls with the right hardware. The last thing you want is a stool that moves or falls over during use. For freestanding benches, just place it in your shower and check that it sits level and steady.
Step 7: Adding Final Touches
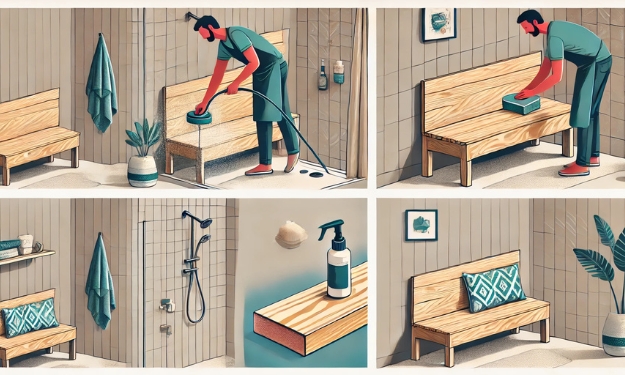
Here’s where you get to add your personal flair. Sand down any rough edges for that smooth, polished finish. If you used wood, a second layer of sealant is a great idea for added protection. Then, add accessories—decorative cushions, a towel rack, or even a small shelf for toiletries. The final touches turn your bench from functional to fabulous.
Maintaining Your Shower Bench: Keeping It Looking Great
To keep your stool in top shape, you must maintain it regularly. Clean it with a mild soap and water solution to remove soap scum, mildew, or dirt. If you notice any cracks or wear, it’s time for a re-seal. For wooden benches, an annual refresh with a fresh coat of sealant will ensure its longevity.
Troubleshooting Common Issues
Inevitably, problems will arise. If your shower bench feels wobbly, make sure all screws are tightly fastened. If cracks appear or the paint starts to peel, it might be time to re-grout or re-seal the bench. Water pooling near the stool? Check the drainage and make sure nothing’s obstructing it.
Additional Ideas: Creative Ways To Customize Your Shower Bench
A shower bench isn’t just a seat; it’s an opportunity to add a personal touch to your space. Consider incorporating tiles to match your shower design, or experiment with creating a mosaic pattern for a unique, artistic flair. Built-in storage can also be a great way to maximize space and add practicality.
Alternative Shower Bench Designs
If you’re tight on space, consider a folding or collapsible bench. These options offer flexibility—they fold away when not in use, making them ideal for small showers. For larger spaces, think modular—a stool that can be expanded or adjusted as needed.
How To Build A Shower Bench On A Budget
You don’t have to break the bank to build a stunning stool. Reclaimed wood can be a budget-friendly option, as can tiles that mimic the look of pricier alternatives. Don’t forget to scour hardware sales, discount stores, or even secondhand shops for materials. A little creativity can yield a beautiful, cost-effective result.
Safety Considerations When Building A Shower Bench
Safety is paramount. Use high-quality screws and fasteners to ensure your bench is securely installed. Always wear protective gear—goggles, gloves, and sturdy footwear are a must. If you’re unsure about the stability of your installation, consult a professional. It’s better to be safe than sorry.
Final Thoughts: Enjoying Your New Shower Bench
Once you’ve built and installed your stool, it’s time to sit back and enjoy the fruits of your labor. Whether you use it for relaxation, storage, or just as a sleek addition to your bathroom, you’ll find that your new bench enhances both the functionality and aesthetic of your space.
Conclusion
Building a shower bench is more than just a DIY project—it’s a way to transform your bathroom into a haven of comfort and convenience. With a little patience, attention to detail, and creativity, you can craft a bench that fits perfectly into your bathroom, standing as a testament to your craftsmanship for years to come.
