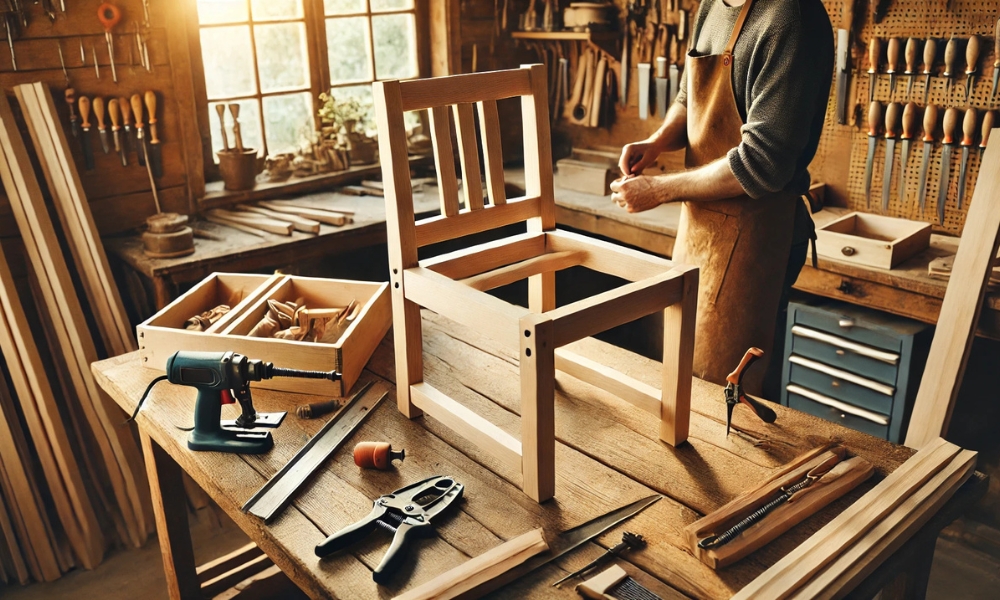
Wood chairs are not only functional but can also be beautiful additions to your home. Whether you’re looking to create a simple, rustic chair for your kitchen table, a stylish accent piece for your living room, or even a set of garden chairs, making your own wooden chairs can be a rewarding DIY project. This step-by-step guide will walk you through everything you need to know to make sturdy, stylish wood chairs, from gathering materials to finishing your masterpiece.
Materials And Tools You’ll Need
Before diving into the process, it’s important to gather all the necessary materials and tools. Here’s a complete list:
Materials:
- Wood: For beginners, pine is a good choice because it’s affordable and easy to work with. Hardwoods like oak or maple are great if you want a more durable, higher-end chair.
- Wood Glue: This will help to reinforce joints before securing them with screws or nails.
- Screws: Wood screws for securing the seat, legs, and backrest.
- Finish or Paint: To protect the wood and enhance its look.
- Fabric and Foam: If you’re adding cushions, you’ll need fabric and foam for the seat.
- Wood Filler: To cover up screw holes or imperfections in the wood.
Tools:
- Measuring Tape: Accurate measurements are crucial for the dimensions of the chair.
- Saw: A circular saw, jigsaw, or miter saw will work for cutting wood pieces.
- Drill: For making pilot holes for screws.
- Screwdriver: To tighten screws.
- Clamps: To hold pieces in place while the glue dries.
- Sandpaper or Electric Sander: To smooth rough edges and surfaces.
- Paintbrush: For applying finish or paint.
Once you have everything ready, let’s begin!
Step-By-Step Guide
Step 1: Design Your Chairs
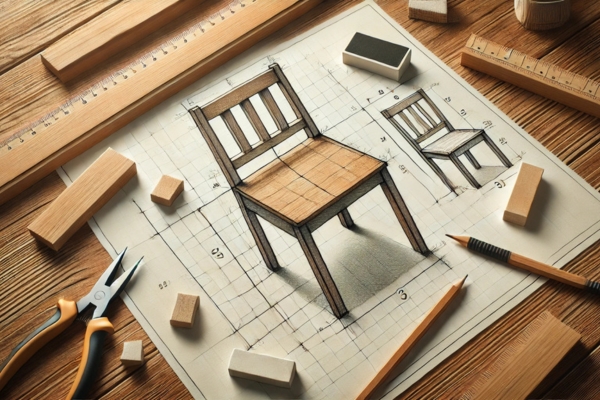
When designing your chair, start by considering the overall look and comfort. Begin by sketching the chair to visualize its dimensions and structure. For the seat height, a standard dining chair sits about 18 inches off the ground, but you can adjust this to suit your needs. The backrest should be tall enough for comfort, typically ranging from 32 to 36 inches. The seat dimensions usually fall between 14 to 18 inches square, depending on your design preferences. Finally, decide on the leg style—whether you want straight legs for a classic look, angled legs for a more modern feel, or turned legs for a more intricate design. These decisions will set the foundation for a functional and stylish chair.
Step 2: Cut The Wood Pieces

Once your design is set, it’s time to cut the wood pieces to bring your chair to life. Start by measuring and marking the wood according to your dimensions, then carefully cut each piece. For the seat, cut a square or rectangular piece, typically 16-18 inches square, depending on your design. For the legs, cut four equal-length pieces, with a standard length of about 18 inches for a dining chair, adjusting as needed for your seat height. The backrest requires two vertical pieces that should be tall enough to provide support—typically 32 to 36 inches—and may also include horizontal slats or a solid panel between them, depending on your design. Lastly, support rails are essential for stability, so cut horizontal pieces that will connect the legs beneath the seat. Remember to always double-check your measurements before cutting—it’s a key step in ensuring everything fits together perfectly.
Step 3: Assemble The Chair Frame
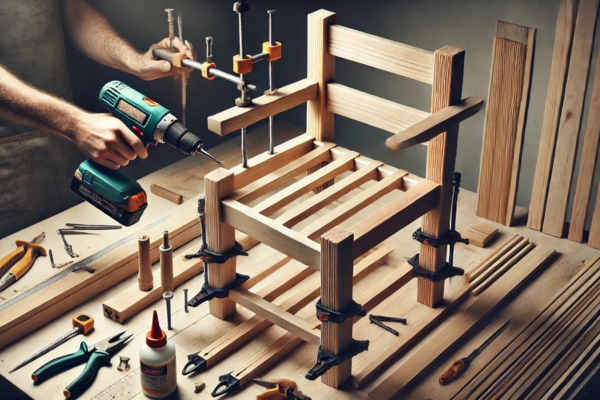
With all your pieces cut, it’s time to assemble the chair frame. Start by attaching the four legs to the seat, applying wood glue to the top of each leg before securing them with screws. Be sure to drill pilot holes to prevent the wood from splitting, ensuring the legs are flush and square with the seat. Next, attach the two vertical backrest pieces by gluing them where they meet the seat and screwing them in place, ensuring they’re level and straight. If you’re using horizontal slats for the backrest, add them next, spacing them evenly from bottom to top. For a solid backrest, simply screw or nail it into place. Finally, install the support rails under the seat to connect the legs and provide additional stability. Use wood glue and screws to secure the rails, and consider adding extra support between the legs for added strength and durability.
Step 4: Sand The Chairs
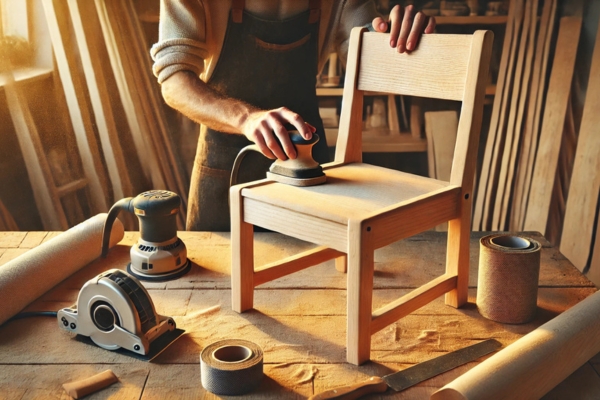
After assembling the frame, it’s time to smooth out the rough edges with sanding. This step is crucial for removing splinters and ensuring the chair is comfortable to use. Begin by sanding the corners, edges, and any areas where the wood may have been cut unevenly. Start with medium-grit sandpaper (around 80-grit) to tackle the rough spots, and once the surface is more even, switch to a finer-grit sandpaper (220-grit) to give the chair a smooth, polished finish. Sanding not only improves the chair’s appearance but also ensures it’s safe and comfortable to sit on.
Step 5: Apply The Finish Or Paint
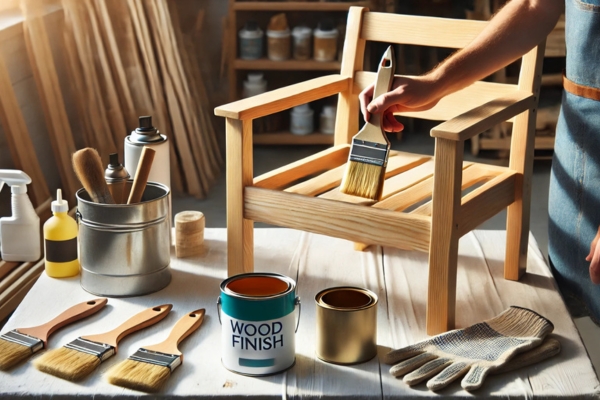
After assembling the frame, it’s time to smooth out the rough edges with sanding. This step is crucial for removing splinters and ensuring the chair is comfortable to use. Begin by sanding the corners, edges, and any areas where the wood may have been cut unevenly. Start with medium-grit sandpaper (around 80-grit) to tackle the rough spots, and once the surface is more even, switch to a finer-grit sandpaper (220-grit) to give the chair a smooth, polished finish. Sanding not only improves the chair’s appearance but also ensures it’s safe and comfortable to sit on.
Step 6: Add Cushioning (Optional)
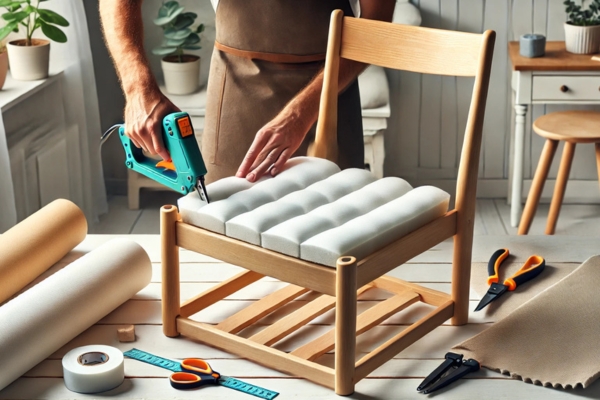
If you want to add extra comfort to your chair, consider adding a cushion to the seat. Start by cutting a piece of foam to match the seat’s dimensions, typically using a thickness of around 2 inches for a comfortable sitting experience. Then, cut a piece of fabric large enough to cover the foam, leaving extra on all sides to wrap around the bottom of the seat. Use a staple gun to secure the fabric underneath, starting from the center of each side and working outward, making sure to pull the fabric taut for a smooth finish. For a more polished look, you can also add a fabric border or piping around the edges to give the cushion a professional touch.
Step 7: Final Touches And Assembly

Once the finish has dried and any cushions are in place, take a moment to inspect the chair for any rough spots or imperfections. Use sandpaper to smooth out any areas that may need attention, and touch up any finish where needed. Double-check that all screws are tightened, and ensure that all joints are secure for stability. Make sure everything is aligned properly and the chair feels solid. After these final touches, your chair is now ready for use, combining both craftsmanship and comfort for a perfect seating experience.
FAQ: How To Make Wood Chairs
What Type Of Wood Is Best For Making Chairs?
For beginners, pine is an excellent choice for making chairs, as it’s soft, easy to work with, and affordable. It allows for smooth cuts and quick assembly, making it perfect for those new to woodworking. However, if you’re looking for a more durable and sturdy chair, oak or maple are great options. These hardwoods are stronger and more resilient, offering longevity and a more refined finish. Keep in mind that hardwoods are more challenging to work with, requiring sharper tools and more precise techniques, and they can also increase the overall cost of your project.
How Long Does It Take To Build A Wooden Chairs?
The time it takes to build a wooden chair can vary based on factors like design complexity, skill level, and available tools. On average, a basic chair project can be completed in about 4 to 8 hours, including the steps of cutting, assembling, sanding, and finishing. However, if you’re adding cushions, intricate detailing, or special finishes, the process may take longer. Beginners might need more time to adjust to the techniques, while more experienced woodworkers may complete the project more quickly.
How Do I Make My Wood Chair Comfortable?
To make your wood chair more comfortable and Paint Wood Chairs Black, consider adding cushions to the seat and backrest. Cut foam to fit the dimensions of the seat and backrest, and cover it with soft fabric for added comfort. For a more tailored look, you can use a staple gun to secure the fabric underneath. Additionally, ensure that the dimensions of the chair are ergonomically designed. The seat height, angle of the backrest, and overall chair size should be carefully considered to promote good posture and comfort. These adjustments can make a significant difference, turning your wooden chair into a comfortable piece of furniture.
Conclusion
Making your own wooden chairs is a great way to add a personal touch to your home. By following these steps, you can create a sturdy, stylish chair that will last for years. Whether you’re a beginner or an experienced woodworker, this DIY project is a fun and rewarding way to hone your skills and produce functional furniture that you can be proud of.
With the right materials, tools, and a little patience, you’ll be sitting pretty on your very own handmade wood chair. So, gather your tools, get creative, and start building!
