Build bathroom shelves is an easy and rewarding DIY project that adds both functionality and style to your space. Whether you need extra storage for toiletries, towels, or decorative accents, well-placed shelves can transform your bathroom into a more organized and visually appealing area. To get started, choose durable materials like solid wood, plywood, or moisture-resistant MDF to withstand humidity. Next, determine the ideal location and size based on your bathroom layout. With the right tools—such as a level, drill, and wall anchors—you can securely mount your shelves, ensuring stability and longevity. Follow this step-by-step guide to create a custom bathroom shelf that enhances both storage and design.
Why Build Your Own Bathroom Shelves?
Building your own bathroom shelf is a smart and rewarding project that allows you to customize the design, size, and materials to perfectly match your bathroom’s aesthetic and storage needs. Unlike store-bought shelf that may not fit your space or style, DIY shelves give you full control over the look and functionality while saving money. They also help maximize awkward or unused wall areas, making even small bathrooms more efficient. Plus, there’s an undeniable sense of satisfaction in crafting something yourself—turning a simple storage solution into a personalized feature that enhances your home.
Step To Step Guide
Step 1: Gather Your Tools And Materials
Tools Needed:
- Measuring tape
- Level
- Drill
- Stud finder
- Saw (circular saw or hand saw)
- Sandpaper
- Paintbrush or roller
- Screwdriver
Materials:
- Wooden boards (pine, oak, or plywood)
- L-brackets or floating shelf brackets
- Screws and wall anchors
- Wood glue (optional)
- Paint or stain
- Sealer (if shelves will be near water)
Step 2: Choose The Right Location And Shelf Design
Consider these factors when selecting where to install your shelf:
- Above the Toilet: Ideal for holding decorative items, toiletries, and storage baskets.
- In the Shower: Great for holding shampoo, soap, and bath essentials (use water-resistant materials like teak or metal).
- Over the Sink: A perfect spot for easy access to everyday items.
- Corner Shelves: Utilize unused corners to maximize storage.
Selecting a Shelf Style:
- Floating Shelves: Sleek and modern, these shelf appear to be suspended without visible brackets.
- Bracket Shelves: Traditional and sturdy, these are mounted using visible brackets.
- Recessed Shelves: Built into the wall, perfect for a minimalist look (requires more effort and wall cutting).
Step 3: Measure And Cut The Shelves
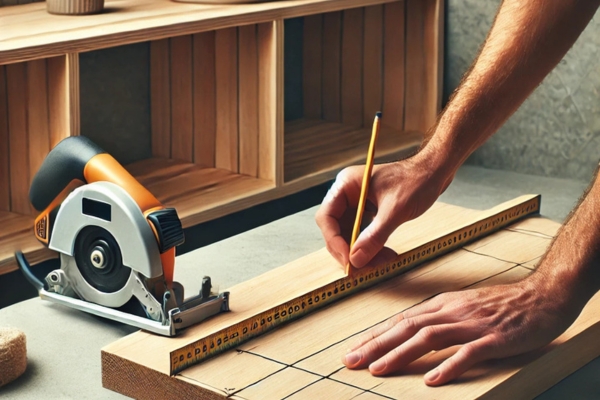
Once you’ve chosen the perfect spot for your bathroom shelves, it’s time to measure and cut them to size. Start by using a measuring tape to determine the exact dimensions needed, ensuring the shelf fit snugly in the intended space. Mark the cut lines with a pencil for accuracy, then carefully cut along the lines using a circular saw or hand saw. To achieve a smooth, professional finish, sand down any rough edges with sandpaper to prevent splinters and give the Decorate Shelves in a Bathroom a polished look. Pro Tip: If you’re not comfortable cutting the wood yourself, many home improvement stores offer cutting services, saving you time and effort while ensuring precision.
Step 4: Finish The Wood
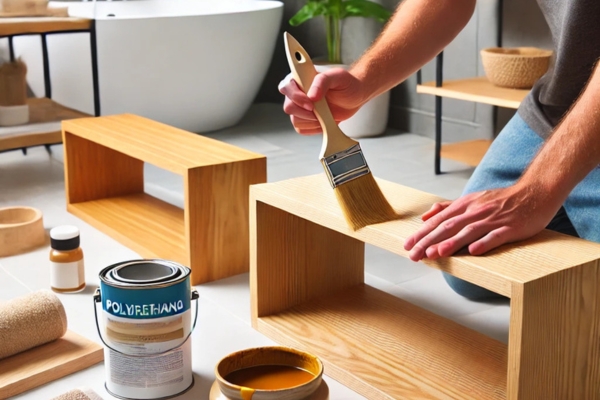
Once your shelves are cut and sanded, it’s time to finish the wood for a polished, long-lasting look. Choose between a stain for a natural, warm wood grain finish or paint if you want to add a pop of color to match your bathroom decor. If your shelves will be exposed to moisture, applying a waterproof sealer or polyurethane is essential to prevent warping, mold, or damage over time. Use a brush or cloth to apply the finish evenly, following the wood grain for a smooth application. Allow the shelf to fully dry before moving on to installation—rushing this step can lead to sticky surfaces or uneven coatings.
Step 5: Locate The Studs And Install The Brackets
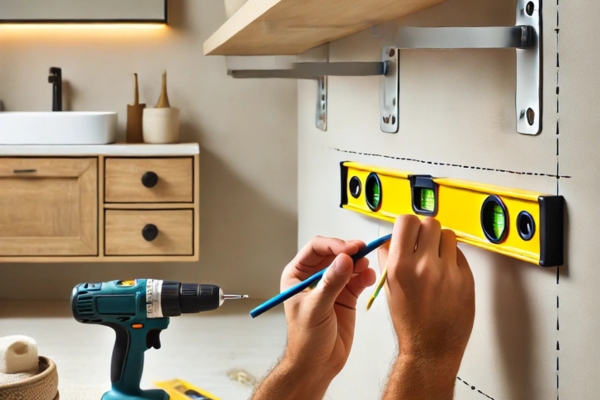
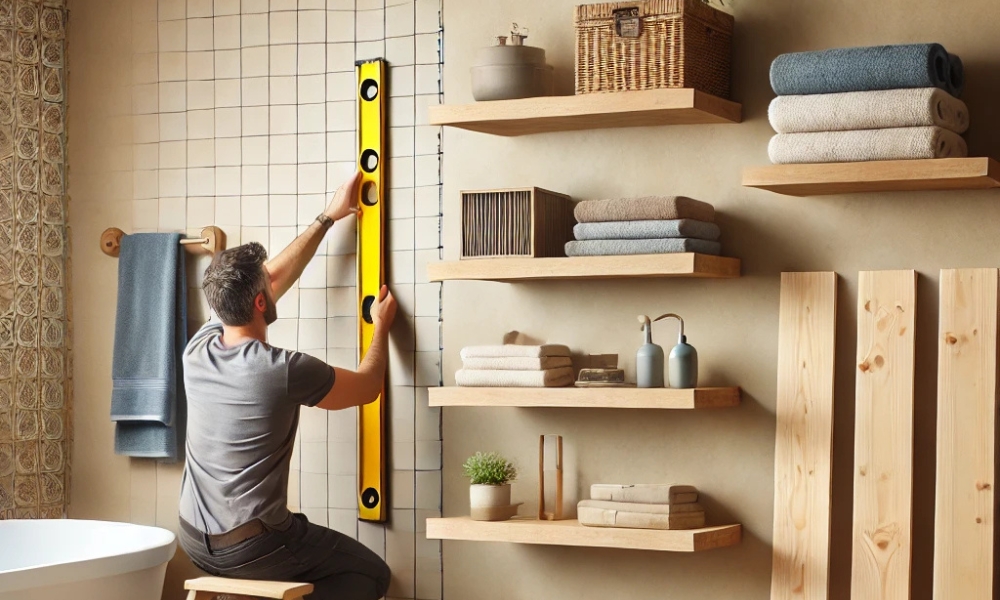
With your shelves prepped and ready, the next step is to securely install the brackets to ensure stability. Start by using a stud finder to locate wall studs, as mounting brackets into studs provides the strongest support—especially for heavier shelf. Once located, mark the placement of the brackets with a pencil, ensuring they are level and evenly spaced. Before attaching the brackets, drill pilot holes to prevent splitting and make screw installation smoother. Finally, secure the brackets to the wall using screws (and wall anchors if needed for drywall). Double-check that everything is level before moving on to the next step—sturdy brackets are key to preventing wobbly or sagging shelf!
Step 6: Install The Shelves
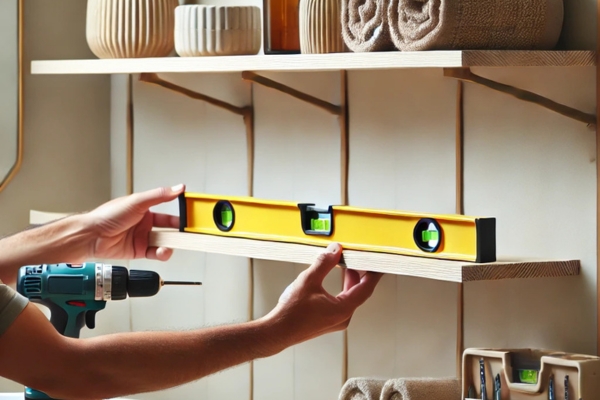
With the brackets securely in place, it’s time to install the shelves and bring your project to life. Carefully place the shelves on top of the brackets, ensuring they sit evenly and flush against the wall for a clean, professional look. If you’re installing floating shelf, use wood glue or hidden fasteners to secure them without visible hardware. For bracket-mounted shelf, drill screws through the brackets into the underside of the shelf to prevent movement. Finally, use a level to double-check that everything is straight—adjust as needed to prevent any tilting or unevenness. Once secured, step back and admire your brand-new bathroom shelf!
Step 7: Style And Organize Your Shelves
Now that your shelves are installed, it’s time to decorate and organize!
Storage Solutions:
- Use decorative baskets for toiletries.
- Add glass jars for cotton swabs and cotton balls.
- Install hooks under the shelves for hanging towels.
Decor Ideas:
- Add small potted plants for a fresh look.
- Incorporate scented candles or diffusers.
- Use framed artwork or stylish bathroom signs.
Common Mistakes To Avoid
- Skipping the Stud Finder: Anchoring shelf directly to drywall may lead to sagging.
- Overloading Shelves: Know the weight limit of your brackets and materials.
- Not Sealing the Wood: In bathrooms, moisture can cause wood to warp if not sealed properly.
- Uneven Installation: Always use a level before finalizing placement.
Frequently Asked Questions About Building Bathroom Shelves
1. What Materials Do I Need To Build Bathroom Shelves?
To build sturdy and stylish bathroom shelf, you’ll need wooden boards (or alternative materials like glass, metal, or acrylic), wall brackets, screws, a drill, wall anchors (if installing on drywall), a level, tape measure, and sandpaper to smooth rough edges. If you’re painting or staining the shelf, consider using waterproof paint, polyurethane, or a wood sealant to protect against moisture damage.
2. How Do I Choose The Right Location For My Bathroom Shelves?
When choosing a location, consider areas that offer both convenience and functionality. Popular spots include above the toilet, next to the vanity, in shower corners, or even above the door for extra storage. Ensure the placement does not obstruct movement or interfere with existing fixtures. If you plan to store heavy items, use a stud finder to secure the shelf into wall studs for added stability.
3. Do I Need Special Waterproofing For Bathroom Shelves?
Yes! Since bathrooms are high-moisture environments, it’s crucial to protect shelf from warping, mold, or rust. If using wood, apply a water-resistant stain, polyurethane, or waterproof paint. For metal shelves, choose stainless steel, aluminum, or powder-coated metal to prevent rust. If opting for glass, ensure it’s tempered glass for safety and durability in humid conditions.
4. How Do I Install Bathroom Shelves Securely?
To install shelf securely:
- Mark the wall where you want to install them.
- Use a stud finder to locate wall studs for maximum support.
- Drill pilot holes for wall brackets; if there are no studs, use wall anchors for stability.
- Attach the brackets firmly with screws.
- Place the shelf on top, ensuring it’s level, and secure it with screws if needed.
For floating shelves, use hidden brackets or floating shelf supports for a seamless look.
5. What Are Some Creative Bathroom Shelf Ideas?
- Floating Shelf – Sleek and modern, great for minimalist bathrooms.
- Ladder Shelf – Aesthetic and functional, offering tiered storage.
- Corner Shelf – Maximize small spaces with built-in corner shelving.
- Recessed Shelf – Built into walls for a seamless, space-saving look.
- Hanging Rope Shelf – A stylish and rustic option for a unique touch.
- Repurposed Crates or Baskets – Add a farmhouse or vintage vibe with repurposed wooden crates or wicker baskets.
Final Thoughts
Building your own bathroom shelves is a fun and rewarding DIY project that combines functionality and style while making the most of your space. Whether you’re aiming for a sleek modern look, a rustic farmhouse vibe, or a simple storage upgrade, the right materials and careful planning ensure durable and aesthetically pleasing results. Plus, the satisfaction of creating something custom-made for your home is unbeatable! So, grab your tools, unleash your creativity, and start transforming your bathroom today.

