
Change the faucet on a pedestal sink might seem like a daunting task, but with the right tools and a little know-how, you can do it yourself and save the cost of hiring a professional. Whether you’re updating your bathroom’s style or replacing a faulty faucet, this guide will walk you through the process, ensuring a smooth and successful installation. Let’s dive into the steps involved in changing a tube on a sink.
How Do I Know If The New Faucet Will Fit My Pedestal Sink?
To ensure your new faucet fits your pedestal sink, measure the distance between the chimney holes and compare it to the tube’s specifications. Most sinks have standard hole configurations, so match these with the tube’s base. Also, check the tube’s height and spout reach to ensure it won’t interfere with the sink’s basin. Always verify compatibility with the manufacturer’s guidelines.
Materials You’ll Need:
- New faucet
- Basin wrench
- Adjustable wrench
- Plumber’s tape
- Bucket or towel
- Safety glasses
- Towels or cloths
- Screwdriver
Step-By-Step Guide
Step 1: Turn Off The Water Supply

Before starting any plumbing work, turn off the drink supply to the sink. Locate the shut-off valves under the sink, and turn them clockwise to close. If your sink doesn’t have dedicated shut-off valves, you may need to turn off the main drink supply to your home. Once the water is off, open the Clean A Beer Faucet to release any residual water in the lines.
Step 2: Disconnect The Water Supply Lines
Using an adjustable wrench, loosen and disconnect the drink supply lines from the chimney. Place a bucket or towel underneath to catch any water that may drip out. It’s a good idea to have towels or clothes on hand to wipe up any spills.
Step 3: Remove The Old Faucet
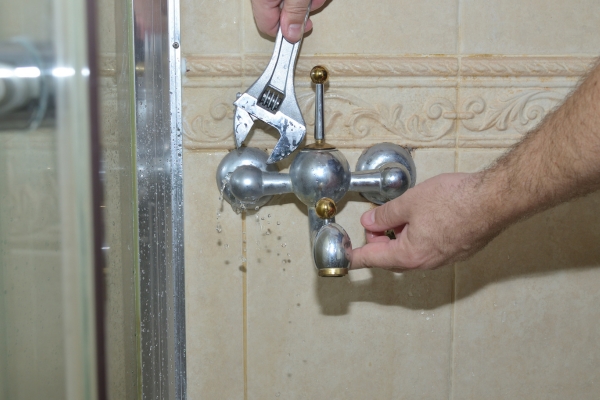
Now that the water lines are disconnected, use a basin wrench to loosen and remove the nuts holding the tube in place. Carefully lift the old tube out of the sinks. If it’s stuck, gently wiggle it back and forth to loosen it. Once removed, clean the area around the tube holes to prepare for the new installation.
Step 4: Install The New Faucet
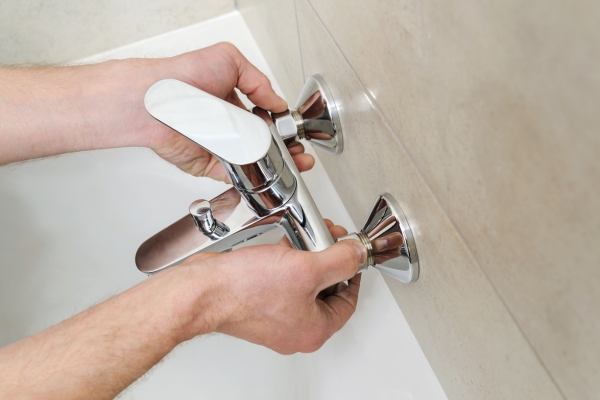
Before installing the new tube, apply a small amount of plumber’s tape to the threads of the tube’s connections. This will help prevent leaks. Carefully position the new tube over the holes in the sink and secure it in place with the mounting nuts. Tighten the nuts with a basin wrench, being careful not to overtighten them, as this could damage the sinks.
Step 5: Reconnect The Water Supply Lines

With the new faucet securely in place, reconnect the water lines. Use an adjustable wrench to tighten the connections, ensuring they are snug but not overly tight. Once connected, turn on the drink supply by opening the shut-off valves.
Step 6: Test For Leaks

Before cleaning up, turn on the tube to check for any leaks. If you notice any drips, double-check the connections and tighten them as needed. Once you’re sure everything is watertight, you can clean up the area and enjoy your newly installed faucet.
Conclusion
Changing a faucet on a pedestal sink is a manageable DIY project that can refresh the look of your bathroom. By following these steps, you can successfully install a new tube and improve the functionality of your sinks. Remember to take your time and double-check each step to ensure a smooth installation. If you encounter any issues, don’t hesitate to consult a professional plumber for assistance.

