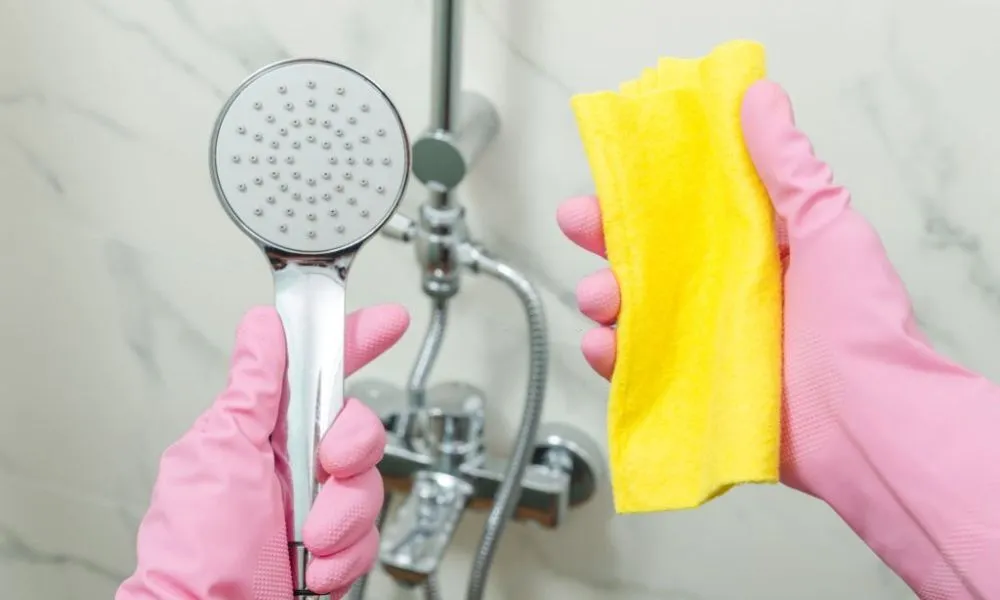
Maintaining hygiene in the bathroom is crucial to keeping your living space healthy and clean. Among all the bathroom fixtures, showerheads often tend to accumulate dirt and grime over time. This can potentially lead to clogging of the nozzles, reducing water flow, and even causing an unpleasant odor. Therefore, it’s important to know how to clean a Moen shower head properly.
Moen shower heads are designed with a range of features like adjustable spray patterns, anti-clog nozzles, and easy installation that make them popular among homeowners. However, regular usage can cause mineral deposits from hard water or soap scum buildup on the surface of the showerhead.
Importance Of Cleaning A Moen Shower Head

Moen shower heads are popular fixtures in most households because of their durability and high-quality performance. However, regardless of its sturdiness, a Moen bath fixture requires regular cleaning to function optimally. Keeping your Moen shower head clean is an essential part of maintaining good hygiene in your bathroom.
Over time, mineral deposits from hard water can accumulate on the shower head’s nozzles, leading to clogging and decreased water flow. Additionally, bacteria and mold can grow within the nozzle openings, causing unpleasant odors and reducing the effectiveness of your showers. Cleaning your Moen bath fixture regularly reduces these risks and ensures that you continue to enjoy invigorating showers. Cleaning a Moen bath faucet is relatively easy with the right tools and products.
Benefits Of Cleaning A Moen Shower Head

Keeping your Moen shower head clean is essential for ensuring its longevity and performance. Over time, mineral deposits, soap scum, and bacteria can accumulate within the showerhead’s nozzles, causing clogs and reducing water pressure. Fortunately, cleaning your Moen shower head is a simple task that you can efficiently perform at home.
Regularly cleaning your Moen bath fixture offers numerous benefits. Firstly, it ensures optimal water flow and pressure for an enjoyable shower experience. Secondly, it prevents the buildup of harmful bacteria that could potentially cause illness or skin irritation. Lastly, maintaining a clean showerhead also extends its lifespan by preventing corrosion caused by mineral buildup.
To begin cleaning your Moen bath faucet, first, remove it from the fixture and soak it in vinegar or a descaling solution for about an hour to dissolve any mineral buildup.
Step-by-Step Cleaning Process
Turn Off The Water Supply

Cleaning your Moen shower head is an essential part of maintaining a clean and hygienic bathroom. The accumulation of dirt, grime, and mineral deposits can cause the showerhead to function poorly or even clog completely. One effective way to clean your Moen shower head is to turn off the water supply before starting the cleaning process.
Firstly, you will need to locate the shut-off valve for your bathroom or shower. This valve is typically located near the water meter or in a utility closet. Once you have found it, turn off the valve by turning it clockwise until it reaches its closed position.
Remove The Shower Head

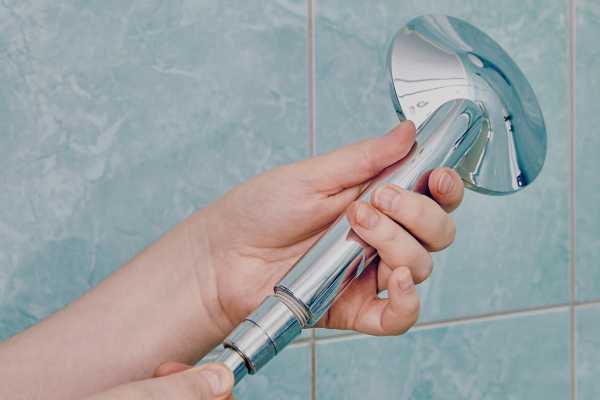
Removing your Moen shower head might seem like a daunting task, but it’s actually quite simple and can help improve the overall cleanliness of your bathroom. If you’ve noticed that water pressure has decreased or that your bath fixture is dirty and clogged, it may be time to remove it for a thorough cleaning. Here’s how to do it:
First, turn off the water supply to your shower by turning off the valve in your bathroom or shutting off the main water supply if needed. Next, use a wrench or pliers to loosen the nut holding the bath fixture onto its arm. Be sure to wrap a cloth around the nut first to protect both the finish of the nut and the arm from any scratches.
Disassemble The Shower Head (if applicable)
Keeping your shower head clean is essential for proper hygiene and water flow. Over time, mineral buildup can clog the nozzles and reduce the water pressure. If you have a Moen bath faucet, cleaning it is a straightforward process that you can do on your own without hiring a plumber.
To disassemble the Moen bath fixture, you need to turn off the water supply and remove it from its mounting bracket. Use an adjustable wrench or pliers to unscrew the collar nut that holds the swivel ball assembly in place. Once removed, you can separate the internal components, including the gasket, screen filter, and restrictor valve.
Soak The Shower Head In A Cleaning Solution

Keeping your Moen shower head clean is essential to ensuring a refreshing and hygienic shower experience. Over time, mineral buildup can clog the tiny holes in the shower head, leading to weak water pressure and an unsanitary environment. Fortunately, cleaning your Moen shower head is a simple task that only requires a few household ingredients.
One of the most effective ways to clean your rain shower head is by soaking it in a cleaning solution. First, remove the bath faucet from its fixture and place it in a bowl filled with equal parts white vinegar and water. Allow the bath fixture to soak for at least one hour or overnight if necessary. The acidic properties of the vinegar will dissolve any mineral buildup and unclog any blocked holes.
Scrub The Shower Head With A Brush Or Toothbrush

Cleaning your Moen shower head is essential to maintaining a clean and hygienic bathroom. Over time, mineral deposits and grime can build up on the shower head, leading to reduced water flow and potential health hazards. However, with the right tools and techniques, cleaning your Moen bath faucet is a straightforward task.
To start, remove thebath fixture from the wall or fixture to ensure that you have clear access to all areas. Soak the showerhead in a bowl filled with warm water mixed with vinegar or another mild cleaning solution for at least 30 minutes. This will help break down any mineral buildup on the surface.
Next, use a soft-bristled brush or toothbrush to scrub away any remaining dirt or grime from the surface of the showerhead. Pay extra attention to crevices and hard-to-reach areas where buildup may be more significant.
Rinse And Reassemble The Shower Head

Maintaining a clean and functional shower head is crucial to improving the quality of your daily showers. A clogged or dirty bath faucet can result in poor water pressure and even lead to bacteria buildup. Moen shower heads are renowned for their durability and high-quality performance, but like any other bathroom fixture, they require regular cleaning to function efficiently.
The good news is that cleaning a Moen bath fixture is a simple process that can be done within minutes with readily available household items. Start by removing the showerhead from its fitting on the wall, then disassemble it completely by unscrewing all detachable parts. Rinse each piece thoroughly in warm water to remove any dirt or debris, then use an old toothbrush or soft-bristled brush dipped in a vinegar solution to scrub away any mineral buildup or stains.
Reinstall The Shower Head
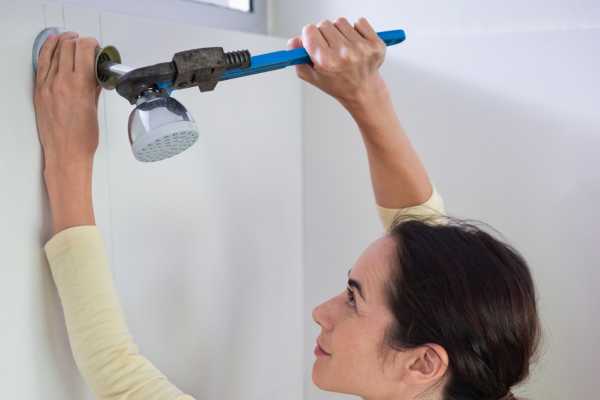
Reinstalling the shower head is a simple task that can be accomplished in just a few steps. This process is often necessary when cleaning your Moen bath faucet, as it requires you to remove the fixture from its place. Follow these easy instructions to ensure a successful reinstallation of your Moen bath fixture.
First, take off the old Teflon tape from the threads of the arm using pliers. Then, clean both the threads on the arm and inside of the bath fixture with a soft cloth. Use vinegar or an appropriate cleaner to remove any grime or buildup that may have accumulated over time. Next, wrap new Teflon tape around the threads of the arm in a clockwise direction and avoid overlapping.
Now that you have cleaned and prepped everything, it’s time to reinstall your Moen bath fixture.
Turn On The Water Supply

After cleaning your Moen shower head, it is essential to turn on the water supply before using it again. This simple step ensures that all debris and residue from the cleaning process are flushed out of the bath fixture and its components. Turning on the water supply also helps you check for any leaks or damages in the plumbing system.
To clean a Moen shower head properly, start by removing it from its mount and soaking it in a solution of equal parts white vinegar and water for at least an hour. Afterward, use a soft-bristled brush to scrub away any remaining mineral build-up or dirt. Rinse thoroughly with warm water, then dry off with a soft cloth before reattaching to its mount.
In conclusion, turning on the water supply after cleaning your Moen showerhead is crucial for ensuring optimal performance and prolonging its lifespan.
The Final Thought
Cleaning your Moen shower head is a simple task that can greatly improve the water flow and quality of your showers. Regular maintenance will also extend the life of your bath fixture and prevent clogs from forming. By using a vinegar soak or a commercial cleaner, and taking care not to damage the rubber nozzles, you can easily remove mineral buildup and other debris from your bath fixture. Make sure to rinse thoroughly and dry it before reattaching it to your shower arm. With these tips in mind, you can enjoy a refreshing and revitalizing shower experience every time.

