Cleaning acrylic shower stalls is an essential task for maintaining a clean and hygienic bathroom environment. Acrylic, known for its durability and resistance to damage, makes for an excellent material in shower stalls but requires proper care to keep it looking its best. This guide aims to provide homeowners with practical advice on how to effectively clean their acrylic shower stalls, ensuring they remain clear, sparkling, and free from soap scum, mildew, and other common bathroom blemishes. With the right approach and a little elbow grease, your acrylic shower can maintain its glossy finish and extend its lifespan, making your bathroom a more inviting space.
Importance Of Regular Cleaning
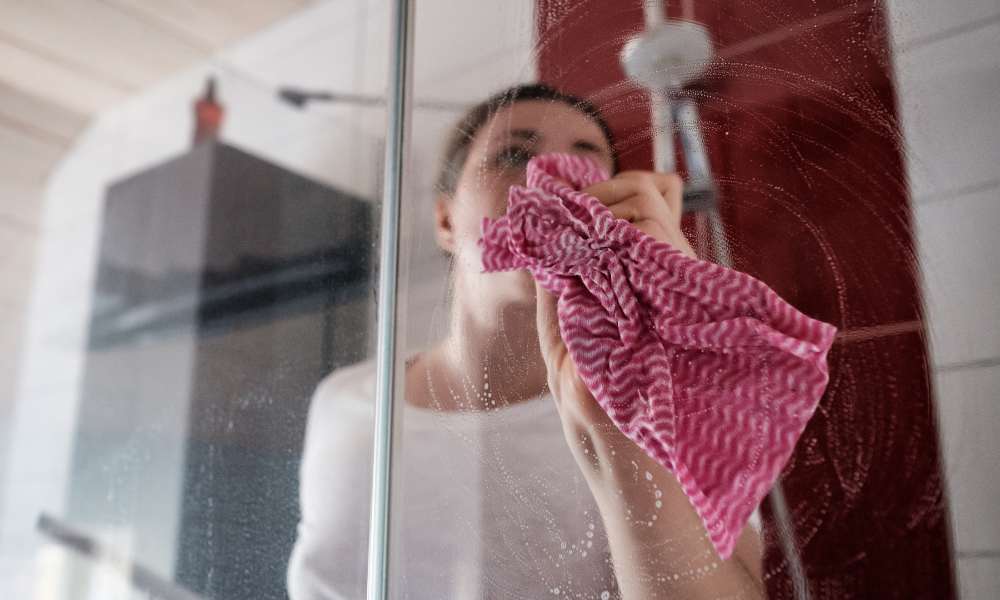
Regular clean of acrylic shower stalls is crucial for several reasons. Firstly, it prevents the buildup of soap scum, limescale, and mildew, which can become more challenging to remove over time and may cause permanent damage or discoloration to the acrylic surface. Maintaining a routine cleaning schedule helps preserve the stall’s aesthetic appeal, ensuring it remains clear and glossy. Additionally, regular cleaning eliminates harmful bacteria and molds, contributing to a healthier bathroom environment. This routine not only extends the lifespan of your acrylic shower stall but also enhances the overall hygiene and appeal of your bathroom, making it a more pleasant and safer space.
Tools And Materials Needed
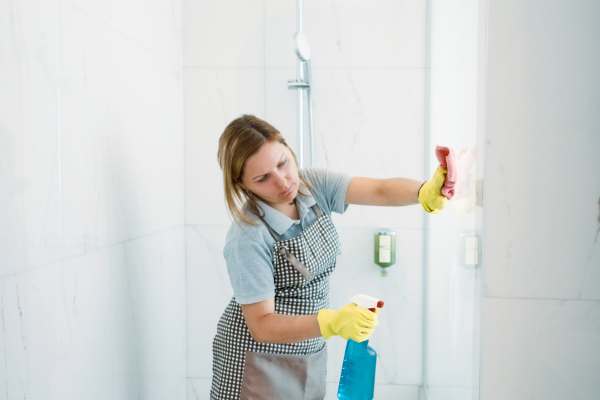
When it comes to clean acrylic shower stalls, using the right tools and materials is essential to avoid damaging the delicate surface. Soft cloths or non-abrasive sponges are ideal for wiping down acrylic surfaces without scratching them. For cleaning solutions, it is advisable to use a mild detergent or a cleaner specifically designed for acrylic. Harsh chemicals and abrasive cleaners should be avoided as they can dull the surface or cause cracks. Additionally, a squeegee can be an invaluable tool for removing water and preventing water spots after each use. Having these tools and materials on hand will make the cleaning process more efficient and effective, ensuring your acrylic shower stall remains in pristine condition.
Cleaning Guide
1. Deep Cleaning Process
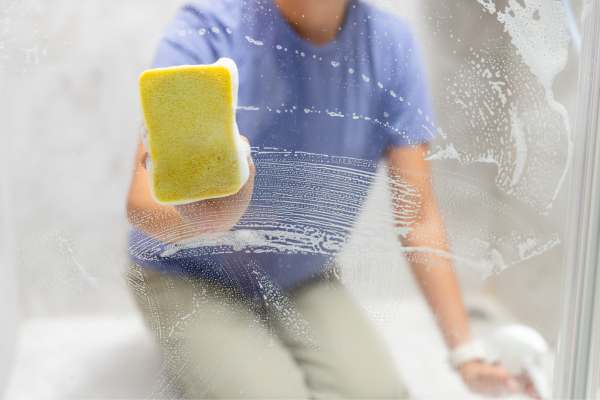
The deep cleaning process for acrylic Shower Stalls Made Of involves a thorough and careful approach to remove all traces of dirt, grime, soap scum, and mildew without damaging the acrylic surface. Begin by rinsing the stall with warm water to loosen any surface dirt. Then, apply a mild, non-abrasive cleaner designed for acrylic surfaces, or mix a solution of warm water and dish soap. Use a soft cloth or sponge to gently scrub the stall in a circular motion, paying extra attention to any stubborn stains or areas with significant soap scum buildup.
For areas with mildew or mold, a solution of equal parts water and white vinegar can be effective. However, ensure to rinse it off thoroughly afterward to prevent any vinegar smell. Once you’ve scrubbed the entire stall, rinse it again with warm water to remove any remaining cleaner. Dry the surface with a clean, soft towel or use a squeegee to prevent water spots and streaks. This deep cleaning process, done regularly, will keep your acrylic shower stall looking new and hygienic.
2. Removing Hard Water Stains
Hard water stains, often manifesting as cloudy spots or rings, can detract from the beauty of your acrylic shower stall. To remove these without damaging the surface, create a mixture of equal parts white vinegar and water. If the stains are particularly stubborn, you can use the vinegar undiluted. Apply the solution directly to the stains and let it sit for up to 30 minutes to break down the mineral deposits. For added effectiveness, you can apply the solution with a soft cloth and gently rub it into the stains.
After allowing the vinegar solution to work on the stains, rinse the area thoroughly with warm water. If any stains persist, repeat the process or use a soft cloth dipped in baking soda for a gentle abrasive action. Remember, harsh scrubbing can scratch the acrylic surface, so proceed with care. Once the stains are removed, rinse the stall once more and dry it to prevent new water spots from forming. Regular attention to hard water stains will keep your acrylic shower stall looking clear and well-maintained.
3. Tackling Soap Scum And Mildew

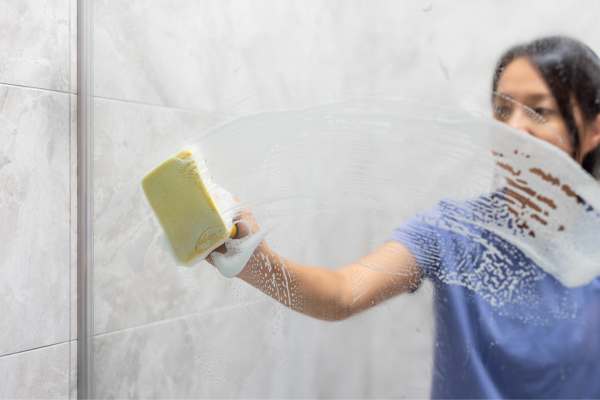
Soap scum and mildew are common issues in many bathrooms, particularly on acrylic shower stalls where moisture and soap residue are prevalent. To effectively tackle these problems without damaging the acrylic surface, it’s important to use a gentle approach. A solution of equal parts water and white vinegar can be an effective natural cleaner for both soap scum and mildew. Apply this solution generously to the affected areas and let it sit for several minutes to penetrate and loosen the buildup. For soap scum, a non-abrasive sponge or cloth can be used to gently scrub the area in a circular motion, ensuring that all residues are removed. For mildew, especially in grout lines or silicone seals, an old toothbrush dipped in the vinegar solution can be an effective tool for targeted scrubbing.
After treating the area, rinse thoroughly with warm water to remove any remaining cleaner and loosened residue. To prevent future buildup, it’s advisable to squeegee the walls of the shower stall after each use, minimizing the water and soap residue that can lead to soap scum and mildew.
4. For Stubborn Blemishes
Stubborn blemishes on acrylic shower stalls, such as deep-set stains or discoloration, require a bit more care to remove without causing damage. For these challenging areas, a paste made from baking soda and water can be a gentle yet effective treatment. Mix enough water with baking soda to create a thick paste, then apply it directly to the stain. Allow it to sit for 30 to 60 minutes, giving it time to break down the stain.
Using a soft cloth, gently rub the paste into the blemish in a circular motion. The mild abrasive nature of baking soda can help lift the stain without scratching the acrylic surface. After scrubbing, rinse the area well with warm water to remove all traces of the baking soda. If the stain persists, repeating the process or allowing the paste to sit for a longer period may be necessary. For the most stubborn stains, a specialized acrylic-safe cleaner recommended by the manufacturer may be the best option. As a general rule, always avoid harsh chemicals and abrasive tools that can damage the integrity and appearance of your acrylic shower stall.
5. For Preventing Soap Scum Buildup
Preventing soap scum buildup on stalls is key to maintaining a clean and inviting bathroom environment. Regular maintenance is essential, and there are several strategies to minimize soap scum accumulation. Firstly, consider switching to a liquid body wash or a soap that is labeled as “scum-free” as these products are less likely to leave residue behind compared to traditional bar soaps. After each shower, use a squeegee to remove water from the walls and floor of the stall, as this helps to eliminate the water that soap scum clings to. Additionally, regularly wiping down the shower with a soft, damp cloth can remove any potential scum before it hardens and becomes more difficult to clean. Implementing a weekly cleaning routine using a mild cleaner designed for acrylic surfaces can also prevent soap scum buildup, keeping your shower stall sparkling clean.
6. For Avoiding Hard Water Stains

Avoiding hard water stains in stalls involves proactive measures to minimize the effects of hard water. Installing a water softener system can significantly reduce the mineral content in your water, thus preventing the formation of hard water stains. If a water softener is not an option, regularly cleaning the shower stall with a mixture of water and white vinegar can help dissolve mineral deposits before they harden into stains. It’s also beneficial to dry the shower stall with a soft towel or squeegee after each use, as this action removes water and minerals before they can evaporate and leave behind hard water spots. For areas with high mineral content in the water, consider applying a rain repellent product designed for car windshields to the acrylic surfaces.
When To Seek Professional Help
While many clean and maintenance tasks for stalls can be handled effectively with DIY methods, there are circumstances when seeking professional help is advisable. If you encounter deep scratches, cracks, or significant discoloration that cannot be remedied with at-home cleaning solutions, a professional with experience in acrylic repair might be needed to restore the integrity and appearance of your shower stall. Professionals have access to specialized tools and products designed specifically for acrylic that can repair damage without compromising the material. Additionally, persistent mold or mildew problems that resist home cleaning efforts might indicate deeper issues, such as leaks behind the shower stall, requiring professional assessment and intervention. Seeking professional help in these situations can prevent further damage and ensure the longevity and safety of your acrylic shower stall.
Conclusion
Maintaining an acrylic shower stall requires a gentle touch and regular attention to prevent soap scum, mildew, and hard water stains from diminishing its appearance and hygiene. By using the right cleaning materials, adopting preventive measures, and staying diligent with maintenance routines, you can keep your acrylic shower looking pristine and inviting. Remember, while many cleaning challenges can be addressed with DIY strategies, don’t hesitate to seek professional help for more serious or persistent issues. With the proper care, your acrylic shower stall can remain a clean, comfortable, and attractive part of your bathroom for many years to come.

