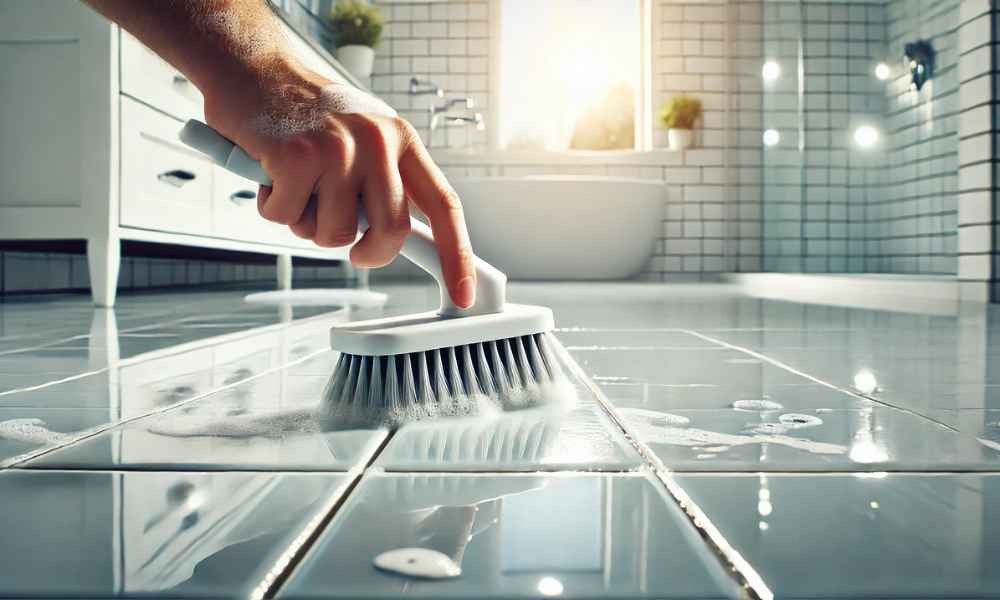
Keeping your lavatory ground grout smooth is important for keeping a fresh and hygienic space. Over time, grout can end up discolored due to dust, moisture, and mildew buildup, making your toilet appearance unkempt no matter how regularly you easy it. Fortunately, with the right strategies and materials, you could repair your grout to its authentic brightness with out excessive scrubbing. Whether you prefer DIY cleaning answers or save-bought cleaners, this guide will walk you thru the handiest ways to preserve your lavatory grout spotless and fresh. Clean Bathroom Floor Grout.
What Causes Grout to Get So Dirty?
Grout is relatively porous, which makes it susceptible to soaking up dust, cleaning soap scum, and moisture. In a moist surroundings just like the lavatory, this mixture creates the proper breeding ground for mildew and mold. Additionally, hard water stains and leftover residue from cleaning products can accumulate through the years, leading to ugly discoloration. If no longer cleaned often, these stains become tougher to take away, making deep cleaning vital. Understanding these causes will help you are taking preventive measures to preserve your rest room floor grout searching clean and nicely-maintained.
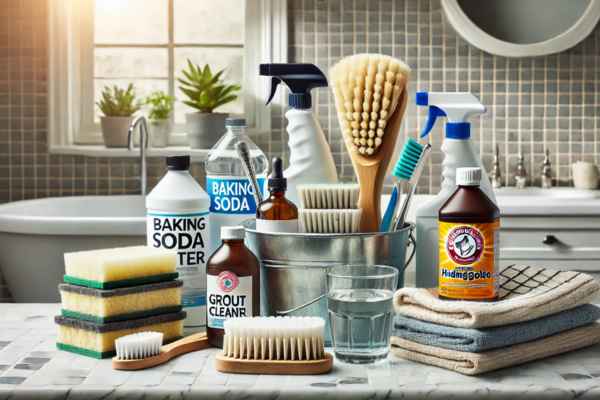
Essential Supplies for Cleaning Bathroom Floor Grout
To successfully smooth grout, you need the proper tools and cleansing retailers. Some must-have materials consist of a stiff-bristled grout brush or an vintage toothbrush, a microfiber material, and a bucket. Natural cleaning answers like baking soda, vinegar, hydrogen peroxide, and dish soap paintings wonders on mild stains. For extra cussed dust, oxygen bleach or commercial grout cleaners can provide deeper cleansing electricity. If you select a hands-unfastened method, steam cleaners also are effective in loosening dirt with out the want for immoderate scrubbing. Having those substances prepared will make the cleansing system an awful lot less difficult and extra efficient.
Preparing Your Bathroom for Grout Cleaning
Before you begin scrubbing, it’s vital to put together your toilet ground for grout cleansing. First, get rid of any mats or barriers that would get within the manner. Next, sweep or vacuum the floor to put off unfastened dirt and debris. This prevents the dirt from spreading around while scrubbing. If you’re the use of a new cleaning answer, check it on a small, inconspicuous place to ensure it won’t purpose discoloration. Proper practise guarantees that your grout cleansing system is clean and effective.
The Best DIY Methods to Clean Bathroom Floor Grout
You decide on herbal cleansing techniques, there are numerous DIY answers that paintings surprisingly properly. A simple baking soda and vinegar paste is a popular choice for lifting dirt and mould. Apply the paste to the grout, permit it take a seat for 10-15 mins, and then scrub with a grout brush before rinsing with heat water. Hydrogen peroxide combined with baking soda is every other powerful aggregate for stubborn stains. Lemon juice and salt can also assist break down filth at the same time as leaving a fresh heady scent at the back of. These DIY strategies aren’t simplest price range-friendly however additionally secure for regular use.
Store-Bought Grout Cleaners: What Works Best?
DIY techniques aren’t reducing it, shop-sold grout cleaners can offer more cleaning power. Oxygen bleach and commercial grout cleaners are formulated to break down deep-set stains without detrimental tiles. Look for non-poisonous and fume-unfastened options if you opt for a more secure technique. Spray-primarily based cleaners are convenient for quick cleanups, even as gel-based formulation are wonderful for allowing the product to sit down longer on difficult stains. Always comply with the producer’s commands and use right air flow while managing strong cleaners. With the proper product, you may gain professional-degree grout cleaning consequences at home.
Step-by-Step Guide: How to Clean Bathroom Floor Grout Like a Pro
Keeping your rest room floor grout clean could make a massive distinction within the ordinary appearance of your lavatory. Over time, grout collects dust, soap scum, and mould, making your flooring appearance stupid and uninviting. Follow this step-by means of-step guide to effectively smooth your rest room floor grout and repair its authentic brightness.
Step 1: Gather Your Cleaning Supplies
Before you begin cleansing, make certain you have got the whole lot you need. Here’s a list of essential supplies:
- A stiff-bristled grout brush or an old toothbrush
- A bucket of warm water
- Baking soda, vinegar, or hydrogen peroxide for DIY solutions
- A commercial grout cleaner (if using a store-bought option)
- A spray bottle for easy application
- Microfiber cloth or mop for rinsing
Step 2: Remove Loose Dirt and Debris
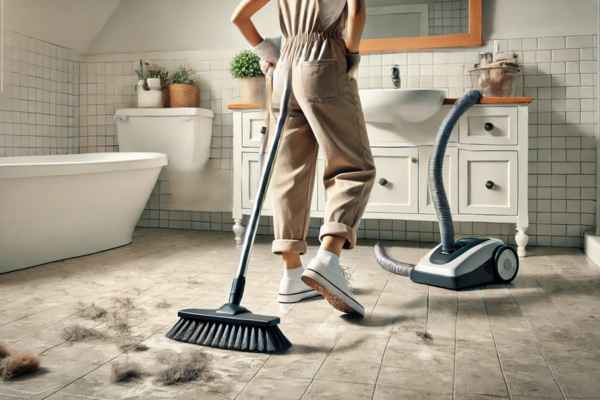
Start by means of sweeping or vacuuming the toilet floor to remove dust, hair, and particles. This prevents dirt from spreading whilst you smooth the grout. You can also use a moist mop to wipe away surface filth earlier than focusing at the grout traces.
Step 3: Apply Your Cleaning Solution
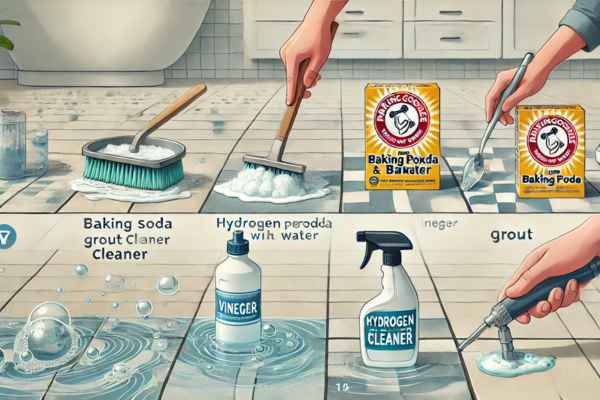
Depending on your preferred method, choose a cleaning solution and follow it without delay to the grout lines:
- DIY Option: Make a paste using baking soda and water, then apply it to the grout. Spray vinegar over the paste for a bubbling effect that helps break down dirt.
- Hydrogen Peroxide Method: Mix hydrogen peroxide with baking soda for tougher stains and mold buildup.
- Store-Bought Cleaner: Follow the instructions on the product label and apply the cleaner directly to the grout.
Let the solution sit down for approximately 10-15 minutes to permit it to penetrate and raise dirt.
Step 4: Scrub the Grout Lines
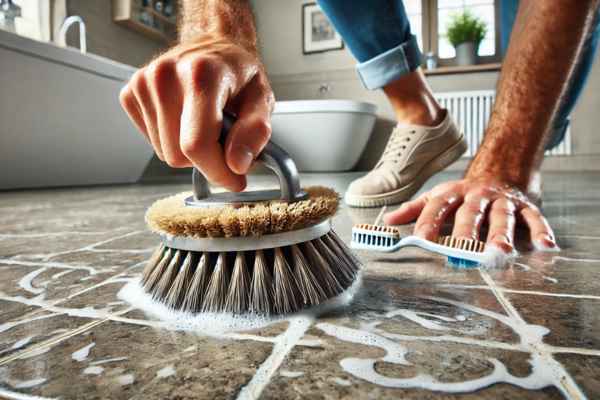
Use a stiff-bristled brush or an vintage toothbrush to scrub the grout traces in a circular movement. Focus on regions with heavy buildup and practice greater cleansing solution if needed. Avoid the use of metal brushes as they could damage the grout.
Step 5: Rinse and Wipe Down the Floor
Once scrubbing is entire, use a bucket of smooth, warm water and a mop or microfiber material to wipe away the cleansing answer. This step ensures no residue is left behind, which can appeal to extra dust.
Step 6: Dry the Floor Completely

Use a dry microfiber material or allow the ground to air dry. Proper drying prevents moisture buildup, that can lead to mildew and mould increase. You also can turn on a fan or open a window to speed up the drying process.
Step 7: Seal the Grout for Long-Term Protection
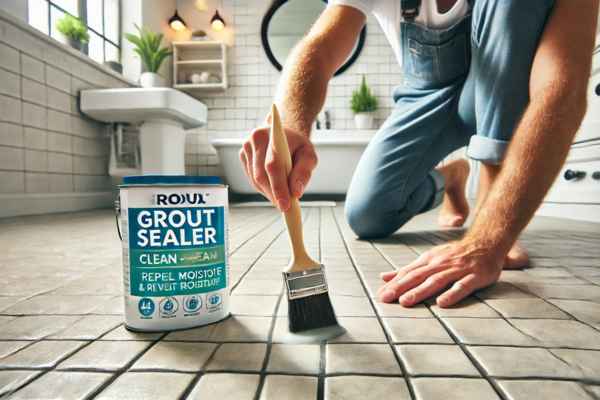
To hold your grout cleanser for longer, don’t forget applying a grout sealer. This helps repel moisture and stops dust from penetrating the grout lines. Apply the sealer as per the manufacturer’s commands and permit it to dry earlier than the usage of the bathroom.
How to Remove Stubborn Stains from Bathroom Grout
Your grout has deep-set stains that received’t budge with ordinary cleaning, you’ll want stronger techniques to restore its unique shade. One of the great DIY solutions is a paste crafted from baking soda and hydrogen peroxide. Apply this combination without delay to the stained grout lines and permit it take a seat for about 15 mins. This mixture helps smash down hard stains, mold, and mildew. Afterward, scrub the grout with a stiff-bristled brush or an antique toothbrush to raise the dust.
For even more difficult stains, oxygen bleach is a effective choice. Mix it with warm water in line with the commands and use it on the grout, allowing it to soak for 10-15 mins before scrubbing. If the stain is especially cussed, repeat the technique or use a shop-offered grout cleaner designed for deep cleaning. Always rinse very well with warm water after cleaning to eliminate any residue that would appeal to greater dust through the years.
The Power of Steam Cleaning for Bathroom Grout
Steam cleansing is an high-quality way to deep smooth grout with out the usage of harsh chemical compounds. A steam cleaner makes use of high-pressure steam to loosen dirt, grease, and micro organism trapped in the grout. This method is specially effective for doing away with mildew and mould, as the warmth kills spores on contact. To use a steam cleaner in your lavatory grout, fill the gadget with water and allow it to warmth up. Then, direct the steam nozzle onto the grout traces, transferring slowly to ensure deep penetration.
One of the most important blessings of steam cleansing is that it gets rid of the want for chemical-based totally cleaners, making it a secure and eco-friendly option. It additionally enables repair the grout’s herbal shade and gets rid of unsightly odors because of mould increase. After steam cleaning, wipe down the tiles and grout with a dry microfiber cloth to take away excess moisture.
Preventing Future Grout Stains and Buildup
Once your grout is easy, taking preventive measures can assist keep it that manner. The exceptional way to prevent stains and buildup is to clean your toilet flooring often. A quick wipe-down with a slight cleaning solution once every week can assist save you grime from settling into the grout. Avoid using immoderate water whilst mopping, as status water can seep into the grout and lead to mildew boom. Another effective way to shield your grout is through applying a grout sealer.
This creates a protective barrier that repels water, dirt, and stains, making future cleaning tons easier. Most sealers want to be reapplied each six months to a 12 months for the high-quality outcomes. Proper rest room ventilation is also essential in preventing mildew and mould. Always use an exhaust fan or open a window to lessen humidity after showers. Additionally, wiping down your toilet ground with a dry towel or microfiber mop after use can help hold excess moisture at bay.
When to Reseal Your Bathroom Floor Grout
Grout is clearly porous, meaning it absorbs moisture and dust over time. To save you stains and deterioration, sealing your grout is critical. If your grout become first of all sealed, it needs to be resealed periodically to maintain its defensive barrier. A easy take a look at to test in case your grout wishes resealing is to drop some water droplets onto it. If the water soaks in instead of beads up, it is time to reseal.
Typically, grout need to be resealed each six months to a yr, relying on the extent of foot visitors and moisture publicity. High-humidity bathrooms may additionally require more frequent resealing. When resealing, easy the grout thoroughly and permit it to dry completely earlier than applying the sealer. A best grout sealer will shield against mold, mold, and stains, making future cleaning plenty less difficult.
Common Grout Cleaning Mistakes to Avoid
Many people unknowingly damage their grout by means of the use of unsuitable cleansing strategies. One of the maximum not unusual mistakes is the use of harsh chemicals like bleach or ammonia. While these cleaners may do away with surface stains, they could weaken the grout over time, inflicting it to crack and become worse. Instead, choose moderate, pH-balanced cleaners or natural options like baking soda and vinegar. Another mistake is scrubbing too aggressively. Using a cord brush or abrasive tools can put on down the grout, making it more porous and at risk of dirt buildup.
A stiff-bristled brush or an old toothbrush is sufficient for most cleaning tasks. Additionally, failing To rinse nicely after cleansing can go away behind residue that attracts more dirt, main to quicker grout discoloration. Ignoring proper drying techniques is another common trouble. After cleansing, it’s critical to dry the grout completely to save you moisture buildup, that could lead to mould and mould increase. Using a microfiber material or strolling a fan inside the bathroom can accelerate the drying process.
Eco-Friendly Ways to Keep Your Bathroom Floor Grout Clean
For those who decide on environmentally pleasant cleaning techniques, several herbal answers paintings simply as efficiently as industrial cleaners. One of the nice DIY options is a paste crafted from baking soda and water. When paired with a vinegar spray, it creates a effervescent effect that lifts dust and filth from grout lines. Hydrogen peroxide is any other green opportunity that works well for mold and mildew removal. Simply use it on the grout, permit it sit for 10 mins, and scrub lightly earlier than rinsing.
Lemon juice and salt are also amazing for breaking down stains and leaving in the back of a clean heady scent. To preserve grout cleanliness with out harsh chemical substances, keep in mind steam cleaning. Steam cleaners use only water to loosen dust and kill micro organism, making them a secure and sustainable choice. Regularly wiping down your bathroom ground with a moist microfiber mop can also prevent filth from settling into the grout traces.
Final Thoughts
Cleaning and keeping toilet floor grout doesn’t ought to be a daunting task. By the use of the proper cleaning methods, heading off common mistakes, and sealing your grout while important, you could keep your bathroom searching sparkling and spotless. Opting for eco-friendly cleansing answers no longer most effective protects your grout but additionally creates a safer environment on your family. With ordinary preservation and the proper care, your grout can stay brilliant and smooth for years to come, ensuring a lovely and inviting toilet space.

