
A clean bathroom isn’t just about aesthetics—it’s about hygiene, comfort, and longevity. One of the most neglected yet crucial areas in any bathroom is the tile floor. Over time, moisture, soap scum, and grime accumulate, creating an unappealing and potentially unsanitary surface. Learning How To Clean Bathroom Tile Floor properly can make all the difference, leaving your space fresh, spotless, and inviting. This guide will take you through everything you need to know about maintaining bathroom tile floors, from daily upkeep to deep cleaning methods. Whether your tiles are ceramic, porcelain, or natural stone, having the right approach can save you time, effort, and costly replacements.
Understanding Your Bathroom Tile Floors
Before diving into the cleaning process, it’s essential to identify your tile type. Not all tiles are created equal, and using the wrong cleaning method can lead to damage or discoloration.
- Ceramic & Porcelain Tiles – Durable and water-resistant, these are the most common bathroom tiles. They can handle a variety of cleaning solutions without much risk of damage.
- Natural Stone Tiles (Marble, Granite, Travertine, Slate) – Beautiful but delicate, these tiles require pH-neutral cleaners to prevent etching or staining.
- Vinyl & Linoleum – Softer than tile, these floors require gentle cleaning with mild detergents to avoid warping.
Knowing your tile’s composition ensures you choose the right cleaning method, preventing unnecessary wear while keeping your bathroom looking pristine.
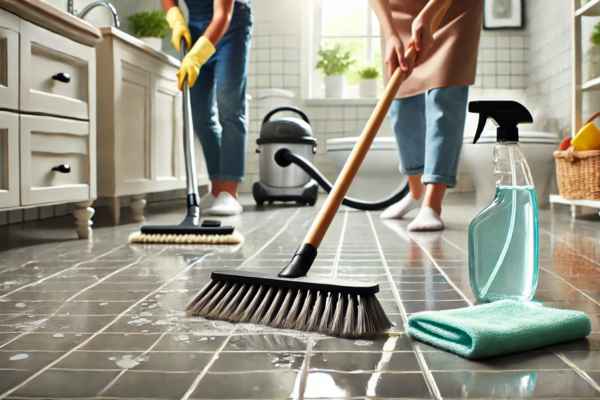
Essential Supplies for Cleaning Bathroom Tile Floors
Gathering the right tools and products simplifies the cleaning process and guarantees better results. Here’s what you need:
Basic Cleaning Supplies:
A microfiber mop or soft-bristle brush
PH-neutral tile cleaner or mild dish soap
A bucket of warm water
White vinegar (for non-stone tiles)
Baking soda (for stubborn stains)
Deep Cleaning & Grout Care:
An old toothbrush or grout brush
Hydrogen peroxide for whitening grout
A steam mop for an extra deep clean
Optional for Extra Shine:
A chamois mop for streak-free drying
Essential oils (like tea tree or eucalyptus) to add a fresh scent and antibacterial properties
Having these supplies ready allows for an efficient cleaning process, ensuring your tile floors remain sparkling without causing any damage.
Daily Maintenance: Keeping Your Bathroom Tile Floor Spotless
Preventing dirt buildup is far easier than scrubbing layers of grime later. A simple daily routine keeps your tiles looking pristine.
- Sweep or Vacuum Daily – Hair, dust, and soap residue accumulate quickly. A quick sweep or vacuum prevents debris from settling into the grout.
- Wipe Up Water Immediately – Excess moisture leads to mold and mildew, so use a towel or mop to dry up splashes after showers or baths.
- Use a Mild Cleaner – A gentle spray of warm water with a drop of dish soap wiped down with a microfiber cloth prevents soap scum from hardening.
Spending just a few minutes on these small tasks daily keeps deep-cleaning sessions less demanding.
Deep Cleaning: When and How to Do It Right
Despite daily maintenance, bathroom tiles need a thorough deep clean at least once a month. This process removes hidden grime, disinfects surfaces, and rejuvenates dull-looking tiles.
Step-by-Step Deep Cleaning Process:
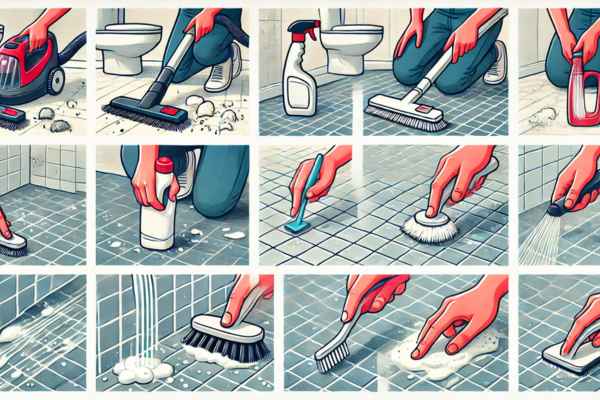
1️⃣ Pre-Clean – Remove dust and hair using a broom or vacuum.
2️⃣ Apply a Cleaning Solution – Mix warm water with a few drops of dish soap or a pH-neutral tile cleaner.
3️⃣ Scrub Gently – Use a soft-bristle brush or mop to work the solution into the tile, focusing on areas with visible dirt.
4️⃣ Target Grout Lines – Apply a baking soda paste (or hydrogen peroxide for stubborn stains) with an old toothbrush. Let it sit for 10-15 minutes before scrubbing.
5️⃣ Rinse Thoroughly – Wipe down the tiles with clean water to remove any residue.
6️⃣ Dry Completely – Prevent water spots by drying with a clean, absorbent towel or chamois mop.
Deep cleaning eliminates hidden bacteria, keeping your bathroom looking and smelling fresh.
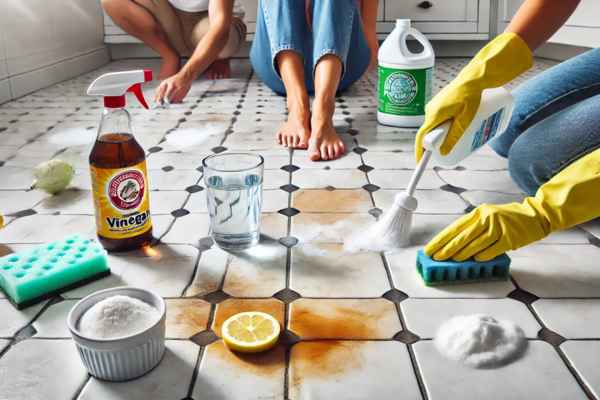
The Best Homemade Solutions for Cleaning Bathroom Tile Floors

Commercial cleaners work, but homemade solutions are equally effective, eco-friendly, and cost-efficient. Here are some powerful DIY tile cleaners:
- Vinegar & Water (For Non-Stone Tiles) – Mix equal parts white vinegar and warm water in a spray bottle. Spray, let sit for 5 minutes, and wipe clean for a streak-free shine.
- Baking Soda Paste (For Tough Stains & Grout) – Mix baking soda with water to create a thick paste. Apply to stains, let sit for 15 minutes, then scrub away.
- Lemon Juice & Hydrogen Peroxide (For Brightening White Tiles) – The acidic nature of lemon juice combined with the whitening power of hydrogen peroxide lifts discoloration while killing bacteria.
- Tea Tree Oil & Water (For Mold Prevention) – Mix 10 drops of tea tree oil with a cup of water. Spray on damp areas to prevent mold growth naturally.
Homemade cleaners offer a safer, non-toxic way to achieve gleaming tiles without exposing your home to harsh chemicals.
How to Remove Stubborn Stains from Bathroom Tile Floors
Bathroom tiles are constantly exposed to water, dirt, and cleaning products, which can lead to stubborn stains over time. Whether it’s hard water deposits, rust stains, or discoloration from mold and mildew, tackling them effectively requires the right approach. For hard water stains, a mixture of equal parts white vinegar and water works wonders. Spray the solution directly onto the stained area, let it sit for 10–15 minutes, then scrub with a soft brush. If the stain persists, apply a paste made of baking soda and hydrogen peroxide, leave it for 30 minutes, then rinse.
Rust stains can be removed using lemon juice and salt. The acidity of lemon breaks down the rust while salt acts as a mild abrasive. Apply the mixture to the stain, let it sit for an hour, then scrub gently. For mold and mildew, a solution of hydrogen peroxide and water in a 1:1 ratio can eliminate the problem. Spray it onto the affected area, let it sit for 15 minutes, and scrub with a grout brush. Consistent use of this method prevents regrowth and keeps your tiles mold-free.
Grout Cleaning: The Secret to a Truly Clean Bathroom Floor
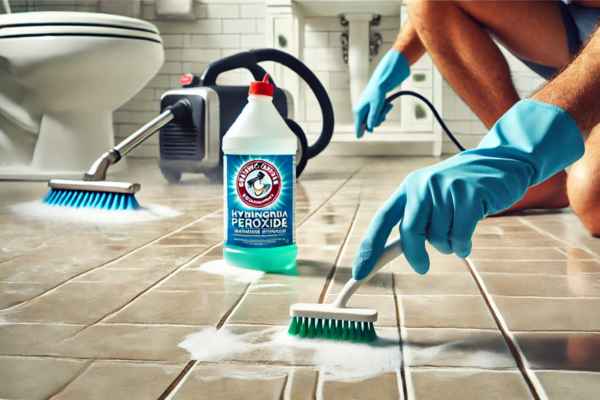
Even if your tiles are spotless, dirty grout lines can make your bathroom look unkempt. Grout is porous, meaning it absorbs dirt and moisture, leading to discoloration over time. Cleaning grout is essential for a truly refreshed bathroom floor. For light grime, mix baking soda and water into a thick paste, apply it along the grout lines, and scrub with a toothbrush. Let it sit for at least 10 minutes before rinsing with warm water.
If grout is heavily stained, use hydrogen peroxide instead of water in the baking soda paste. Hydrogen peroxide acts as a natural bleach, restoring grout to its original color. For deep-set stains, consider using a steam cleaner to lift the grime without harsh chemicals. To prevent future grout discoloration, apply a grout sealer every six months. This barrier keeps out moisture, reducing the chances of mold and dirt buildup.
How to Clean Bathroom Tile Floors Without Leaving Streaks
One common frustration when cleaning bathroom tiles is the streaks that remain after mopping. Streak-free tiles require a combination of the right cleaning solution and drying technique. To avoid streaks, always use warm distilled water instead of tap water, which often contains minerals that leave behind residue. Mix it with a pH-neutral cleaner or a mild soap solution for best results.
When mopping, use a microfiber mop rather than a sponge mop, as it absorbs excess water and prevents streaks. After mopping, go over the floor with a dry microfiber cloth or chamois to remove any remaining water droplets. For a natural shine, add a few drops of lemon essential oil to the final rinse water. Not only does it leave your bathroom smelling fresh, but it also enhances the sheen of your tiles without the use of harsh chemicals.
Avoiding Damage: What NOT to Use on Bathroom Tile Floors
While it’s important to clean regularly, using the wrong cleaning products can do more harm than good. Certain chemicals and tools can erode, scratch, or discolor your tiles, making it essential to know what to avoid.
🚫 Avoid harsh acidic cleaners on natural stone tiles
Vinegar, lemon juice, and ammonia-based products can etch and dull marble, granite, and travertine surfaces. Instead, opt for a pH-neutral cleaner designed specifically for stone.
🚫 Do not use abrasive scrubbing pads or steel wool
These can scratch the surface of porcelain and ceramic tiles, making them look worn over time. Stick to soft sponges or microfiber cloths for safe cleaning.
🚫 Say no to wax-based cleaners
While they may promise a glossy finish, wax buildup can trap dirt and make tiles look dull and cloudy over time. If your tiles need extra shine, use a tile-friendly polish instead.
🚫 Avoid excessive water on grout lines
While tiles themselves are water-resistant, grout is porous and absorbs moisture. This can lead to mold growth and weaken grout over time. Always dry your floors thoroughly after cleaning.
The Best Tools for Effortless Tile Floor Cleaning
Cleaning bathroom tiles doesn’t have to be a time-consuming or backbreaking task if you use the right tools. Investing in high-quality cleaning equipment makes a significant difference in achieving spotless, streak-free floors with minimal effort.
- Microfiber Mops – These are ideal for trapping dust, dirt, and small debris without scratching the surface of the tiles. Unlike traditional string mops, microfiber mops require less water and leave fewer streaks.
- Steam Mops – For a deep, chemical-free clean, steam mops use high-temperature steam to break down dirt, kill bacteria, and remove stubborn stains without the need for harsh cleaners.
- Grout Brushes & Toothbrushes – Since grout lines are prone to dirt accumulation, a stiff-bristled brush or an old toothbrush is essential for scrubbing away built-up grime.
- Vacuum with Soft Brush Attachment – Sweeping before mopping prevents dirt from turning into muddy streaks. A vacuum with a brush attachment ensures thorough dirt removal, especially in corners and along grout lines.
- Squeegees & Chamois Cloths – For a streak-free shine, drying your tiles immediately after mopping with a squeegee or chamois prevents water spots and excess moisture buildup.
Equipping yourself with these tools simplifies the cleaning process and ensures a polished, residue-free tile floor every time.
Preventing Future Build-Up: Long-Term Maintenance Tips
While regular cleaning is necessary, adopting preventive measures significantly reduces the amount of grime and residue that accumulates over time. A few simple habits can keep your bathroom tile floors looking pristine with minimal effort.
- Use a Daily Rinse or Spray – A quick spritz of a mild vinegar and water solution after showers can help dissolve soap scum before it hardens. Avoid vinegar on natural stone tiles, as it can cause etching.
- Keep Floors Dry – Moisture is the leading cause of mold, mildew, and hard water stains. Wiping down tiles after every use with a dry mop or towel prevents excess water from sitting on the surface.
- Seal Grout Regularly – Grout is highly porous and absorbs dirt and moisture. Applying a grout sealer every 6–12 months acts as a barrier against stains and discoloration.
- Place Mats & Rugs in High-Traffic Areas – Using absorbent mats near the shower, bathtub, and sink minimizes water splashes and keeps the surrounding tiles dry.
- Ventilate the Bathroom – Proper air circulation helps prevent mold growth. Use an exhaust fan or open windows after showers to allow moisture to escape.
Consistently following these maintenance tips extends the life of your tiles and reduces the need for intensive scrubbing and deep cleaning sessions.
Troubleshooting Common Bathroom Tile Floor Issues
Even with regular upkeep, bathroom tiles can develop common issues that affect their cleanliness and appearance. Identifying these problems early and using the right solutions can help restore your tiles to their original condition.
- Discolored Grout – If your grout lines have turned dark or yellow, a paste of baking soda and hydrogen peroxide applied with a toothbrush can lift stains. Sealing grout afterward prevents future discoloration.
- Mold & Mildew Growth – Persistent moisture can lead to mold, which not only looks unsightly but also poses health risks. Treat affected areas with a mixture of hydrogen peroxide and water, then ensure proper ventilation.
- Sticky Residue After Cleaning – Overuse of soap-based cleaners can leave a sticky film. To remove it, mop the floor with warm water and a small amount of white vinegar (if safe for your tile type).
- Slippery Tiles – If your tiles become dangerously slick, switch to a non-slip floor cleaner and avoid using wax-based products that create a slippery surface.
- Water Stains & Streaks – Using distilled water instead of tap water for mopping and drying tiles immediately after cleaning can prevent streaks and water spots.
Addressing these issues promptly ensures your bathroom floor remains clean, safe, and visually appealing for years to come.
Conclusion
Cleaning a bathroom tile floor doesn’t have to be a daunting task. With the right tools, a proper cleaning routine, and preventive strategies, you can maintain sparkling, hygienic tiles with minimal effort. Daily maintenance, routine deep cleaning, and avoiding common mistakes all contribute to the longevity and beauty of your tile flooring. By integrating these simple yet effective practices, your bathroom floor will remain a shining reflection of cleanliness, elevating the overall appeal and comfort of your space. So, grab your cleaning supplies, stay consistent, and enjoy the satisfaction of a gleaming, fresh-smelling bathroom!

