A rain shower head is a luxurious addition to any bathroom as it provides a relaxing and refreshing bathing experience. However, over time, mineral deposits and other impurities can build up in the showerhead, leading to reduced water pressure and uneven distribution of water. To keep your rain shower head functioning at its best, it’s essential to clean it regularly.
Cleaning a rain shower head may seem like a daunting task, but with the right tools and techniques, you can do it easily at home. In this article, we’ll guide you through the process of how to clean your rain shower head effectively and efficiently. So let’s get started!
Importance Of Cleaning A Rain Shower Head
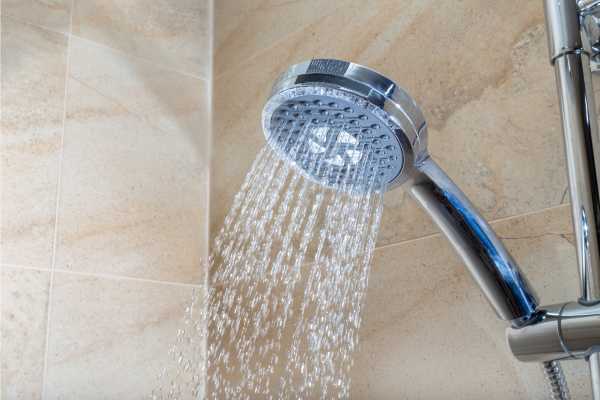
A rain shower head is a luxurious addition to any bathroom. It provides a gentle and soothing flow of water that mimics rainfall, creating a calming and refreshing shower experience. However, over time, these shower heads can become clogged with mineral deposits or other debris. This buildup can not only affect the performance of your rain shower head but also compromise its hygiene.
Cleaning your rain shower head regularly is crucial for maintaining good water flow and hygiene. A dirty or clogged rain shower head can harbor bacteria, mold, and other harmful pathogens that could be detrimental to your health. Fortunately, cleaning a rain showerhead is easy and requires minimal effort. Firstly, you need to remove the showerhead from its socket and disassemble the parts as necessary. Then soak the components in a vinegar solution overnight before rinsing them thoroughly under running water.
Potential Problems Caused By A Dirty Shower Head

A dirty shower head can cause a host of problems that can be both inconvenient and potentially harmful to your health. One of the most common issues is reduced water pressure, which can make it difficult to rinse shampoo and soap off your body. In addition to this, a clogged deluge head can also lead to poor drainage, causing water to accumulate in your bathroom and potentially leading to mold growth or even structural damage.
Another potential problem caused by a dirty deluge head is the presence of harmful bacteria, such as Legionella. This bacteria thrives in warm and damp environments like those found in shower heads, and when inhaled through steam or mist, it can cause respiratory illnesses such as Legionnaires’ disease. To avoid these problems, it’s important to regularly clean your rain shower head using appropriate cleaning methods.
Preparing For Cleaning

Preparing for cleaning is an essential step when it comes to maintaining the functionality and cleanliness of your rain deluge head. Before starting, make sure you have all the necessary tools like a soft-bristled brush, vinegar, and warm water. These will help remove any mineral buildup or debris that may be causing your deluge head to clog.
Turn off the water supply to your showerhead. This will prevent any accidental spills while cleaning and ensure that you can reach all areas of the head without obstruction. Then remove the showerhead from its position by using pliers or a wrench if necessary. Soak it in a bucket with vinegar for at least 30 minutes or as recommended by the manufacturer before rinsing it with warm water.
Use a soft-bristled brush to scrub away any remaining buildup or debris on both the inside and outside of the showerhead thoroughly.
Gathering Necessary Supplies

Keeping your rain shower head clean is essential to maintain its functionality and longevity. A clogged shower head can lead to reduced water pressure, uneven spray patterns, and even mold buildup. However, cleaning a rain showerhead may seem daunting for some people. Fortunately, it’s a simple process that requires minimal effort and supplies.
Gather the necessary supplies before starting the cleaning process. You will need a bucket or bowl, white vinegar or an appropriate cleaning solution, an old toothbrush or scrub brush with soft bristles, and a microfiber cloth. It’s important to use soft-bristled brushes to avoid scratching the surface of your showerhead during cleaning.
Remove the showerhead from its base by twisting it counterclockwise. Place it in the bucket or bowl filled with vinegar or cleaning solution for about 30 minutes.
Ensuring Safety Precautions

It comes to maintaining your bathroom, ensuring safety precautions is essential. One of the most overlooked areas in the bathroom that needs regular cleaning is the rain shower head. Over time, mineral deposits and dirt can accumulate on the surface of the deluge head and cause blockages, reducing water pressure and affecting its function. Therefore, it’s important to know how to clean your rain shower head properly.
Make sure you turn off the water supply before cleaning your showerhead. This will prevent any unwanted accidents from occurring while you’re working on it. Remove the showerhead from its holder and place it in a bowl or bucket filled with equal parts white vinegar and water solution for about an hour. This solution will help dissolve any mineral buildup that has accumulated over time.
Turning Off The Water Supply

If you have noticed a decrease in water pressure coming out of your rain deluge head, it may be time to clean it. Over time, mineral buildup can clog the small holes in the rainstorm
head, causing restricted water flow and decreased cleaning power. The good news is that cleaning your rain rainstorm
head is a relatively simple task that can be done with materials you likely already have at home.
To begin cleaning your rain shower head, start by turning off the water supply to the bathroom. This will prevent any accidental messes or spills while you work on the deluge head. Next, remove the shower head from its fixture and place it in a bowl or container filled with equal parts white vinegar and warm water. Allow the shower head to soak for at least an hour to help loosen any built-up minerals or debris inside.
Removing The Rain Shower Head

Removing The Rain Shower Head is a simple task that can be done by anyone with some basic tools and knowledge of plumbing. It’s essential to clean your deluge head from time to time as mineral deposits and other impurities can accumulate in the nozzles, resulting in reduced water flow and uneven spray patterns. In this article, we will guide you on how to remove the rain shower head easy-peasy.
The first step is to turn off the water supply at the main valve before starting any work on your rainstorm head. Next, take a wrench or pliers and unscrew the nut holding the deluge in place. Be careful not to scratch or damage any part of your plumbing system while doing so.
Identifying The Type Of Connection (Fixed Or Removable)

it comes to cleaning your rain shower head, the first thing you need to determine is whether it is a fixed or removable connection. This can make a big difference in how you go about cleaning it.
A fixed rain shower head is attached directly to the wall or ceiling, and cannot be easily removed for cleaning purposes. In this case, you will need to use a combination of vinegar and water or a commercial rainstorm cleaner to remove any buildup from the nozzles. You can do this by pouring the solution into a plastic bag and attaching it to the shower head with rubber bands, leaving it for several hours before rinsing thoroughly.
On the other hand, if your rain deluge head has a removable connection, you are in luck! Simply twist off the head and soak it in a bowl of vinegar and water for several hours before scrubbing away any remaining buildup with an old toothbrush.
Detaching A Removable Shower Head

Detaching a removable shower head is an essential skill to have when cleaning your bathroom. A detachable rainstorm head offers easy access to every nook and cranny, making it easier for you to clean all the hard-to-reach areas of your bathroom. If you’re wondering how to clean a rain showerhead, here’s what you need to know about detaching it.
Start by turning off the water supply and unscrewing the deluge from its holder. Gently pull the rainstorm head away from the wall and detach it from any hoses or pipes that may be attached to it. Once detached, place it in a bowl filled with warm water and vinegar solution and let it soak for several minutes before scrubbing off any dirt or grime with a soft brush. Rinse thoroughly with warm water before reattaching the showerhead back onto its holder or hose.
Loosening A Fixed Shower Head

If you’re tired of a fixed showerhead that doesn’t allow for customizable angles and spray patterns, it might be time to loosen things up. Fortunately, the process is relatively straightforward and can be accomplished with just a few basic tools.
Turn off the water supply to your shower. This will ensure that no water flows through the pipes while you work on loosening the rainstorm head. Next, use an adjustable wrench or pliers to grip the base of the shower head firmly. Be careful not to scratch or damage any surrounding surfaces during this step.
Once you have a good grip on the base of the deluge head, begin turning it counterclockwise. Apply steady pressure until you feel some resistance give way and then continue twisting until the entire fixture comes loose from its mounting bracket.
Vinegar Solution Method

Maintaining a clean rain shower head is essential to avoid the buildup of mineral deposits, which can affect its performance. The vinegar solution method is one of the most effective ways to clean your rain shower head without using harsh chemicals. This method involves using vinegar and water solution to dissolve hard water deposits, soap scum, and bacteria.
To begin the process, mix equal parts of white vinegar and water in a plastic bag that is large enough to fit over your deluge head. Next, place the bag over your deluge head ensuring that it’s submerged in the solution. Secure the bag with a rubber band or twist tie and leave it overnight for best results. The acidic properties in vinegar work effectively in breaking down any build-up on your rainstorm head without corroding metal finishes.
After leaving it overnight, remove the plastic bag from your rain deluge head and rinse thoroughly with warm water.
Prepare A Vinegar Solution

When it comes to cleaning your rain shower head, vinegar is one of the best solutions you can use. This natural ingredient is effective in removing mineral buildup and grime that can accumulate over time. Here’s how to create a simple vinegar solution for your rain rainstorm head.
Mix equal parts of white vinegar and water in a bowl or bucket. If you have a particularly dirty shower head, you may want to increase the concentration of vinegar. Next, remove the deluge head from its position on the wall or ceiling and submerge it in the solution for at least an hour. If there are any stubborn spots that aren’t coming off, use a soft-bristled brush to gently scrub them away.
After soaking the deluge head, rinse it thoroughly with warm water to remove any remaining residue.
Soak The Shower Head
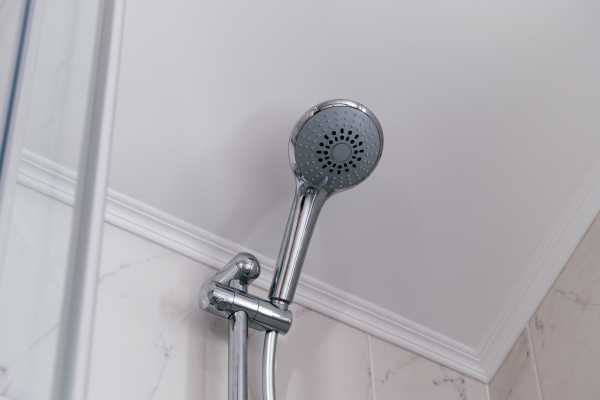
Rain shower heads are a popular bathroom fixture that can add style and comfort to any showering experience. However, over time, mineral buildup and grime can accumulate on the shower head’s surface, resulting in reduced water pressure and poor water flow. To prevent this from happening, it is crucial to clean your rain shower head regularly.
One effective way to clean your rain deluge head is by soaking it in vinegar or a descaling solution. First, remove the rainstorm head from its fixture and soak it in a bowl of vinegar or descaling solution for at least an hour. Then rinse the showerhead thoroughly with warm water until all the debris has been removed. Finally, reattach the rainstorm head back onto its fixture.
Another option for cleaning your rain shower head is by using a toothbrush or sponge dipped in vinegar or descaling solution to scrub away any accumulated dirt or mineral buildup manually.
Scrubbing With A Brush
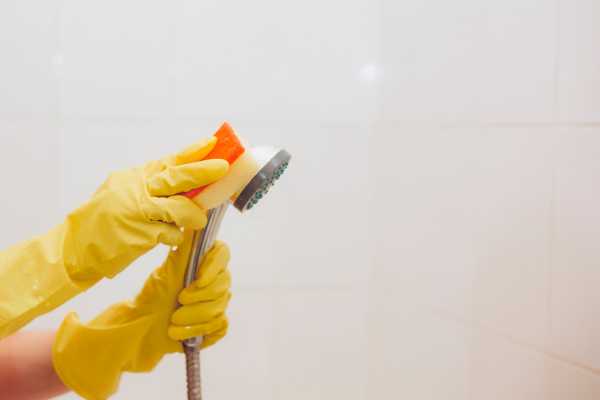
If you want to experience the ultimate showering experience, then a rain deluge head is an excellent addition to your bathroom. However, over time, mineral deposits and grime can accumulate inside the showerhead, reducing water flow and affecting its effectiveness. To maintain your rain shower head’s performance, it is essential to clean it regularly using a brush.
The first step in cleaning a rain rainstorm head is to remove it from its mounting bracket and place it in a bowl of warm water mixed with white vinegar. Let the deluge soak for about an hour or more to loosen up any buildup or sediment that may have accumulated. After soaking, use a soft-bristled brush such as an old toothbrush or bottle brush to scrub the nozzles gently.
Make sure you cover all areas of the rain shower head thoroughly while scrubbing.
Rinsing And Reinstalling The Shower Head
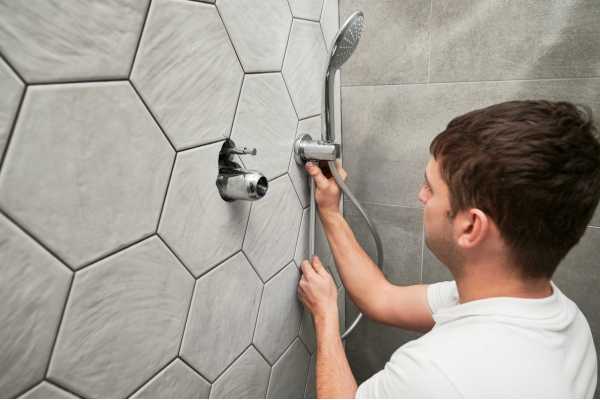
Cleaning your rain shower head is an essential task that should be done regularly to ensure it works efficiently and effectively. If you notice that water flow has reduced or the spray pattern has changed, then it’s time to clean your deluge head. The good news is that cleaning a rain shower head is a simple process that can be done in just a few easy steps.
Remove the rainstorm head from its position. This step will enable you to see all areas of the showerhead and make sure no dirt or debris remains inside. Rinse the deluge head under hot water for several minutes to help loosen any grime or buildup present. Soak the showerhead in vinegar for about 30-60 minutes depending on how much buildup there is; this will remove mineral deposits and other impurities in the head.
Baking Soda And Lemon Juice Method
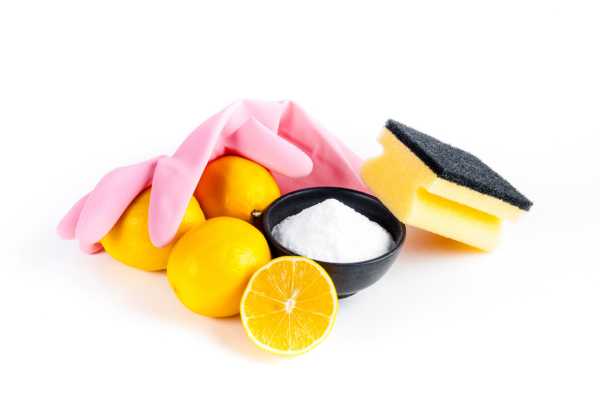
If you’re tired of your rain shower head being clogged with hard water deposits and soap scum, try the baking soda and lemon juice method. This is a simple, natural solution that can be used to clean any type of shower head without harsh chemicals.
Gather your supplies: baking soda, lemon juice, a plastic bag or rubber band, and a cleaning cloth. First, remove the shower head from the wall by unscrewing it from its fitting. Be sure to wrap some Teflon tape around the threads before replacing it later on.
Mix together one tablespoon of baking soda with two tablespoons of lemon juice in a small bowl until it forms a paste. Apply this mixture generously to the surface of the shower head using your fingers or an old toothbrush.
Create A Baking Soda And Lemon Juice Paste

If you’re looking for an easy and cost-effective way to clean your rain deluge head, look no further than baking soda and lemon juice. This simple paste can remove built-up grime and mineral deposits that can clog the flow of water from your showerhead. Here’s how to create this powerful cleaning solution:
Gather your materials. You’ll need baking soda, fresh lemons or lemon juice concentrate, a small bowl, a toothbrush or other small brush with stiff bristles, and a soft cloth for wiping down the showerhead after cleaning. Mix one tablespoon of baking soda with enough lemon juice to make a thick paste. The paste should be smooth but not too runny. Apply the paste to the surface of your rain shower head using your brush or toothbrush.
Apply The Paste To The Shower Head

It is essential to clean your rain deluge head regularly to ensure that it continues to function optimally. Hard water and mineral buildup can cause clogs in the tiny openings of the showerhead, leading to a reduction in water pressure. While there are many cleaning products available in the market, an effective and environmentally-friendly solution is using a homemade paste.
To make the paste, mix equal parts of baking soda and white vinegar until you get a thick consistency. Apply the paste directly onto the deluge head, making sure that all areas are covered. Let it sit for at least 30 minutes or longer if there is severe buildup.
After allowing sufficient time for the paste to work its magic, use a soft-bristled brush or toothbrush to gently scrub away any remaining residue. Be sure not to scratch or damage any delicate parts of the showerhead.
Let The Paste Sit And Work

When it comes to cleaning a rain shower head, the key is to let the paste sit and work. This simple technique can help you remove hard water stains and buildup from your deluge head with ease. Here’s how to do it.
Mix a paste by combining baking soda and water in a small bowl. You want to create a thick, spreadable consistency that will stick to your deluge head. Next, apply the paste directly onto the surface of your rain shower head, making sure to cover all the nozzles and crevices. Then, let the paste sit for at least 30 minutes (or longer if needed) before rinsing it off with warm water. The longer you let it sit, the more effective it will be at breaking down any built-up mineral deposits or grime on your rainstorm head.
Wiping Off The Paste And Rinsing
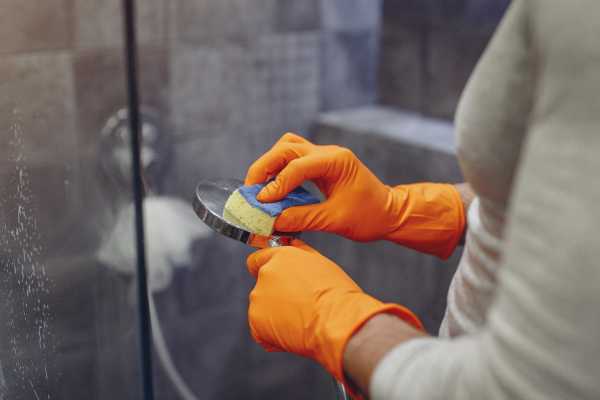
Keeping your rain shower head clean is an essential aspect of maintaining hygiene in your bathroom. Over time, mineral deposits and bacteria can accumulate on the surface of your shower head, which can be harmful to your health. But don’t worry! With a few simple steps and basic cleaning supplies, you can easily clean your rain deluge head and keep it sparkling.
Start by wiping off the paste or mildew that may have accumulated on the surface of the shower head using a damp cloth or sponge. Make sure you remove any dirt or debris effectively before proceeding to step two. You will need a bowl filled with vinegar and water solution for this next stage. Submerge the showerhead in this solution for about 30-45 minutes to dissolve away any remaining mineral buildup.
Commercial Cleaner Method

A rain shower head can provide a luxurious bathing experience, but it can also accumulate dirt and grime over time. To maintain its functionality and aesthetic appeal, it’s essential to clean your rain shower head regularly. In this article, we’ll discuss the commercial cleaner method for cleaning your rain rainstorm head.
Gather all the necessary tools and materials. You’ll need a commercial cleaner specifically designed for bathroom fixtures, a plastic bag or container large enough to fit the deluge head, an old toothbrush or soft-bristled brush, and a microfiber cloth or towel. Turn off the water supply to your showerhead before starting the cleaning process.
Pour the commercial cleaner into the plastic bag or container until it’s half full. Then place the showerhead in the bag or container and seal it tightly.
Following The Product’s Instructions

Keeping your rain shower head clean is important for both the longevity of your product and the quality of your shower experience. To ensure that you are properly following the instructions for cleaning your rain deluge head, it is important to understand the materials used in its construction and any special care requirements.
Remove your shower head from its fixture if possible. If not, wrap a plastic bag around the fixture to protect it from damage during cleaning. Mix equal parts water and white vinegar in a bowl or bag, and submerge or attach the rainstorm head so that it is fully covered by the solution. Let soak for at least 30 minutes, then rinse thoroughly with warm water.
If you have hard water stains or buildup on your deluge head, try using a lime dissolving cleaner instead of vinegar. Be sure to read all instructions carefully before use and wear protective gloves as needed.
Apply And Rinse The Cleaner
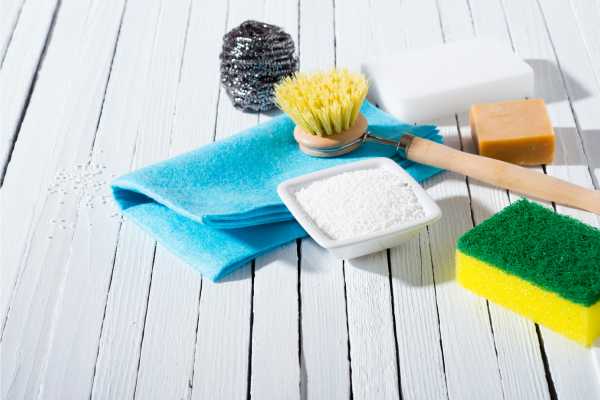
Rain shower heads are an excellent addition to any bathroom, providing a luxurious and rejuvenating spa-like experience. However, with daily use comes the accumulation of mineral deposits and dirt, leading to clogged nozzles and reduced water flow. Regular cleaning is crucial to maintaining optimal performance, but many people are unsure of how to clean their rain shower head effectively. In this article, we will discuss the step-by-step process of how to apply and rinse the cleaner for your rain deluge head.
It is essential to choose the right cleaner for your specific type of rain deluge head. Most manufacturers recommend avoiding harsh chemicals such as bleach or ammonia that can damage the finish. Instead, opt for a mild detergent or vinegar solution mixed with warm water in a spray bottle. Begin by removing the showerhead from its mount and soaking it in a bowl filled with your chosen cleaning solution.
Tips For Stubborn Stains And Mineral Deposits
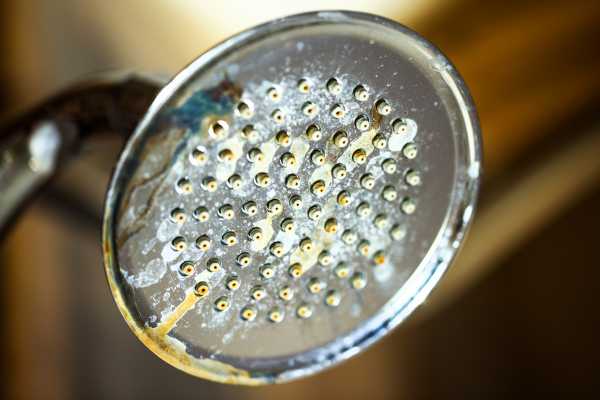
Stubborn stains and mineral deposits are common problems that many households face, especially in areas with hard water. These can cause unsightly discolorations on surfaces and fixtures such as rainstorm heads, making them appear dirty and uninviting. One of the most challenging areas to clean is the rain deluge head, due to the complexity of its design and the potential buildup of mineral deposits from constant exposure to water.
To effectively clean a rain shower head, there are various tips that homeowners can use to remove stubborn stains and mineral deposits. First, it is essential to turn off the water supply before attempting any cleaning methods. This will prevent any excess water from flowing out while you work on removing dirt or grime from the surface of your showerhead. Next, try using a mixture of vinegar and baking soda – two natural ingredients that are known for their effective cleaning properties.
Dealing With Limescale And Mineral Buildup
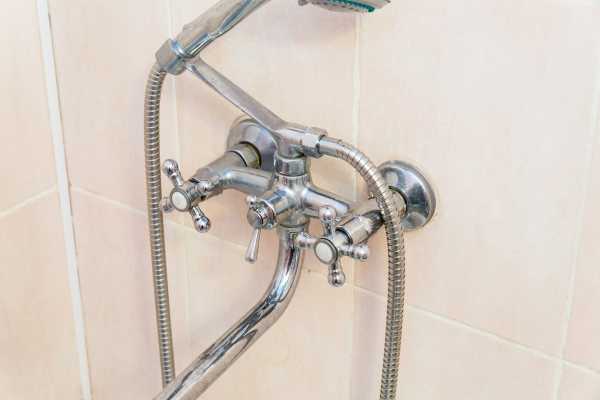
Dealing with limescale and mineral buildup can be a challenging task, especially when it comes to cleaning your rain shower head. Over time, the water that passes through the nozzle can leave behind unsightly mineral deposits that not only affect the appearance of your deluge head but also impact its performance.
To clean a rain rainstorm head, fill a plastic bag with white vinegar and secure it around the showerhead using an elastic band so that it is fully immersed in vinegar. Leave it overnight to dissolve any limescale or mineral buildup. The next morning, remove the bag and run warm water over the showerhead to rinse away any remaining vinegar residue.
If you prefer an eco-friendly solution, mix baking soda with water to form a paste. Apply this paste on your rain shower head and let it sit for an hour before rinsing thoroughly with warm water.
Using A Toothbrush Or Tooth Pick For Small Openings
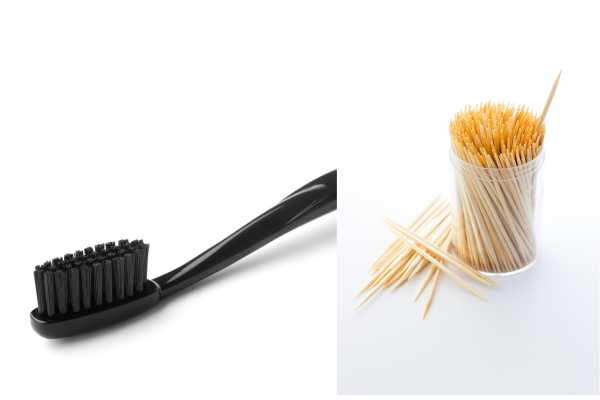
When it comes to cleaning small openings like the rain deluge head, using a toothbrush or toothpick can be an effective solution. Not only are these tools readily available in most households, but they are also easy to use and provide precise cleaning for hard-to-reach areas.
Run hot water through the shower head to remove any loose debris or dirt. Next, use a toothbrush to gently scrub the exterior of the rainstorm head and all its nooks and crannies. Be sure to pay extra attention to any crevices or small openings where buildup may occur.
For smaller openings, such as those found on the inside of the shower head, a toothpick can be used. Gently insert the tip of the toothpick into each opening and twist it around to dislodge any buildup or debris that may be present.
Repeating The Cleaning Process If Necessary

Cleaning your rain shower head is an important part of ensuring that your shower experience remains luxurious and relaxing. However, there may be times when a single cleaning process may not be enough to remove all the dirt and grime accumulated on the surface of the deluge head. In such cases, repeating the cleaning process becomes necessary.
The first step in repeating the cleaning process is to identify whether there are any stubborn stains or residue left on the surface of the rainstorm head. If you notice any remaining dirt or grime, it’s best to use a more concentrated solution and scrub it thoroughly with a soft-bristled brush. Remember not to use abrasive chemicals or hard-bristled brushes as this can damage your rain deluge head.
If you still have trouble getting rid of stains after following these steps, consider soaking your rain shower head in vinegar overnight.
Maintaining A Clean Rain Shower Head
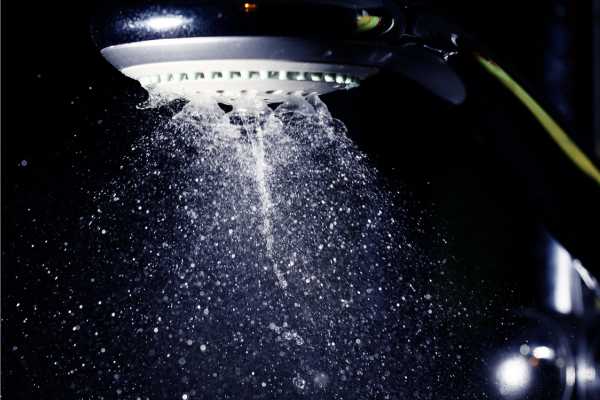
Maintaining a clean rain shower head is essential to ensure the longevity and optimal performance of your shower system. Over time, hard water deposits, minerals, and soap scum can build up on the surface of your rain deluge head, leading to clogged nozzles and reduced water flow. Fortunately, cleaning your rain shower head is a simple process that can be done in just a few minutes with basic household items.
The easiest way to clean a rain deluge head is by using vinegar. Start by removing the deluge head from its mount and placing it in a plastic bag or container filled with equal parts white vinegar and water. Let it soak for at least an hour or overnight for tougher buildup. After soaking, use an old toothbrush or scrub brush to remove any remaining residue before rinsing thoroughly with warm water.
Consider Water Quality And Filters

When it comes to taking a refreshing and rejuvenating shower, water quality plays a crucial role. If your shower head is clogged with dirt, grime, and other impurities present in the water supply, you may not be getting the desired experience. That’s where filters come in handy. By installing an effective filter system, you can improve the quality of your water and make sure that your rain shower head stays clean for longer periods.
To clean your rain deluge head effectively using filters, start by removing the fixture from its holder. Soak it in vinegar for at least an hour to dissolve any mineral deposits or buildup that might have accumulated over time. Rinse it thoroughly with warm water before reinstalling it back into place. Make sure to check the manufacturer’s instructions on how best to disassemble and reassemble the parts.
The Final Thought
Cleaning your rain shower head is an essential task that should be done at least once every six months. The accumulation of mineral deposits and grime can affect the performance of your shower head, reducing water pressure and flow. There are several methods to clean a rain deluge head, including using vinegar or commercial cleaners. Always ensure that you follow the manufacturer’s instructions and take safety precautions when cleaning. With these simple steps, you can maintain your rain rainstorm head’s optimal performance for a refreshing deluge experience. Don’t neglect this crucial task; instead, make it part of your regular bathroom cleaning routine.


