Fixing a basin to a vanity unit can be a straightforward yet essential task in bathroom remodelling. Understanding how to fix a basin to a vanity unit ensures a stable and aesthetically pleasing setup, enhancing both functionality and style. This process involves careful alignment, secure fastening, and proper sealing to prevent leaks and ensure durability. With the right tools and a step-by-step approach, you can successfully install the basing, achieving a professional finish without the need for extensive plumbing experience. Whether you are a DIY enthusiast or a homeowner looking to improve your bathroom, learning how to fix a basing to a vanit unit can be an invaluable skill.
Can I Reuse My Old Basin?
Reusing an old basin when fixing it to a new vanity unit is often a practical and cost-effective choice. However, it’s crucial to inspect the basin for any cracks, chips, or signs of wear that could affect its longevity and performance. If the basing is in good condition, ensure it is thoroughly cleaned and free of old sealant and debris. By reusing your old basing, you can save money and reduce waste, contributing to a more sustainable bathroom renovation. Matching the old basin with the new Install A Vanity Unit may require careful measurement and possibly some adjustments to ensure a seamless fit.
How Long Does It Take To Install A Basin To A Vanity Unit?
The time required to install a basing to a vanit unit can vary depending on your experience and the complexity of the installation. For a straightforward setup, it typically takes between one to two hours. This includes time for preparing the workspace, aligning the basing with the vanity, securing it in place, and applying sealant to prevent leaks. Taking your time to do the job correctly ensures a secure and lasting installation.
Importance Of A Properly Fixed Basin
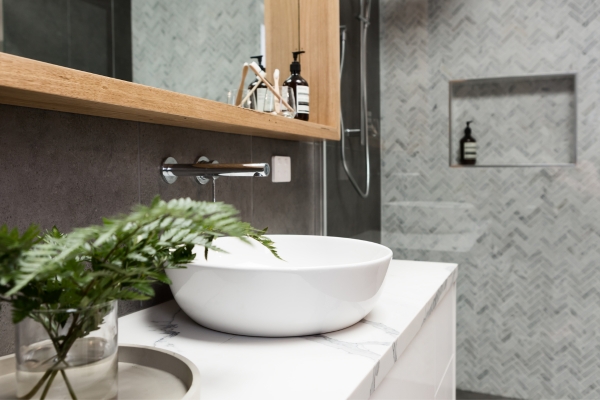
A properly fixed basing is crucial for both functionality and aesthetics in a bathroom. If not securely attached, the basing can become unstable, leading to potential water damage from leaks or even injury from a collapsing unit. Proper installation ensures that the basin remains firmly in place, providing a safe and reliable surface for daily use. Moreover, a well-fitted basin enhances the overall look of the bathroom, giving it a polished and professional appearance.
Materials Needed:
- Basin And Vanit Unit
- Basin Waste And Trap
- Silicone Sealant
- Screws And Wall Plugs
- Screwdriver
- Adjustable Wrench
- Spirit Level
- Measuring Tape
- Pencil
- Drill
Steps To Steps
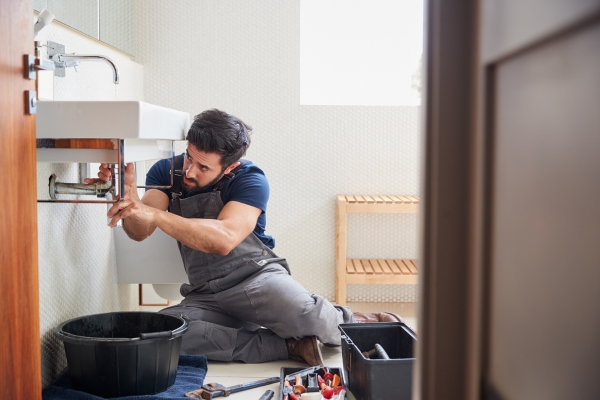
Step 1: Prepare The Area

Begin by clearing the area where the vanit unit will be installed. Remove any existing fixtures, old sealant, and debris to ensure a clean, flat surface. It’s also important to turn off the water supply to prevent any accidental leaks during installation. Gather all necessary tools and materials, such as a screwdriver, level, sealant, and mounting hardware, to have them readily available. Preparing the area thoroughly will create a safe and efficient workspace, making the installation process smoother.
Step 2: Position The Vanity Unit

Next, position the vanit unit in the desired location. Use a level to ensure it is perfectly straight and even, adjusting the unit as needed. Mark the wall through the mounting holes on the back of the vanity to indicate where you will need to drill. Make sure the vanity is aligned with the plumbing fixtures to avoid any complications when connecting the basing. This step is crucial for ensuring that the vanity unit is securely anchored and properly aligned.
Step 3: Install The Vanity Unit
With the vanit unit positioned and marked, it’s time to install it. Drill holes at the marked points and insert wall anchors if necessary to provide additional support. Secure the vanity unit to the wall using screws, ensuring it is firmly attached and level. Double-check that all connections are tight and that the unit does not wobble. This solid foundation is essential for supporting the weight of the basin and ensuring a long-lasting installation.
Step 4: Prepare The Basing
Before placing the basin onto the vanity unit, prepare it by cleaning the underside to remove any dust or debris. Apply a bead of silicone sealant around the edge of the basin to create a waterproof seal when it is set onto the vanity. Carefully place the basin onto the vanit unit, ensuring it is centered and aligned with the plumbing fixtures. Press down gently to ensure the sealant adheres, and wipe away any excess that squeezes out. This preparation step is vital for ensuring a secure, leak-proof fit.
Step 5: Position The Basin
Carefully position the basin onto the vanit unit, ensuring it is centered and aligned with the pre-drilled holes and plumbing fixtures. Take your time to adjust it until it sits perfectly, as this will prevent future issues with stability and plumbing connections. Make sure the basin is level and evenly spaced on all sides. Proper positioning at this stage is crucial for a professional-looking installation.
Step 6: Secure The Basing

Once the basin is correctly positioned, secure it to the vanit unit. This typically involves using brackets or clips provided with the basing or vanity. Tighten these fixtures evenly to ensure the basing is firmly attached without over-tightening, which could cause damage. Additionally, apply a bead of silicone sealant around the base of the basing where it meets the vanit unit to create a waterproof seal and prevent any water from seeping through. Wipe away any excess sealant for a clean finish.
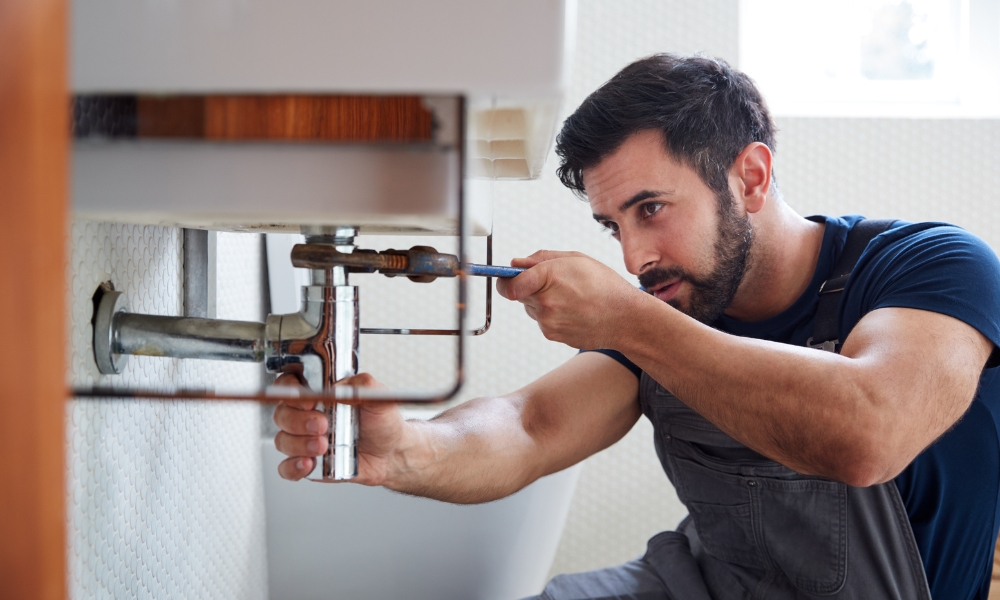
Step 7: Connect The Plumbing

With the basin securely in place, connect the plumbing. Attach the faucet and drain assembly according to the manufacturer’s instructions. Ensure all connections are tight to prevent leaks. Turn on the water supply and test the faucet and drain for any leaks, tightening connections as necessary. Properly connecting the plumbing ensures that your new basing functions correctly and is free from water damage risks.
Step 8: Final Checks
Perform a thorough inspection of the entire installation. Check that the basin is securely attached, the vanity unit is stable, and all plumbing connections are leak-free. Ensure the sealant around the basing is properly applied and has cured as per the manufacturer’s instructions. Address any issues or adjustments needed before considering the job complete. Final checks are essential for verifying the quality and durability of your installation.
The Final Thought
Fixing a basing to a vanity unit is a manageable DIY project that can significantly enhance your bathroom’s functionality and appearance. By carefully following each step, from preparing the area to performing final checks, you can achieve a secure and professional installation. Reusing an old basin can save costs and reduce waste, while a properly fixed basing ensures safety and prevents water damage. With patience and attention to detail, you can successfully install your basing and enjoy a beautifully updated bathroom.

