
A squeaky faucet handle can be more than just an annoyance—it’s often a sign that something isn’t quite right with your plumbing fix. Over time, the inner components of handles can wear out, leading to that irritating squeak every time you turn it. Luckily, fixing a squeaky It is a relatively simple DIY project. In this blog, we’ll guide you through the steps to get your faucet moving smoothly and quietly again.
What causes a faucet handle to squeak?
A squeaky faucet is often caused by friction between the internal components of the faucets, such as O-rings, cartridges, or ball valves. Over time, these parts can wear out, dry out, or accumulate mineral deposits, leading to increased resistance when the handl is turned. This friction creates the characteristic squeaking noise. Additionally, a lack of lubrication or the degradation of existing lubricants can exacerbate the issue, making the handle more difficult to operate and causing the squeak to become more pronounced. Regular maintenance, including cleaning and lubricating these components, can help prevent and resolve the squeaking.
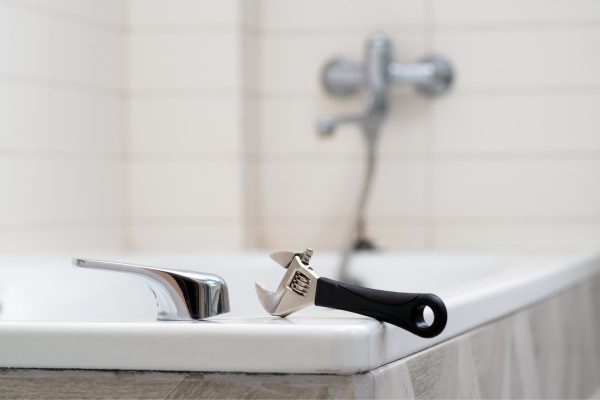
Tools and Materials You’ll Need
- Screwdriver (Flathead or Phillips, depending on your faucet)
- Adjustable wrench or pliers
- Plumber’s grease or silicone-based lubricant
- Cleaning cloth
- Replacement parts (if necessary)
Step-By-Step Guide
Step 1: Turn Off The Water Supply

Before you start working on your faucet, it’s essential to turn off the water supply to prevent any accidental leaks. You can usually find the shut-off valves under the sink. Turn the valves clockwise until they are fully closed. Then, open the faucets to release any remaining water in the lines.
Step 2: Remove The Faucet Handle
To access the inner components of It, you’ll need to remove it. Most handles are secured with a screw that may be hidden under a decorative cap. Use a flathead screwdriver to gently pry off the cap, then use a Phillips screwdriver to remove the screw holding the handl in place. Carefully lift the handl off the faucets.
Step 3: Inspect The Handle Components
With the handles removed, inspect the components inside. Look for any signs of wear, corrosion, or buildup of mineral deposits. These issues are often the cause of the squeak. If you notice any damaged parts, such as a worn-out washer or a cracked cartridge, you may need to replace them.
Step 4: Clean And Lubricate The Handle
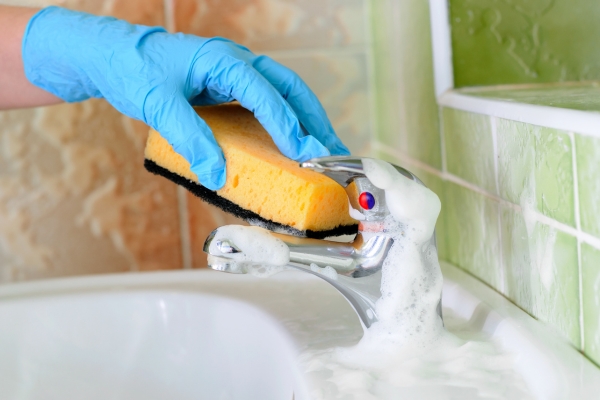
The components appear to be in good condition, cleaning and lubricating them can often resolve the squeak. Use a clean cloth to wipe away any dirt, grime, or mineral deposits. Next, apply a small amount of plumber’s grease or a silicone-based lubricant to the moving parts, such as the O-rings, cartridge, or ball valve. Be sure to use a lubricant that is safe for plumbing fixtures to avoid any damage, Fix A Faucet That Won’t Turn Off.
Step 5: Reassemble The Faucet Handle

Once the handl components are clean and lubricated, it’s time to reassemble the faucet. Carefully place the handle back onto the faucets and secure it with the screw you removed earlier. If your hand has a decorative cap, snap it back into place.
Step 6: Turn On The Water Supply And Test
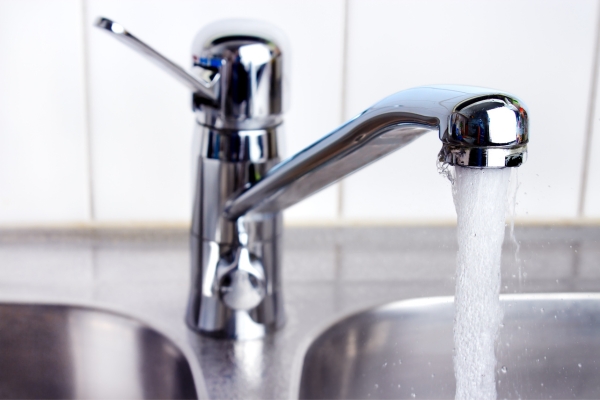
After reassembling the faucet, turn the waters supply back on by rotating the shut-off valves counterclockwise. Open the faucets and test the handles to ensure the squeak is gone. The handle should move smoothly without any noise. If the squeak persists, you may need to disassemble the handles again and check for any missed areas that need lubrication.
Preventive Tips to Avoid Future Squeaks
To prevent your It from squeaking in the future, consider the following maintenance tips:
- Regular Cleaning: Clean your faucets handles regularly to prevent the buildup of grime and mineral deposits.
- Lubrication: Periodically apply plumber’s grease to the moving parts of It to keep them functioning smoothly.
- Replace Worn Parts: If you notice any signs of wear or damage, replace the affected parts promptly to avoid further issues.
Conclusion
Fixing a squeaky faucet handle is a straightforward task that can be completed in just a few steps. By following this guide, you can restore your faucet to its smooth, quiet operation and prevent future squeaks. Not only will this save you from the annoyance of a noisy handl, but it will also help prolong the life of your faucets. Remember, regular maintenance is key to keeping your plumbing fixtures in top shape. Happy fixing!

