In the realm of home improvement, few endeavors rival the satisfaction of installing a new Bathroom faucet. It’s more than just a simple upgrade—it’s an opportunity to enhance both the aesthetic appeal and functionality of your Bathroom. Among the multitude of options available, Glacier Bay Bathroom faucet emerge as a paragon of modern design, ease of use, and durability. For both seasoned DIY enthusiasts and novices, install a Glacier Bay Bathroom faucet can be a deeply rewarding experience. This guide will take you through the process, ensuring your installation is executed with precision and confidence.
What Makes Glacier Bay Faucets Unique?
Glacier Bay faucets stand out, not just for their sleek appearance, but for their exceptional performance. These faucets are crafted from high-quality materials, designed to endure the demands of daily use without losing their luster. What sets Glacier Bay apart is its commitment to simplicity—their faucets are engineered for easy installation, making them a favored choice among homeowners and DIY aficionados alike. Moreover, these faucets often integrate advanced water-saving technology, allowing you to enjoy a robust stream of water while conserving precious resources. Style, functionality, and environmental responsibility—GlacierBay effortlessly melds these elements to outshine the competition.
Why Choose Glacier Bay For Your Bathroom?
Opting for a Glacier Bay faucet is an investment in both form and function. These faucets are versatile, designed to complement an array of Bathroom styles, from the contemporary to the traditional, ensuring that there’s a model that resonates with your personal taste. Beyond their visual appeal, GlacierBay faucets are built for practicality. Features like smooth handle operation, precise water flow control, and flexible installation options make them a pleasure to use. Additionally, Glacier Bay’s robust warranty and stellar customer support offer peace of mind, safeguarding your investment. Whether you’re revamping your entire Bathroom or simply upgrading your faucet, GlacierBay delivers a harmonious blend of elegance and efficiency.
Tools And Materials You’ll Need
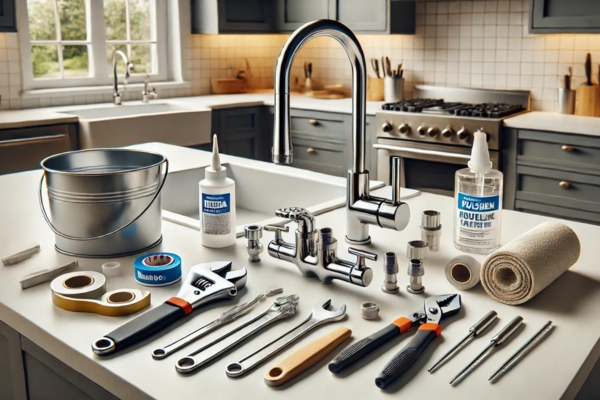
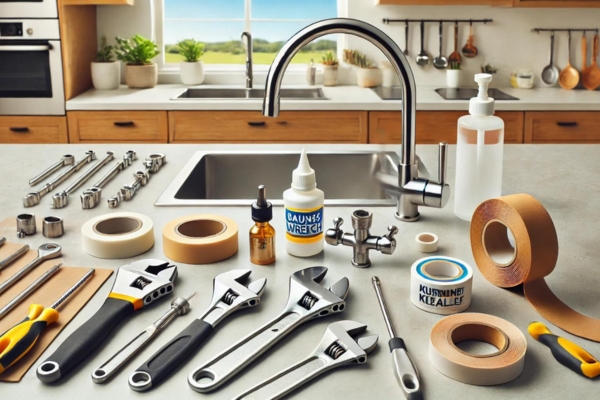
Before you embark on your installation journey, it’s crucial to assemble all the necessary tools and materials. Preparation is the cornerstone of a seamless installation A Pot Filler Faucet. You’ll need an adjustable wrench, a basin wrench, plumber’s putty or silicone sealant, Teflon tape, a screwdriver, and a bucket or towel to catch any residual water. Ensure that you have the Bathroom faucet kit, which includes the faucets, mounting hardware, and supply lines. Being well-prepared not only saves time but also ensures that your installation proceeds without a hitch.
Step-By-Step Glacier Bay Bathroom Faucet Installation Process
Step 1: Gather Your Tools And Materials
Start by organizing your tools and materials within arm’s reach. This foresight makes the process more efficient and reduces the likelihood of mistakes, such as forgetting to apply Teflon tape or misplacing a crucial component. Make sure your workspace is well-lit and spacious enough to move freely.
Step 2: Turn Off The Water Supply

Locate the shut-off valves beneath your sink and close them. It’s wise to turn off both hot and cold water supplies to prevent unexpected sprays during disconnection. After shutting off the water, open the faucet to release any residual pressure in the lines.
Step 3: Disconnect The Old Faucet
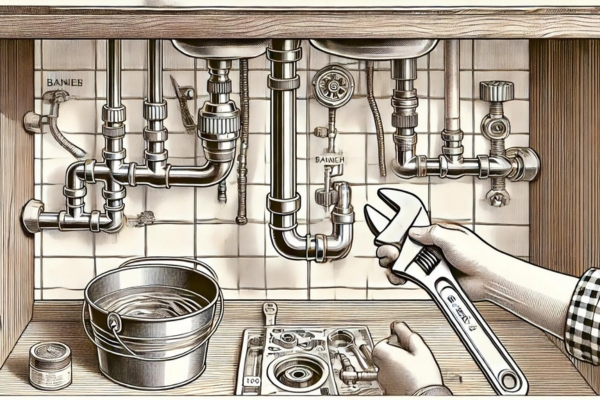
Place a bucket or towel beneath the sink to catch any remaining water. Using an adjustable wrench, disconnect the supply lines from the old faucets. Then, employ a basin wrench to loosen and remove the nuts securing the faucets to the sink. Gently lift the old faucet out, being mindful of any lingering water in the lines.
Step 4: Clean The Sink Area
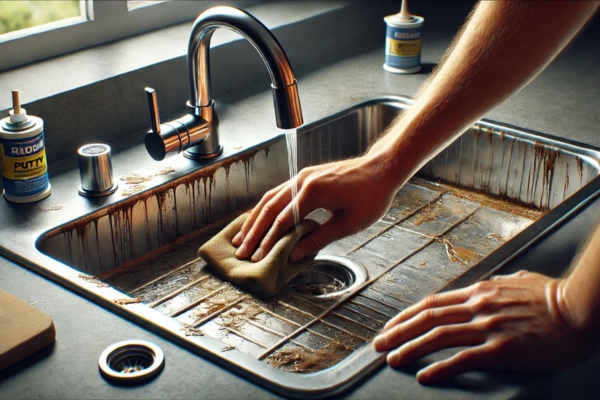
With the old faucet out of the way, take this opportunity to thoroughly clean the sink area. Remove any remnants of plumber’s putty or sealant, along with any debris or grime. A clean surface is essential for a secure, leak-free installation of your new faucet.
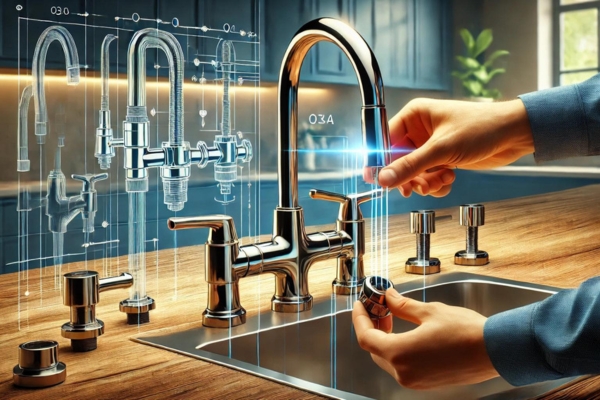
Step 5: Prepare The New Faucet For Installation

Unbox your Glacier Bay faucet and familiarize yourself with its components. Apply a bead of plumber’s putty or silicone sealant to the underside of the faucet base or deck plate. This creates a watertight seal between the faucets and the sink, preventing leaks.
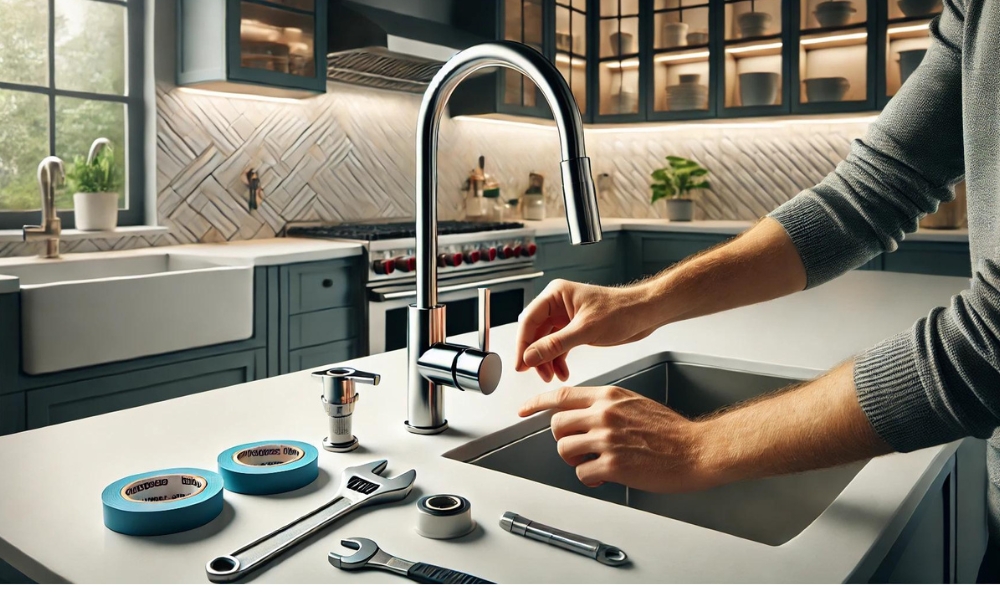
Step 6: Install The Faucet Body
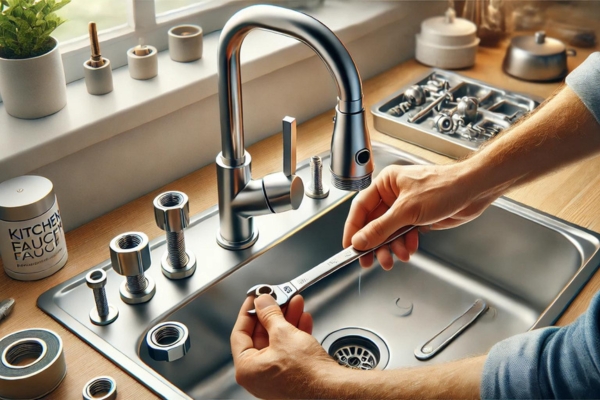
Guide the faucet’s supply lines through the mounting hole(s) in the sink. Properly position the faucet on the sink, then secure it by tightening the mounting nuts from underneath using the basin wrench. Ensure the faucet is aligned before fully tightening the nuts.
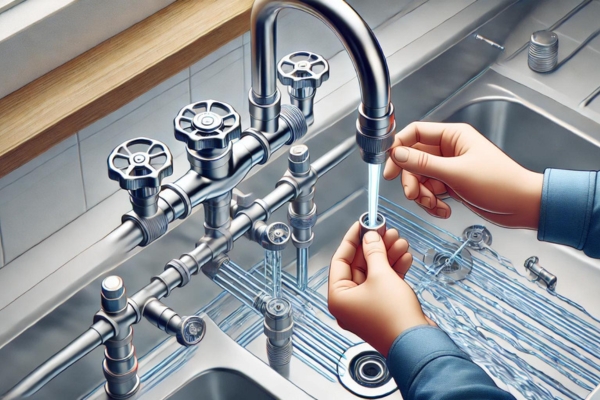
Step 7: Connect The Water Supply Lines

Attach the hot and cold water supply lines to the corresponding valves beneath the sink. Apply Teflon tape to the threads to ensure a leak-proof connection. Tighten with a wrench, but take care not to over-tighten, which could damage the threads or cause leaks.
Step 8: Install The Spray Hose (If Applicable)
If your faucet includes a spray hose, connect it to the faucets body following the manufacturer’s instructions. Secure the hose weight under the sink to ensure the hose retracts smoothly after use. Test the spray function to ensure it operates as expected.
Step 9: Install The Faucet Handle(s)
If the handle(s) are separate from the faucets body, align them with the faucets and secure them in place. Ensure the handle(s) move fluidly and are properly aligned with the faucet body. This step is vital for both the functionality and aesthetic of the faucets.
Step 10: Check And Tighten All Connections
Review all connections beneath the sink to ensure they are secure. This includes the supply lines, mounting nuts, and any additional connections. Double-check that the faucets body and handle(s) are tightly installed and properly aligned.
Step 11: Turn The Water Supply Back On
Gradually turn the water supply valves back on. Open the faucets and let the water run for a few minutes to clear out any debris and check for leaks. Confirm that both hot and cold water flow smoothly and at the correct temperature.
Step 12: Test The Faucet
With the water supply restored, test the faucet’s functionality. Assess the flow rate, temperature control, and handle operation. If your faucets include a spray hose, test it to ensure smooth extension and retraction, and verify there are no leaks.
Step 13: Troubleshoot Any Issues
Should you encounter issues during testing, such as leaks or inconsistent water flow, turn off the water supply and recheck your connections. Common issues include loose fittings, inadequate Teflon tape, or misaligned handles. Address these issues promptly to prevent long-term problems.
Step 14: Clean Up The Installation Area
Once the faucet is securely installed and fully operational, clean up your workspace. Remove any excess plumber’s putty or silicone sealant from around the faucets base. Wipe down the faucets and sink to remove any fingerprints, smudges, or water spots.
Step 15: Enjoy Your New Glacier Bay Bathroom Faucet
With the installation complete, take a moment to admire your work. Your new Glacier faucet is now ready to use, offering both style and functionality. Enjoy the convenience and efficiency that these high-quality faucets bring to your Bathroom.
How To Access Customer Support
If you encounter any issues with your Bathroom faucets, be assured that customer support is readily available. GlacierBay offers a comprehensive warranty on their products, and their customer service team is dedicated to resolving any issues you may encounter. You can contact them via their website or by phone for assistance with installation, troubleshooting, or warranty claims. Ensure you have your product information and purchase details available when seeking support.
Conclusion
Installing a Glacier Bay Bathroom faucet is a task that merges practicality with creativity. By following this detailed guide, you can achieve a professional-grade installation that enhances both the functionality and aesthetic appeal of your Bathroom. Whether you’re a DIY novice or an experienced handyman, this process is straightforward, and the result is a beautiful, efficient Bathroom faucets that you’ll enjoy for years to come. So, take pride in your work, and don’t hesitate to tackle more home improvement projects in the future. Your Bathroom, and your home, will thank you.

