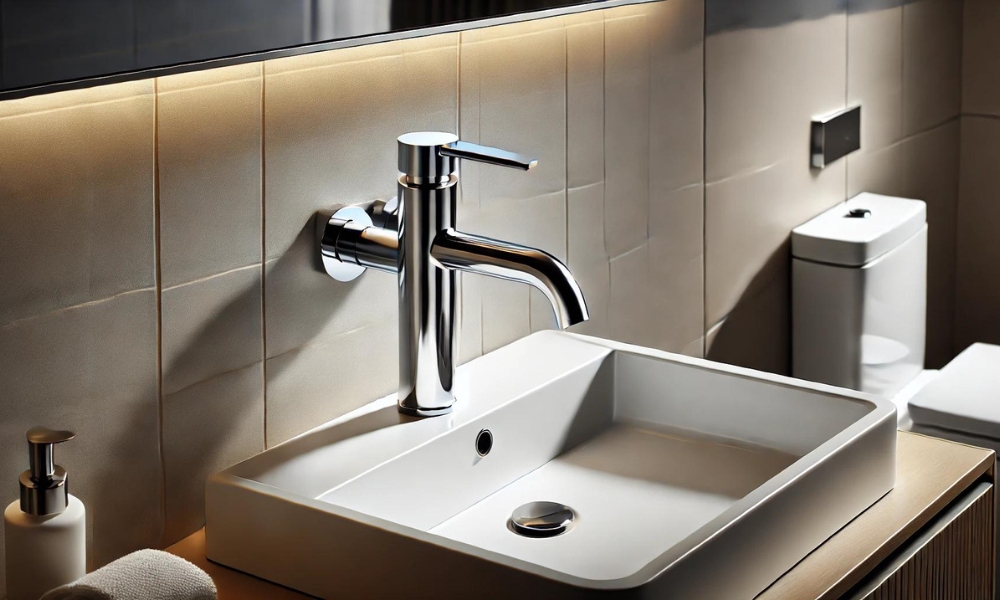
A wall mount faucet represents the pinnacle of modern design and functionality Install, seamlessly integrating into your space with a sleek and sophisticated flair. Unlike traditional faucets that rest on the sink deck, wall-mounted versions attach directly to the wall, not only optimizing counter space but also imparting an elegant touch to your sink area. If you’re contemplating this upgrade, understanding the intricacies of the installation process is essential for a flawless and efficient setup. This comprehensive guide will walk you through each stage of installation, ensuring that your new faucet is both aesthetically pleasing and operationally seamless.
Why Choose A Wall Mount Faucet?
Wall mount faucets have surged in popularity, and it’s easy to see why. Their distinctive aesthetic sets them apart from traditional deck-mounted counterparts, offering a minimalist elegance that transforms any space. Mounted directly to the wall, they not only enhance the visual appeal but also maximize counter space—an invaluable advantage in compact bathrooms or kitchens. The elevated design of It makes them more accessible for individuals with limited mobility, further enhancing their appeal. Additionally, they simplify cleaning around the sink area, minimizing the clutter and effort associated with maintaining a pristine countertop.
Benefits Of Installing A Wall Mount Faucet
The benefits of wall mount faucets extend well beyond their visual allure. Firstly, their wall-mounted nature allows for greater flexibility in sink design, accommodating larger basins or unique shapes that might be constrained by traditional deck-mounted fixtures. The extended spouts typical of It offer improved clearance, facilitating easier washing of dishes or hands. These faucets are also less susceptible to damage from water and cleaning agents, as they are not directly exposed to the sink’s surface. Moreover, a wall mount faucet installation can significantly elevate your home’s value, providing a chic upgrade that is sure to attract potential buyers.
Step-By-Step Guide To Installing A Wall Mount Faucet
1. Gather Your Tools And Materials

Before embarking on your installation journey, ensure you are equipped with all necessary tools and materials. Essential tools include an adjustable wrench, pipe wrench, screwdriver, drill, level, and measuring tape. For materials, you will need the wall mount faucets, mounting bracket, plumber’s tape, pipe fittings, and sealant. Having everything at your disposal will streamline the process, preventing delays and ensuring a smooth installation.
2. Turn Off The Water Supply
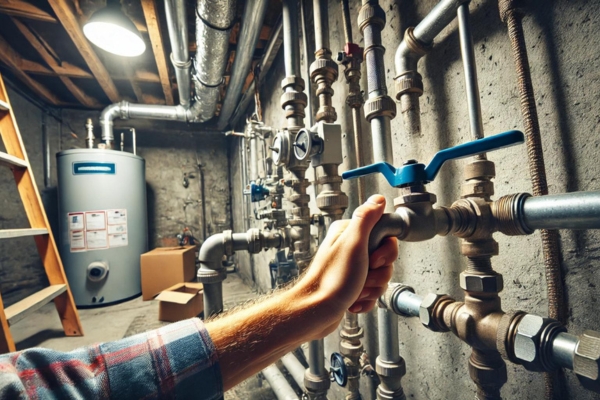
The initial step in Install A Tuscany Bathroom Faucet is to turn off the water supply. Locate the main water supply valve—typically situated in the basement or utility area—and shut it off. To confirm that the water pressure has been fully released, open a nearby faucets and let any remaining water drain out. This precautionary measure helps prevent leaks and spills during the installation process.
3. Remove The Existing Faucet
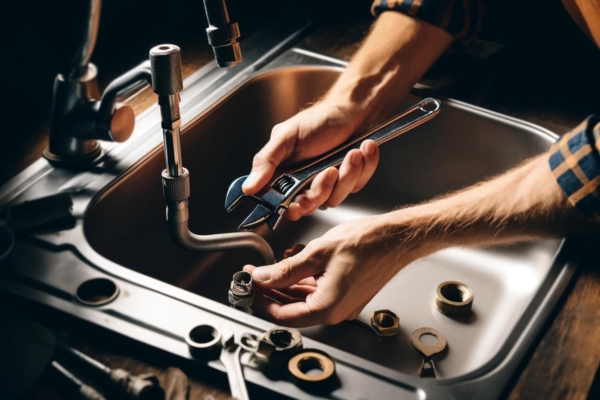
They are replacing an old faucets, your next task is to remove it. Employ a wrench to disconnect the existing faucet and any associated plumbing components. Carefully detach the faucet from the sink or countertop, being mindful not to damage the surrounding area. Once removed, thoroughly clean the installation area to prepare it for the new faucets.
4. Measure And Mark The Installation Area
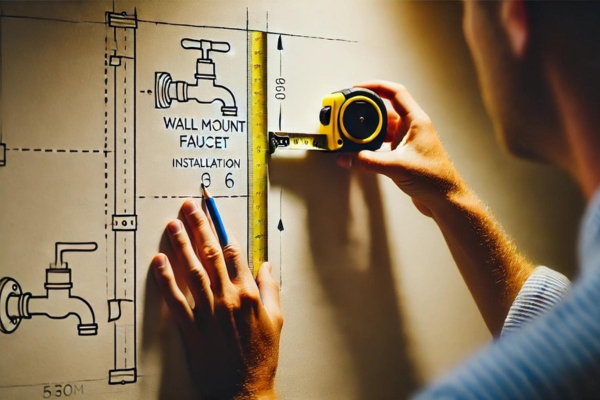
Accurate measurements are pivotal for a successful installation. Use a measuring tape to determine the optimal height and position for your new wall mount faucets. Mark the locations for the mounting holes on the wall with a pencil or marker, ensuring they are level and evenly spaced. These marks will serve as your guide for drilling the necessary holes for the mounting bracket.
5. Install The Mounting Bracket
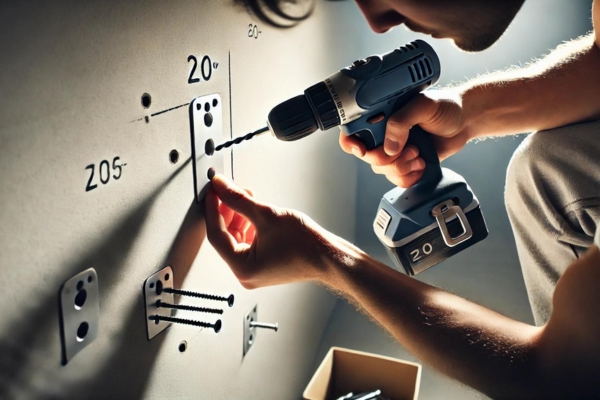
With your measurements in place, proceed to drill holes into the wall at the marked positions. Ensure the holes are of the correct size for the screws or anchors you will be using. Secure the mounting bracket to the wall with the screws or anchors, ensuring it is firmly attached and level. This bracket will serve as the foundation for your wall mount faucets.
6. Prepare The Plumbing
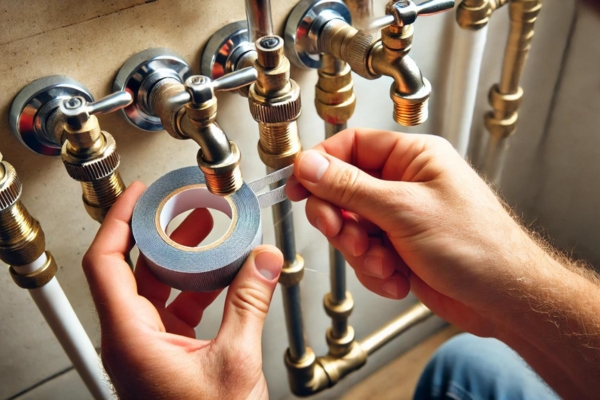
Before attaching the faucets, it is crucial to prepare the plumbing connections. Wrap plumber’s tape around the threads of the water supply lines to create a watertight seal, which prevents leaks and ensures a secure connection. Attach any necessary pipe fittings to the water supply lines, ensuring they are tightly secured.
7. Connect The Faucet To The Water Supply
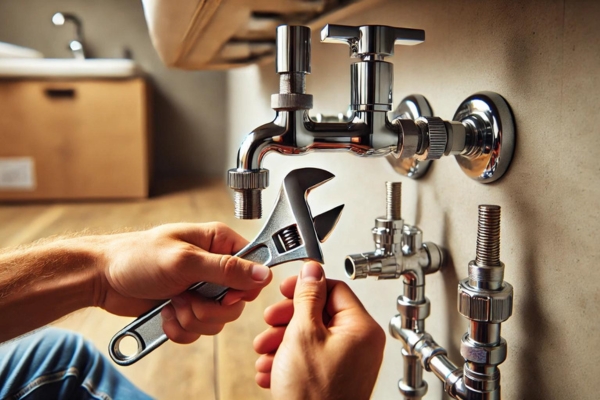
Align the new wall mount faucets with the installed mounting bracket. Carefully connect the faucet to the water supply lines, ensuring that the connections are secure. Use an adjustable wrench to tighten the connections, but be careful not to overtighten, as this could damage the fittings.
8. Secure The Faucet
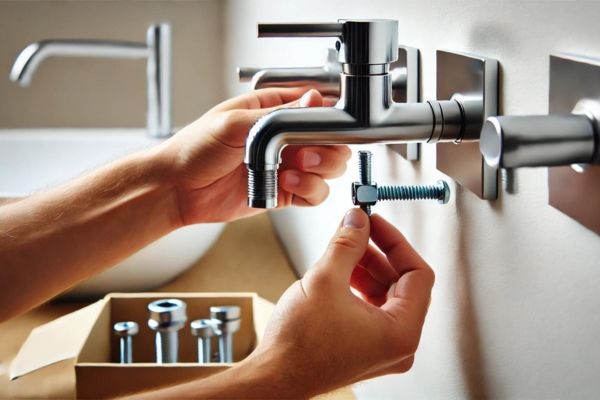
Once the faucet is connected, secure it to the mounting bracket using the provided screws or bolts. Ensure that the faucet is properly aligned and level before tightening the screws. This will maintain the faucet’s stability and prevent any potential operational issues.
9. Check For Leaks
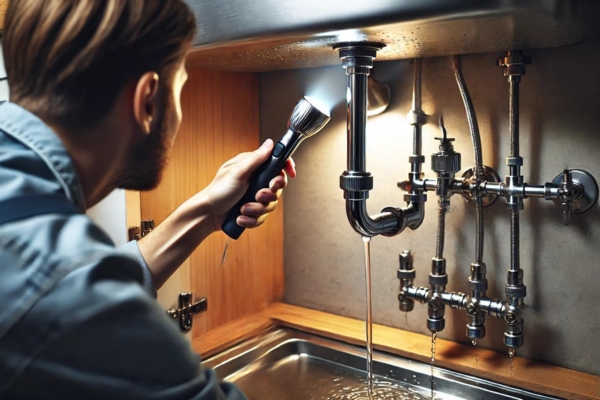
With the faucet installed, it is essential to check for leaks. Turn the water supply back on and open the faucets to allow water to flow through the system. Inspect all connections for any signs of leakage. If any drips or leaks are detected, tighten the connections as needed and recheck until the issue is resolved.
10. Adjust And Fine-Tune
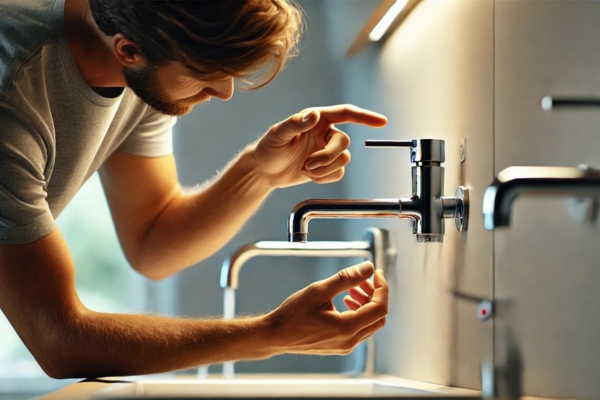
After confirming there are no leaks, adjust the faucets to ensure smooth operation. Fine-tune the water pressure and temperature settings to your preference, ensuring that the faucets function correctly and deliver optimal performance.
11. Apply Sealant
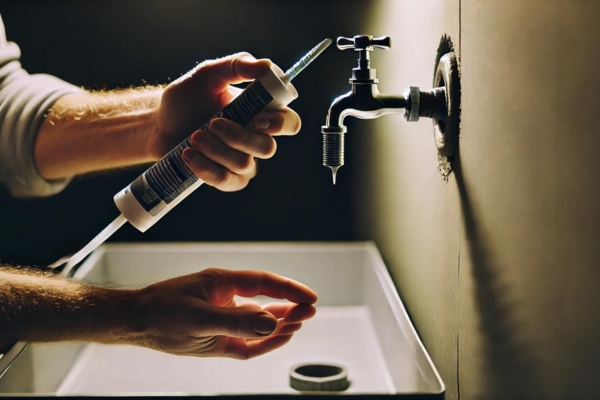
To prevent water from seeping behind the wall, apply sealant around the base of the faucet. This creates a watertight barrier and protects the wall from moisture damage. Follow the manufacturer’s instructions for curing times to ensure the sealant sets properly.
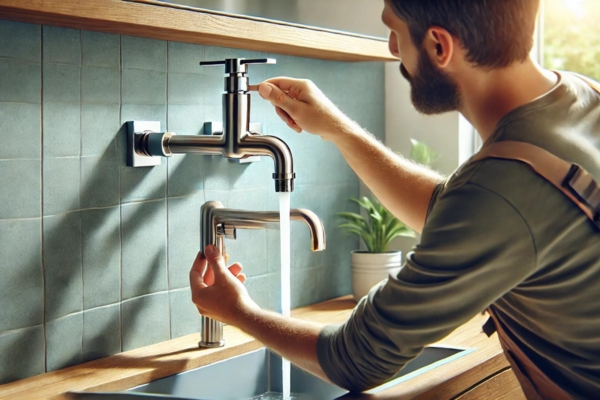
12. Test The Installation
Conduct a final test of the faucet by turning it on and off to verify its functionality. Check for any remaining leaks or issues and make necessary adjustments. Ensure the faucets operate smoothly and meet your expectations.
13. Clean Up
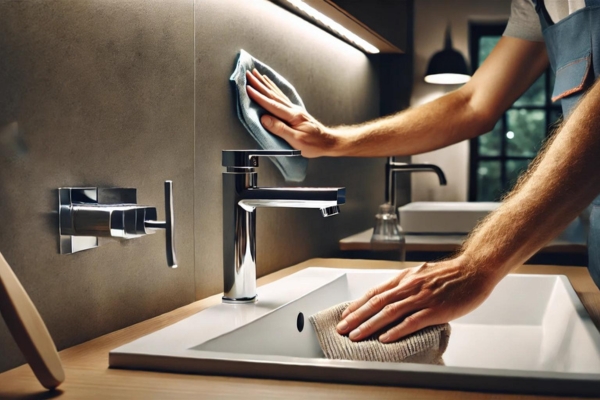
Upon completing the installation, clean the area around the faucet to remove any debris or residue from the installation process. Wipe down the faucets and surrounding surfaces to provide a polished appearance.
14. Final Checks
Perform a thorough review of the installation to ensure everything is secure and functioning as intended. Double-check the faucet’s alignment, water flow, and overall performance. Address any final adjustments or improvements to complete the installation process.
How To Adjust The Faucet For Optimal Performance?
To optimize the performance of it, start by adjusting the water pressure. If the flow appears weak, investigate potential blockages or obstructions in the faucets or plumbing lines. Adjust the temperature settings to ensure a comfortable and consistent water temperature. Periodically clean the faucet’s aerator to prevent buildup that can impede water flow. Regular maintenance and fine-tuning will keep your faucets operating efficiently, enhancing your overall experience.
What To Do If Your Faucet Is Leaking?
Should you notice a leak in it, first turn off the water supply to prevent further damage. Inspect the faucet’s connections and components to identify the leak’s source. Common culprits include loose connections, worn-out washers, or damaged seals. Tighten any loose fittings and replace worn or damaged parts as necessary. If the issue persists, consult a professional plumber to address more complex problems.
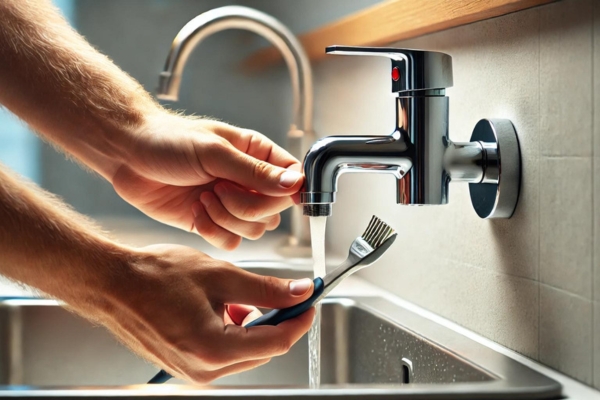
How To Address Common Wear And Tear?
Over time, wall mount faucets may experience wear and tear due to regular use. To address common issues, routinely inspect the faucets for signs of damage or wear. Replace worn-out components, such as washers or O-rings, to maintain proper functionality. Clean the faucet’s surface and components to prevent buildup and preserve its appearance. Regular maintenance and timely repairs will extend the faucet’s lifespan and ensure it remains in optimal condition.
Conclusion
Installing a wall mount faucet can be a gratifying DIY endeavour that enhances both the functionality and aesthetic appeal of your space. By following this detailed guide, you can achieve a professional installation and reap the benefits of a stylish and practical faucet. Remember to perform regular maintenance and address any issues promptly to ensure your faucets remain in top condition. With meticulous attention to detail and proper care, your new it will continue to serve you well for years to come.

