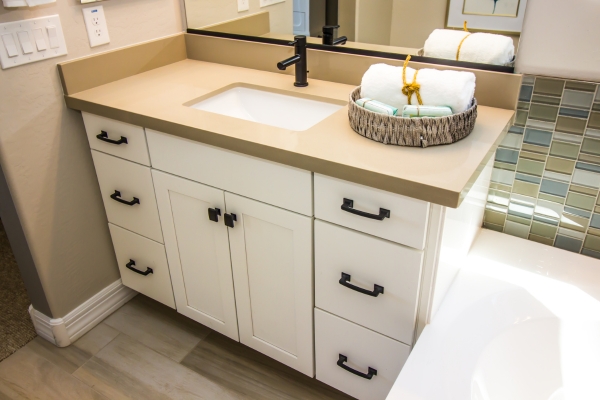
Install a bathroom vanity unit is a practical and stylish way to upgrade your bathroom. Whether you are renovating your space or simply looking to enhance its functionality and appearance, knowing how to install a bathroom unsubstantiality unit can be a valuable skill. This process involves selecting the right vanity, preparing the area, and following precise steps to ensure a secure and aesthetic fit. With the right tools and a bit of patience, you can transform your bathroom into a more efficient and visually appealing space. This guide will walk you through the essential steps and tips for successfully installing a vanity unit.
Do I Need To Turn Off The Water Supply Before Installing The Vanity?
Yes, you need to turn off the water supply before installing a bathroom insubstantiality unit. This is a crucial step to prevent any water damage or leaks during the installation process. Turning off the water supply ensures that you can safely disconnect the old plumbing fixtures and connect the new ones without the risk of water spilling everywhere. Locate the shut-off valves under the sink and turn them clockwise to close them. If your bathroom doesn’t have individual shut-off valves, you may need to turn off the main water supply to your home. Once the water is turned off, open the faucet to release any remaining water in the lines before proceeding with the installation.
Benefit Of Bathroom Vanity Unit Install
The benefits of installing a bathroom insubstantiality unit extend beyond just aesthetics. A well-chosen insubstantiality can significantly enhance the storage space in your bathroom, providing a tidy and organised area for toiletries, cleaning supplies, and other essentials. Additionally, a new vanity can improve the overall functionality of the bathroom, making daily routines more convenient. Modern insubstantiality units come in various designs and finishes, allowing you to customise your bathroom to reflect your style and meet your practical needs.
Tools and Materials Needed
- Vanity unit
- Faucet and sink
- Measuring tape
- Pencil
- Level
- Stud finder
- Drill and drill bits
- Screws and anchors
- Pipe wrench
- Plumber’s tape
- Silicone sealant
- Caulk gun
- Adjustable wrench
- Bucket and rags
Steps To Install A Bathroom Vanity Unit
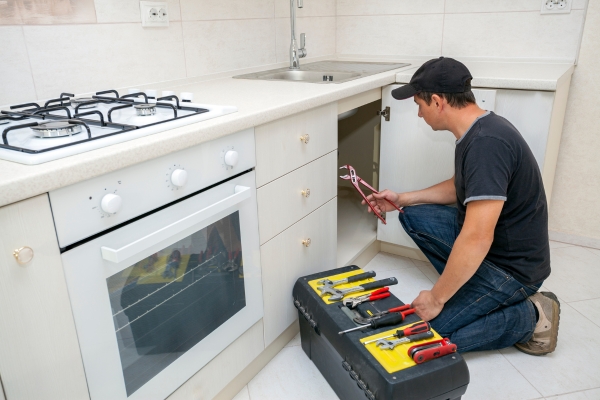
1. Prepare The Area
The first step in installing a bathroom vanity unit is to prepare the area. Start by removing the old vanity, if applicable. Turn off the water supply and disconnect the plumbing, including the faucet and drain pipes. Carefully detach the old insubstantiality from the wall, using a utility knife to cut through any caulk or adhesive. Once the old unsubstantiality is removed, clean the area thoroughly. Remove any remaining caulk, adhesive, or debris from the walls and floor. This ensures a smooth and even surface for your new insubstantiality installation. If there are any wall repairs needed, such as patching holes or smoothing out rough areas, now is the time to address them. Make sure the area is completely dry and free of dust before proceeding to the next step.
2. Measure And Mark
Accurate measurements are crucial for a successful vanity installation. Begin by measuring the dimensions of your new unsubstantiality unit and the space where it will be installed. Measure the width, height, and depth of the unsubstantiality and compare these measurements with the available space in your bathroom. Mark the centerline of where you want the vanity to sit, ensuring it is centered and aligned with other bathroom fixtures, such as the mirror and lighting. Use a level to draw horizontal lines on the wall at the height where the top of the vanity will sit. Also, mark the locations of the wall studs to ensure you have solid anchor points for securing the unsubstantiality. If your unsubstantiality has a backsplash, account for its height in your measurements and markings.
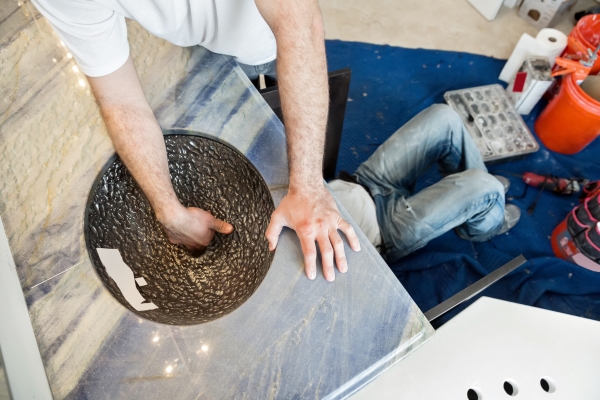
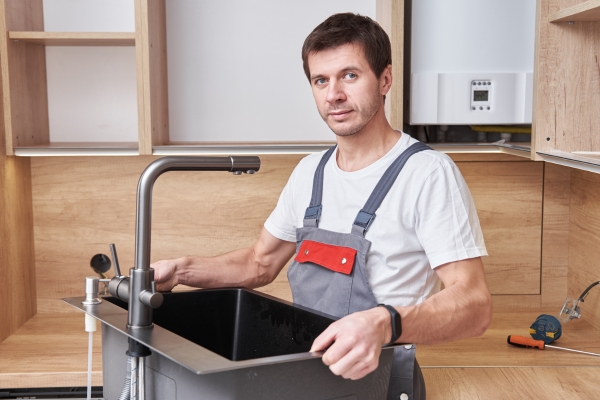
3. Install The Faucet And Sink
Once the area is prepared and measurements are made, the next step is to install the faucet and sink. Start by following the manufacturer’s instructions to assemble the faucet. This typically involves attaching the handles, spout, and connecting hoses. Securely mount the faucet onto the sink or vanity top, ensuring all connections are tight to prevent future leaks. Next, place the sink into the unsubstantiality top, applying a bead of silicone caulk around the underside of the sink’s rim to create a watertight seal. Carefully press the sink into place and wipe away any excess caulk for a clean finish.
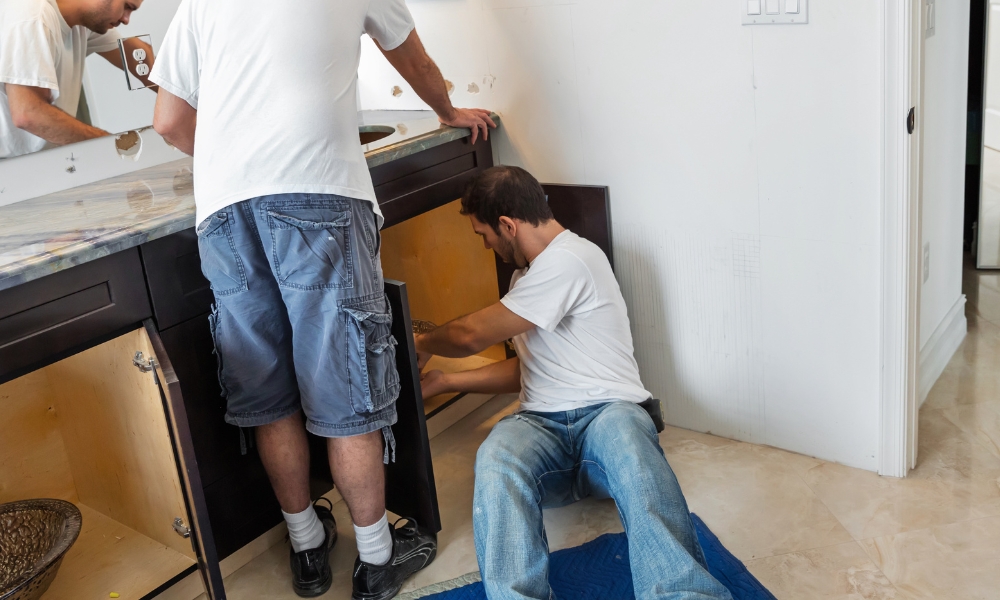
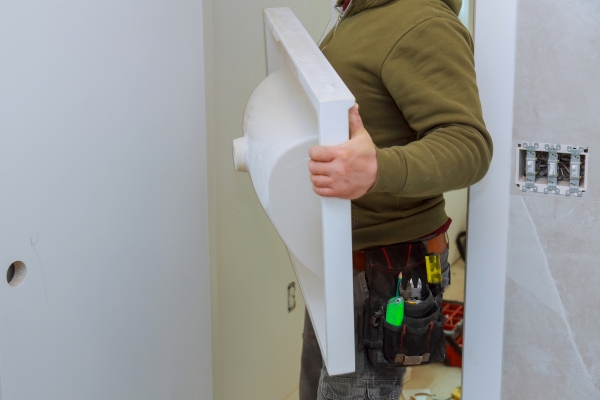
4. Position The Vanity
With the faucet and sink installed, carefully position the unsubstantiality into its designated spot in the bathroom. Use a level to ensure the vanity is perfectly straight and aligned. Adjust as needed to achieve the desired position. Make sure the unsubstantiality is centered with respect to other bathroom fixtures, such as the mirror and lighting. Check the measurements again to confirm that the unsubstantiality fits properly within the allotted space, leaving adequate room for plumbing connections.
5. Secure The Vanity
Once the vanity is positioned correctly, the next step is to secure it to the wall. Start by locating the wall studs behind the unsubstantiality. Drill pilot holes through the back of the unsubstantiality into the wall studs. Using screws that are appropriate for your wall type, secure the vanity firmly in place. Ensure the screws are long enough to anchor the vanity securely but not too long to damage any plumbing or electrical work behind the wall. Double-check the alignment with a level to ensure the unsubstantiality is still straight and properly positioned. Tighten all screws and ensure the unsubstantiality is stable and does not move.
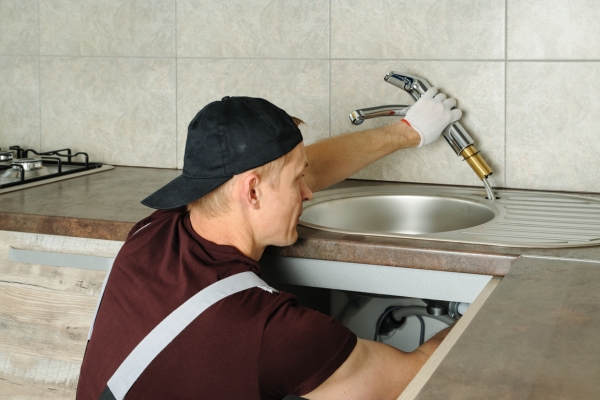
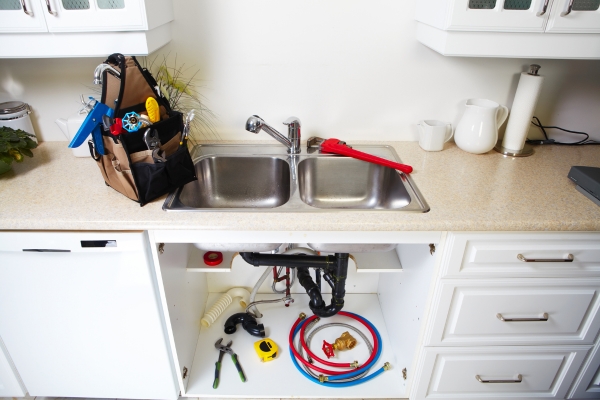
6. Connect The Plumbing

After securing the vanity in place, the next step is to connect the plumbing. Begin by attaching the water supply lines to the faucet. Use flexible hoses if your plumbing setup requires it, ensuring each connection is tight to prevent leaks. Next, connect the drain pipe to the sink drain. Apply plumber’s putty or silicone caulk around the drain flange to create a watertight seal. Tighten the slip nut or compression fittings securely, but avoid over-tightening to prevent damage. Once all connections are made, turn on the water supply and check for any leaks. Fix any leaks promptly by tightening the connections or reapplying sealing materials.
7. Seal Around The Vanity
With the plumbing connected and leak-free, it’s time to seal around the unsubstantiality. Use a good quality silicone caulk to seal the gaps between the unsubstantiality and the wall or floor. Apply a continuous bead of caulk along the edges where the vanity meets the wall and the floor. Smooth the caulk with your finger or a caulking tool to ensure a neat finish and to press it into the gap for a tight seal. This step prevents water from seeping underneath the vanity, protecting your walls and flooring from potential water damage. Allow the caulk to dry completely according to the manufacturer’s instructions before using the sink.
8. Finishing Touches
Finally, add the finishing touches to complete your vanity installation. Install any additional components such as drawer pulls, knobs, or handles according to the manufacturer’s instructions. These small details can enhance the overall appearance and functionality of your unsubstantiality. Clean the vanity and surrounding area to remove any dust or debris from the installation process. Wipe down the unsubstantiality top and cabinet surfaces with a damp cloth and mild cleaner. Make sure all drawers and doors open and close smoothly. Check that everything is properly aligned and functioning correctly.
Conclusion
Installing a bathroom vanity unit is a rewarding project that can transform the look and functionality of your bathroom. By following the steps outlined—from preparing the area and measuring for fit, to installing the faucet and sink, securing the vanity, connecting the plumbing, sealing around the edges, and adding finishing touches—you can achieve a professional-looking installation. Whether you’re upgrading an existing bathroom or remodeling from scratch, a well-installed unsubstantiality unit not only enhances storage and organization but also adds style and value to your home. With careful planning and attention to detail, you can create a bathroom space that meets your practical needs and reflects your personal taste.

