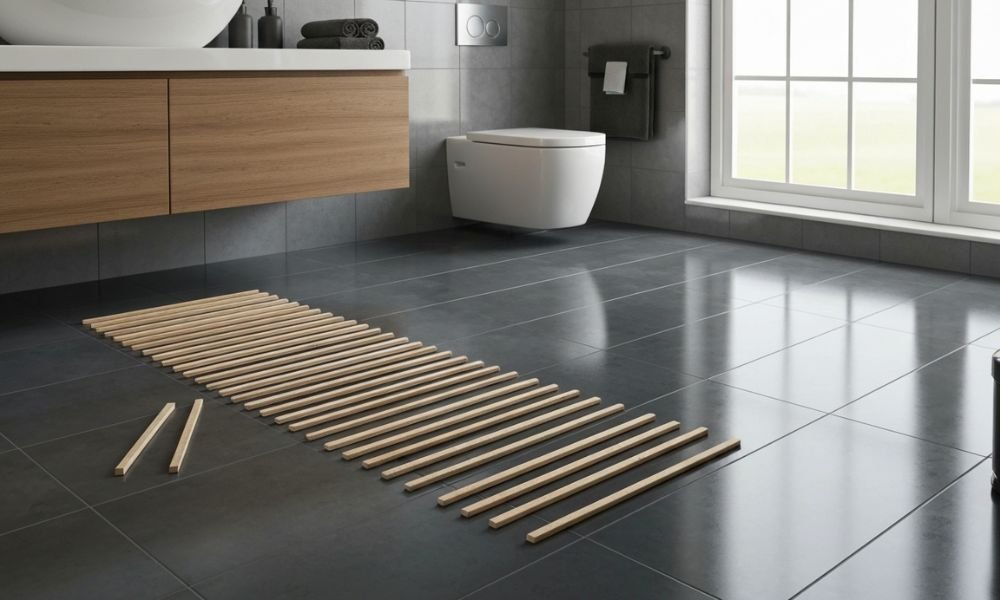
The bathroom is one of the most frequently used rooms in the home, yet updating its flooring often feels like a costly, messy, and time-consuming burden. Fortunately, self-stick vinyl tile (also called self-adhesive vinyl floor tile) offers a brilliant solution. This type of flooring is affordable, durable, and highly resistant to dents, stains, and scuffs, making it an excellent choice for moisture-prone areas like bathrooms. Homeowners favor self-stick tiles because they simplify the installation job, making the process much faster and easier than traditional tiling. If you are searching for a DIY-friendly, waterproof bathroom floor solution, mastering how to lay stick on floor tiles in bathroom is the perfect project for your next home renovation. This comprehensive guide will walk you through every step, ensuring a professional, long-lasting finish.
Why Peel-and-Stick Vinyl is the Best Choice for Bathroom Flooring
When considering how to lay stick on floor tiles in bathroom, self-adhesive vinyl flooring stands out due to its unique combination of aesthetic versatility and practical performance. This affordable and robust product category includes tiles and planks that can expertly simulate the luxurious appearance of materials like stone, Grecian marble, oak planks, and parquet flooring. Beyond its visual appeal, vinyl is inherently durable and largely maintenance-free once installed correctly. The installation process is typically quicker and simpler than installing many alternative types of flooring, which is a significant advantage when tackling a small, complex space like a bathroom. By choosing self-stick vinyl, you secure a highly resilient floor that handles the humidity and daily wear characteristic of bathroom environments.
Essential Tools and Materials for Successfully Installing Stick On Floor Tiles
Proper preparation starts with gathering all the necessary tools and materials before you even begin to think about how to lay stick on floor tiles in bathroom. You will absolutely need basic tools such as a tape measure, a utility knife, a square, and safety glasses. Since you will be cutting the tiles, a file, a long level, and potentially tin snips are also essential. For the vital preparation phase, you may require cleaning cloths and a strong degreaser, such as Trisodium Phosphate (TSP). Specifically for floors, a chalk line and a carpenter’s square are needed for layout, and a heavy roller is required to ensure the tiles bond firmly to the subfloor. Depending on your subfloor, you might also need latex floor primer, concrete fillers, or chisels.
Crucial Step 1: Acclimation for Optimal Peel-and-Stick Tile Installation
Acclimation is arguably the most overlooked, yet vital, step when learning how to lay stick on floor tiles in bathroom. Vinyl flooring products, like self-stick vinyl tiles, are sensitive to temperature and humidity changes. If the tiles are stored in an environment different from the installation location, they may expand or contract. Failure to properly acclimate the products in the installation room prior to use can lead directly to adhesive failure. Therefore, you must store the self-stick vinyl tiles in the bathroom where you plan to install them for 48 to 72 hours before starting the work. This allows the product to reach the exact temperature and humidity level of the room, ensuring the adhesive bonds properly and permanently.
Preparing the Subfloor: Key to Knowing How to Lay Stick On Floor Tiles in Bathroom Successfully
The foundation of a successful vinyl floor installation relies entirely on the quality of the subfloor preparation. Whether your bathroom has a plywood, sheet vinyl, or concrete subfloor, the surface must be clean, smooth, level, and nonporous. It is critical to ensure the surface is entirely free of dust, moisture, and any lingering old adhesive. Preparation involves repairing any damage, filling low spots, and sanding down any high spots to achieve a perfectly flat plane. Cleaning is done using a degreaser like Trisodium Phosphate (TSP) to remove grease and dirt. If the subfloor is concrete—a common porous floor type—it is necessary to apply a latex floor primer. Which must be allowed to dry completely before you begin laying any tile.
Concrete Subfloor Requirements for Bathroom Tile:
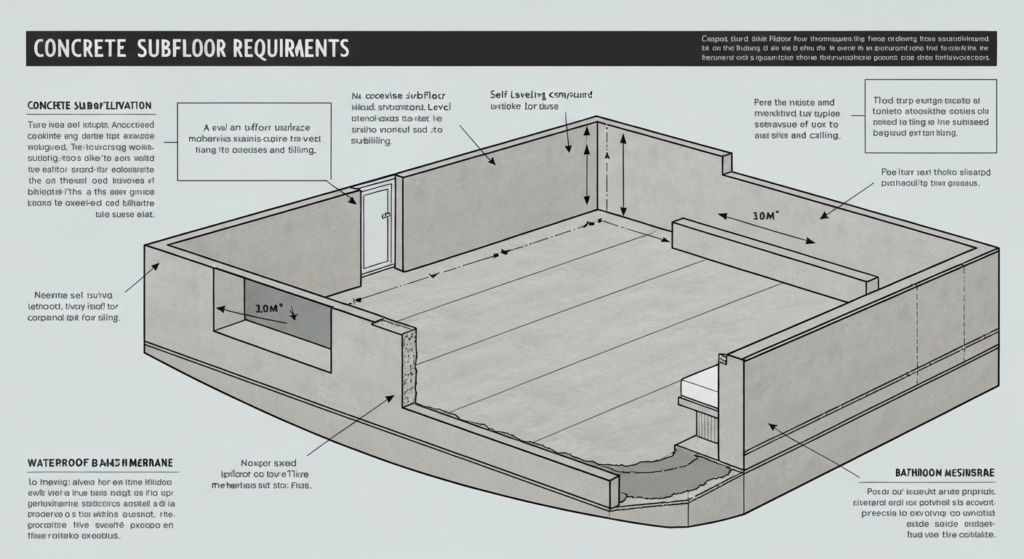
Since concrete is often porous, it requires specific attention when preparing for self-stick vinyl tile. To ensure maximum adhesion and long-term durability when installing your stick on floor tiles, materials such as latex floor primer, concrete fillers, and possibly chisels are needed to create a perfectly clean and smooth surface. The primer serves the dual purpose of reducing porosity and enhancing the bond of the self-adhesive backing to the concrete. After cleaning the concrete subfloor thoroughly, the primer must be allowed to dry fully according to the manufacturer’s instructions before moving on to the installation phase. A properly prepared concrete subfloor is essential for maintaining the integrity of the adhesive in a moist bathroom environment.
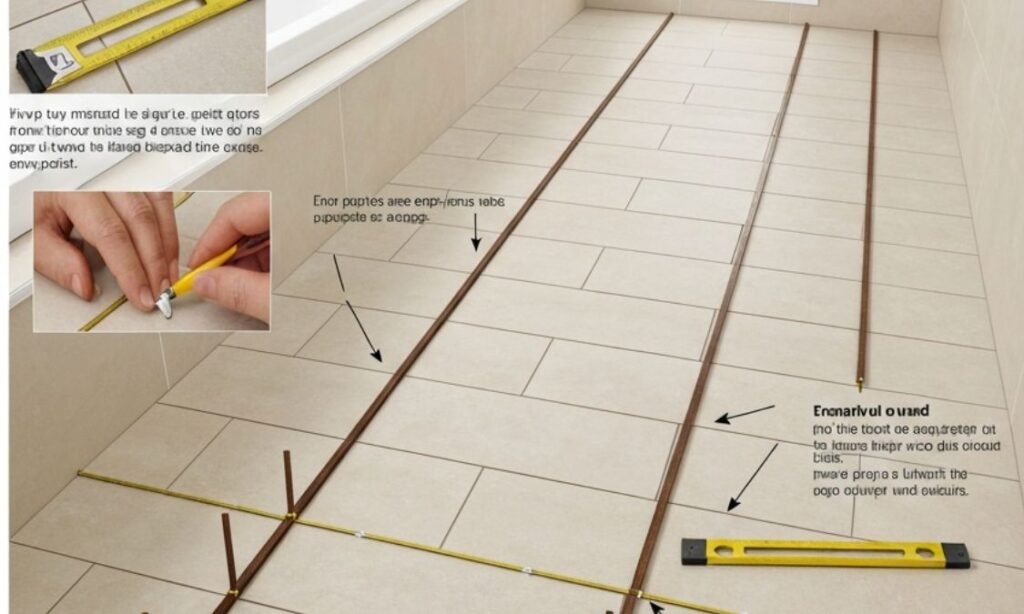
Planning the Layout: Finding the Center Point in a Bathroom
Before applying any tiles, mapping out the installation ensures the finished floor looks centered and professional. This layout process is crucial in confirming you have enough tiles and helps avoid awkward, thin cuts along the edges. Start by identifying the room’s center point. Measure the length and width of the bathroom, and then use a chalk line to snap guiding lines from the center of each wall. The intersection of these lines marks the true center of the room. When adjusting the arrangement, which is often necessary in small bathroom spaces, aim to avoid placing tiles smaller than six inches at the edges of the room for the most aesthetically pleasing result. Remember to only use tiles from the same lot or batch to prevent any visual inconsistencies.
The Dry Fit Method: Confirming the Best Layout for Your Stick On Floor Tiles
The dry fit method is a non-negotiable step that allows you to confirm your layout before committing to the adhesive. With the backing still on the vinyl tiles, arrange them along your chalk line guidelines, starting from the center of the room. This step lets you check the pattern, confirm that joints align or offset according to your design, and accurately plan where any cuts will need to occur. Place a dry row along the center guidelines to verify that the border pieces along the walls will be an acceptable size. Since removing a tile after the adhesive takes hold can damage both the tile and the subfloor, this meticulous planning guarantees a precise and professional finish. Minimizing the risk of costly errors when learning how to lay stick on floor tiles in bathroom.
Step-by-Step Application: How to Lay Stick On Floor Tiles in Bathroom Correctly
Once the layout is verified, begin the application process at the center point you established. Remove the backing from the first center tile and press it down firmly onto the subfloor. It is helpful to have a small container or trash bag nearby to immediately collect the release papers. Maintaining a clean workspace. Place each subsequent tile tightly against the edge of the previously laid tile and follow any specific manufacturer instructions regarding overlap. Applying the tile at an angle, particularly in tight bathroom spaces, allows for minor adjustments before the adhesive fully cures. Continue laying the remaining tiles in a step pattern, and complete one section at a time. Apply firm pressure to each piece to maximize the bond.
Precision Cutting Techniques for Bathroom Obstacles
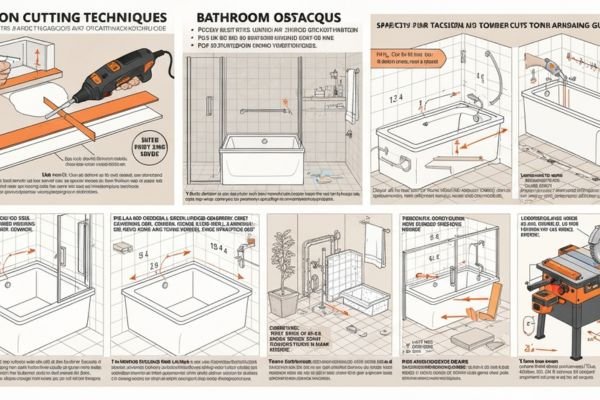
As you work toward the bathroom edges and obstacles like plumbing or permanent fixtures, cutting the tiles is essential. To accurately measure a cut for the final tile in a straight row, place the tile that needs trimming directly over the last full tile, then place another full tile against the wall to act as a guide. Mark the cutting line where the tiles overlap. For irregular shapes, such as cuts needed around the toilet base or complex plumbing, you should first create a paper or cardboard pattern (a template) and then transfer that shape onto the tile. Always score the top of the tile gently before cutting, and critically. Make all necessary cuts before removing the adhesive backing. Ensure the cut edge faces the wall or fixture for the cleanest aesthetic.
Tools for Detailed Cuts in Bathroom Spaces:
The type of peel-and-stick tile material dictates the best tools for detailed cuts necessary around bathroom fixtures. For standard vinyl tiles, a sharp utility knife is usually sufficient for scoring and snapping. However, depending on the thickness or material simulation (like simulated stone or porcelain), you might need specialized tools. These could include a tile cutter, tin snips, a wood chisel, or even a miter saw equipped with a masonry blade for harder materials. Always wear appropriate safety gear, such as safety glasses. When using cutting tools, especially in the confined space of a bathroom. Planning your cuts carefully, regardless of the tool used, is vital for the professional look you seek. Learn more in this guide on how to install peel and stick vinyl flooring on concrete.
Finalizing the Install: Rolling and Sealing Your New Bathroom Floor
The final stage of installing stick on floor tiles is critical for the long-term success of the adhesive bond. Once all the tiles are laid, you must use a heavy roller to apply firm. Even pressure across the entire finished floor. Roll the tool back and forth in both directions to ensure the self-stick tiles bond tightly to the subfloor. After rolling is complete, you can install any wall base or moldings to complete the perimeter. A crucial instruction for longevity is to wait approximately five days after the entire floor is installed before washing the floor. This five-day period allows the adhesive sufficient time to fully set and cure. Ensuring the durability and stability of your waterproof bathroom floor.
The Optional Step of Grouting Stick-On Tiles:
Many brands design self-stick tiles for fast, grout-free installation, but some manufacturers create specific types that you can grout to achieve the look of standard tile flooring. If you choose to grout your peel-and-stick floor tiles, you must follow the product instructions carefully regarding mixing and application. After applying the grout into the lines, remove all excess material immediately. Once the grout has fully set and cured, clean up any remaining residue. To protect the grout from moisture and wear—especially important in a bathroom—it is necessary to apply a grout sealant. Following the manufacturer’s recommendations for application and drying time.
Longevity and Maintenance of How to Lay Stick On Floor Tiles in Bathroom
One of the great appeals of using self-stick vinyl tile is its enhanced durability and straightforward maintenance schedule. Vinyl flooring is inherently tough, possessing high resistance to scuffs, stains, and dents. Once the installation is finalized, the subfloor preparation is sound, and the adhesive has fully set (after the recommended five-day waiting period), the maintenance requirements are minimal. Self-stick vinyl tiles require almost no maintenance, so routine cleaning is usually enough to keep your bathroom floor looking beautiful for years. By adhering to the crucial steps of acclimation, preparation, and final rolling, you ensure your beautiful, easy-to-install flooring provides lasting value.
Conclusion
Mastering how to lay stick on floor tiles in bathroom transforms a complex renovation task into an achievable weekend project. The secret to success lies in meticulous preparation: ensuring the tiles acclimate for 48 to 72 hours, thoroughly cleaning and leveling the subfloor, and accurately mapping out the center-point layout. By starting the application from the center, using a utility knife for precision cuts, and finishing the job with a heavy roller, you ensure a strong, professional bond. Self-stick vinyl provides a durable, waterproof, and aesthetically pleasing flooring solution. Take the first step today; this DIY-friendly approach is your key to quickly achieving a stunning and long-lasting bathroom floor upgrade.

