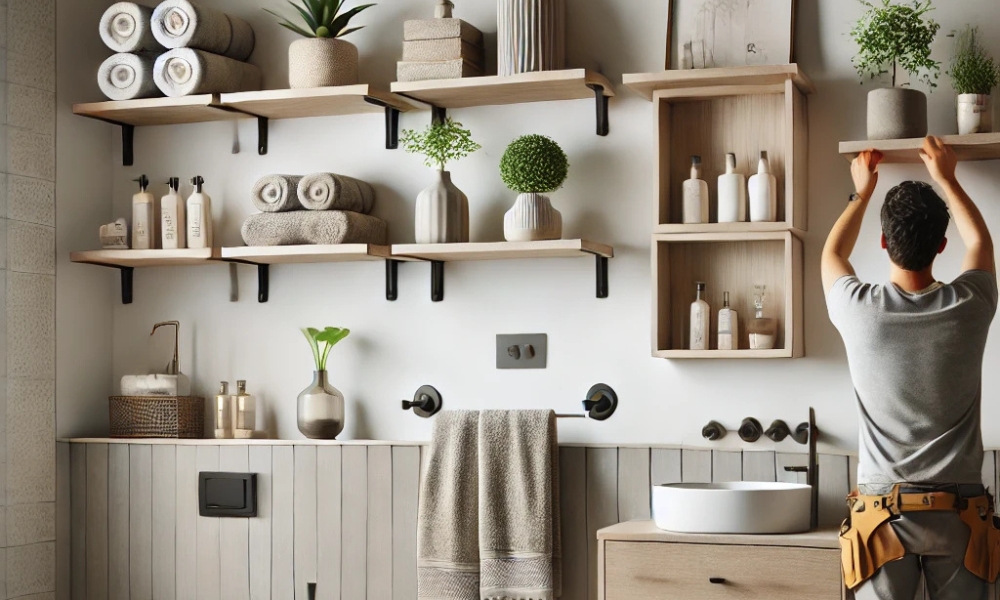
Floating shelves are an excellent way to maximize bathroom storage without compromising on aesthetics. Unlike traditional shelving units, floating shelves create a clean, modern look by appearing as though they are seamlessly attached to the wall. They can be customized in terms of size, material, and finish to match your bathroom décor, making them a versatile DIY project. Whether you’re storing everyday essentials like toiletries and towels or adding decorative accents, floating shelves help keep your space organized while enhancing its overall appeal.
To create your own floating shelves, you’ll need basic tools like a drill, level, screws, and sturdy brackets for support. Start by measuring and marking the desired placement of the shelves, ensuring they are evenly spaced and aligned. Choose moisture-resistant materials such as solid wood, plywood, or MDF to withstand bathroom humidity. Secure the brackets to wall studs for maximum stability, then attach the shelves on top. Once installed, you can personalize them with baskets, plants, or stylish storage containers to achieve both functionality and a polished look.
Why Choose Floating Shelves For Your Bathroom?
Floating shelves are a perfect storage solution for bathrooms, especially if you have limited space. Unlike bulky cabinets or traditional shelving units, they offer a sleek, modern look while keeping essentials easily accessible. Since they don’t take up any floor space, floating shelves are ideal for small bathrooms where every inch counts. You can use them to store toiletries, towels, or decorative accents, helping to keep your bathroom organized and clutter-free. Plus, they can be installed above the toilet, next to the vanity, or even in an unused corner to make the most of every available area.
Another major advantage of floating shelves is their versatility. Whether you prefer rustic wood, modern glass, or industrial metal, you can choose materials and finishes that complement your bathroom’s aesthetic. DIY floating shelf are also a budget-friendly option, allowing you to customize them to fit your space and style without the hefty price tag of store-bought alternatives. With just a few basic tools and materials, you can install sturdy, stylish shelves in a matter of hours, making them a practical and rewarding weekend project.
Materials And Tools You’ll Need
Materials:
- Wood planks (1×6, 1×8, or 1×10, depending on desired shelf depth)
- Wood screws
- Wall anchors (if installing on drywall)
- Wood glue
- Stain or paint (optional)
- Polyurethane sealant (for moisture resistance)
- Floating shelf brackets or L-brackets
Tools:
- Tape measure
- Level
- Drill and drill bits
- Stud finder
- Sandpaper (120 and 220 grit)
- Saw (circular saw or miter saw)
- Paintbrush or cloth for staining
Step-By-Step Instructions
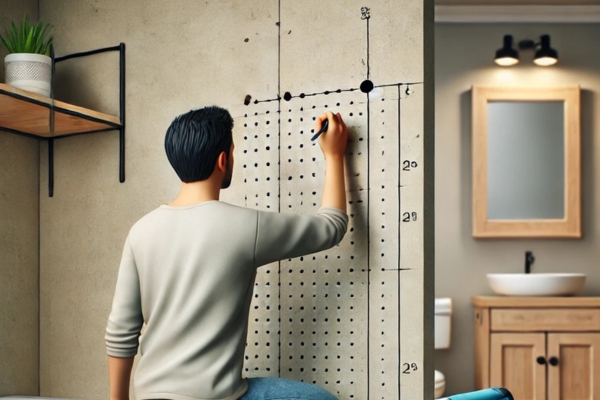
Step 1: Measure And Plan
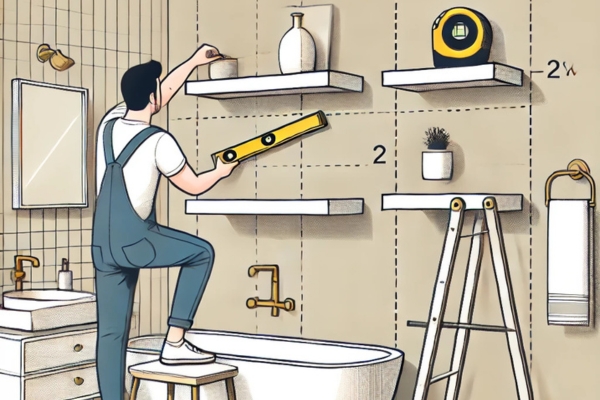
Before you start cutting wood or drilling holes, take the time to carefully measure and plan your floating shelves. Decide where you want to install them and consider factors such as height, width, and depth to ensure they fit well within your bathroom space. Think about what you’ll be storing on them—whether it’s towels, toiletries, or decorative items—to determine the best size for both functionality and aesthetics.
Use a tape measure to get accurate dimensions and a pencil to mark the wall where the shelves will be mounted. A level is essential at this stage to ensure your markings are perfectly straight, preventing crooked shelf later on. If you’re installing multiple shelves, measure equal spacing between them for a balanced and cohesive look. Taking the time to plan properly will make the rest of the installation process smoother and help you achieve a polished final result.
Step 2: Cut The Wood
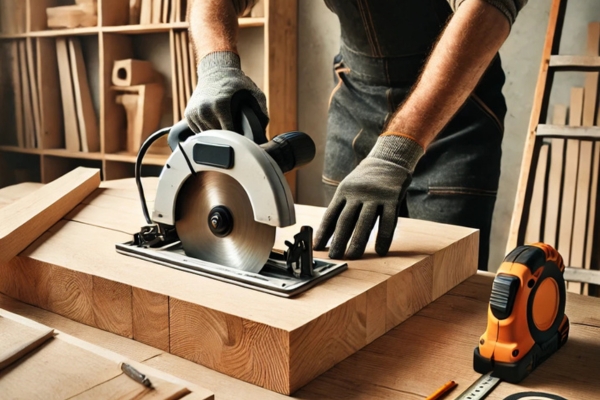
Once you have your measurements, it’s time to cut the wood to the desired shelf length. Using a circular saw or miter saw, carefully cut each plank according to your planned dimensions. If you’re using a hardwood like oak or walnut for a more durable finish, ensure your saw blade is sharp for clean, precise cuts. If you prefer a budget-friendly option, plywood or MDF can also work well, but be sure to seal the edges to prevent moisture damage in a bathroom environment.
After cutting, smooth out any rough edges and surfaces with 120-grit sandpaper. This helps remove splinters and ensures a clean, even surface. For an ultra-smooth finish, follow up with 220-grit sandpaper, paying extra attention to the edges to create a refined look. If you plan to stain or paint your shelves, this is the best time to do so—apply your chosen finish and allow it to dry completely before moving on to installation. A well-prepped surface will not only enhance the aesthetics of your floating shelf but also make them last longer in a bathroom setting.
Step 3: Stain Or Paint
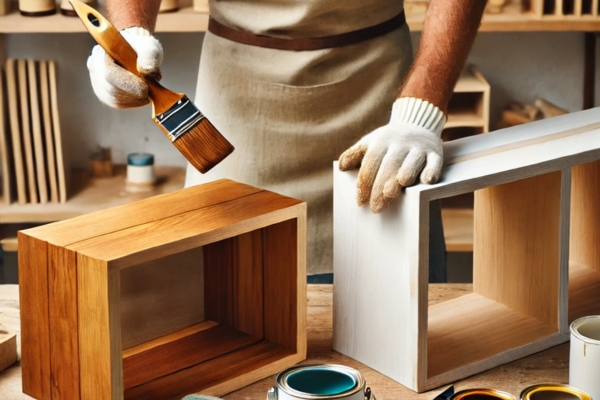
Now that your wood is cut and sanded, it’s time to add the finishing touch with stain or paint. If you want to showcase the natural beauty of the wood, apply a wood stain using a brush or a clean cloth, following the grain for an even application. Stain not only enhances the wood’s texture but also provides a protective layer against moisture—an important factor for bathroom shelves. For added durability, apply a clear polyurethane sealant after the stain has dried.
If you prefer a painted finish, start with a primer to ensure the paint adheres well and provides a smooth, long-lasting coat. Once the primer is dry, apply your chosen paint color in thin, even layers, allowing each coat to dry completely before adding the next. A satin or semi-gloss finish is ideal for bathrooms, as it resists moisture and is easy to clean. Whether you choose a natural wood stain or a bold painted look, make sure the shelf are fully dry before moving on to the installation step to prevent smudging or uneven finishes.
Step 4: Apply A Sealant
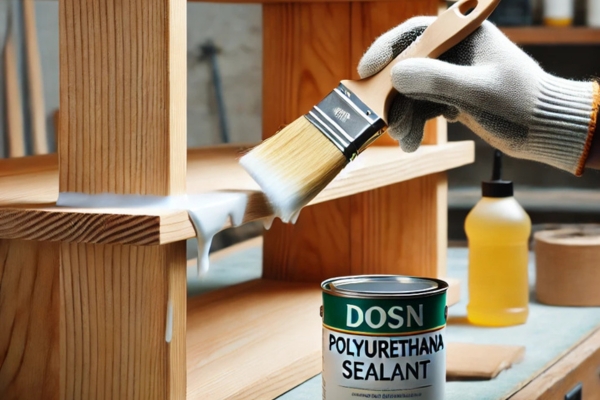
Bathrooms are naturally humid environments, so protecting your floating shelf from moisture damage is essential. To waterproof the wood and extend its durability, apply a polyurethane sealant using a brush or foam applicator. This clear protective layer helps prevent warping, swelling, and mold growth, ensuring your shelf remain in great condition for years to come. If you prefer a more natural finish, opt for a matte or satin polyurethane, while a glossy finish can add a sleek, modern touch.
Allow the sealant to dry for at least 24 hours before handling the shelves to ensure a solid, protective coat. If you’re working with particularly porous wood, consider applying a second coat for extra durability. For a smoother finish, lightly sand with 320-grit sandpaper between coats. Proper sealing is key to maintaining both the appearance and longevity of your DIY bathroom shelves, especially in a high-moisture setting. Once dry, you’re ready to move on to installation!
Step 5: Locate Wall Studs
Before installing your floating shelves, you need to find the best support points on your wall. Using a stud finder, scan the wall where you plan to mount the shelves to locate the studs—these are the strongest anchor points since they provide direct support from the wall’s framework. Once you find the studs, mark their locations with a pencil, ensuring your markings align with where you want the shelf brackets or support hardware to be attached.
If your ideal shelf placement doesn’t line up with a stud, don’t worry! You can use heavy-duty wall anchors or toggle bolts to secure the brackets into drywall. These anchors provide additional support, preventing the shelves from pulling away over time. However, keep in mind that floating shelf holding heavy items—like toiletries or decorative pieces—will always be more stable when mounted into studs. Taking this extra step ensures your shelves stay securely in place and can handle everyday use.
Step 6: Install Brackets
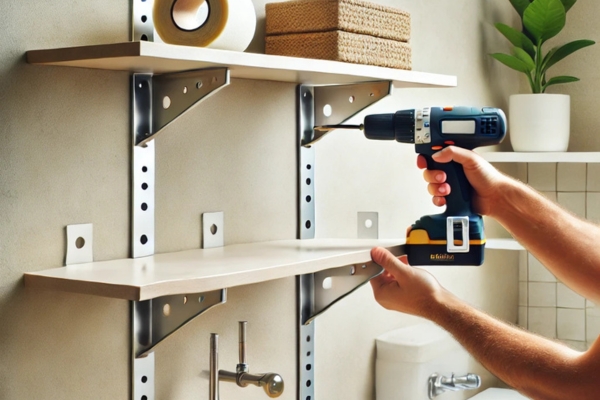
Now it’s time to secure the brackets that will hold your floating shelf in place. If you’re using floating shelf brackets, start by drilling pilot holes into the marked wall studs to prevent splitting the wood. Then, align the brackets with the pilot holes and use strong screws to attach them securely to the wall. Double-check with a level to ensure they are perfectly straight before tightening all screws. These hidden brackets provide a seamless, “floating” appearance once the shelves are mounted.
If you’re using L-brackets, attach them to the wall first, making sure they are evenly spaced and level. Once the brackets are secured, position the shelf on top and screw it into place from underneath. This method provides additional support for heavier items but leaves the brackets visible, so choose a finish that complements your bathroom’s style. Regardless of the bracket type, ensure everything is tightly secured before moving on to the final installation step!
Step 7: Mount The Shelves
With your brackets securely in place, it’s time to mount the shelves. If you’re using floating shelf brackets, carefully slide the shelves onto the bracket rods, ensuring they fit snugly. For added security, you can apply a small amount of wood glue inside the shelf’s bracket holes before sliding them on. Once the shelves are in place, give them a gentle tug to make sure they are stable and properly supported.
If you’re using L-brackets, place the shelves on top of the brackets and use a level to confirm they are perfectly even. Then, drill screws from underneath through the brackets into the shelf to hold them securely in place. After installation, do a quick stability test by applying light pressure to ensure they don’t shift or wobble. Once everything is secure, your floating shelf are ready to be styled with toiletries, towels, or decorative accents to complete the look!
Styling And Maintenance Tips
Now that your shelves are installed, here are a few tips to keep them looking great:
- Decorate Thoughtfully: Use baskets or glass jars to organize toiletries and keep the shelves tidy.
- Add Greenery: Small potted plants can add a fresh and vibrant touch.
- Use Moisture-Resistant Accessories: Store towels, candles, and other items in waterproof containers.
- Regular Cleaning: Wipe shelves with a damp cloth weekly to remove dust and prevent water damage.
How Do I Ensure My Floating Shelves Are Securely Mounted?
To ensure maximum stability, mount the shelves into wall studs whenever possible. If studs aren’t available, use high-quality wall anchors rated for the weight of your shelves and items. Also, ensure the brackets are tightly secured with the appropriate screws.
What Is The Best Finish For Bathroom Floating Shelves?
A water-resistant finish is crucial for bathroom shelves. Polyurethane sealants (matte, satin, or gloss) protect the wood from humidity, while stains enhance natural wood grain. If painting, use a moisture-resistant primer and paint, such as satin or semi-gloss, for durability.
How Deep Should Floating Shelves Be For A Bathroom?
Bathroom floating shelves typically range from 6 to 10 inches deep. This provides enough space for toiletries, towels, and decor without protruding too far and taking up unnecessary room.
Can I Use Reclaimed Wood For Floating Shelves?
Yes! Reclaimed wood adds a rustic charm to bathroom decor. However, ensure it’s properly cleaned, sanded, and sealed to prevent moisture damage. Using brackets designed for heavier wood will also improve durability.
Final Thoughts
Floating shelves are a simple yet impactful way to enhance both the functionality and aesthetics of your bathroom. With a little time and effort, you can create a sleek, space-saving storage solution that keeps essentials within reach while adding a stylish touch. Whether you choose a rustic wooden look or a more contemporary design, floating shelf allow you to personalize your space without breaking the bank. Plus, the satisfaction of crafting and installing them yourself makes the project even more rewarding.
Now it’s time to grab your tools and bring your vision to life! With the right materials and a step-by-step approach, you can easily build sturdy and stylish shelves that suit your bathroom’s layout and décor. If you have any questions or creative ideas for floating shelves, feel free to share them in the comments below—we’d love to hear from you!

