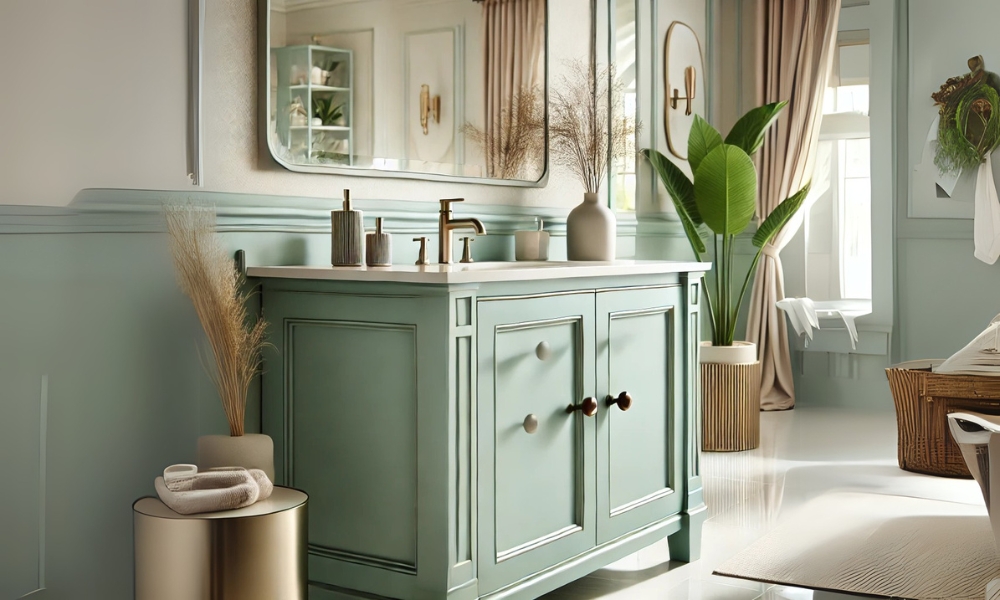
A fresh coat of paint on your bathroom cabinets can work wonders, turning drab into dynamic with minimal expense. This simple transformation brings not only a touch of elegance but also a unique, personal flair often missing in standard finishes. Unlike a full-blown remodel, which can be both daunting and costly, repainting your cabinets offers an impactful makeover that’s easy on the wallet. Here, we embark on a comprehensive journey through each step of paint bathroom cabinets, empowering even the most hesitant DIY enthusiasts to create a professional-grade finish.
Why Painting Bathroom Cabinets Can Transform Your Space
Cabinets, hidden in plain sight, often blend into the background, performing a silent function. Yet, a thoughtfully painted cabinet can seize attention, anchoring the room as a focal point. A carefully chosen color can breathe life into small bathrooms, creating a sense of space or adding warmth to otherwise sterile areas. Bold or muted, the paint choice provides control over the room’s mood and style, from serene spa atmospheres to modern, edgy looks.
Preparing Your Space for a Successful Cabinet Paint Job
Every masterpiece requires a well-prepared canvas, and your cabinets are no exception. Start by clearing the bathroom—free your workspace from clutter to prevent mishaps. Lay down drop cloths to safeguard floors, tape around edges with painter’s tape, and cover nearby counters. Essential tools like sandpaper, rollers, brushes, and cleaning agents should be within reach. A tidy setup sets the tone, reducing errors and keeping everything organized, so you can focus on achieving that flawless finish.
Selecting the Right Paint for Bathroom Cabinets
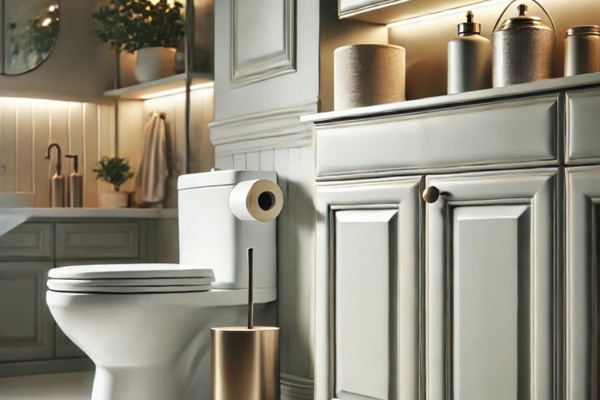
Paint selection goes beyond color; it’s about durability, especially in a bathroom prone to moisture and wear. Semi-gloss and gloss finishes are common choices due to their resilience and easy-to-clean nature. For quick drying and smooth results, latex paint works wonders, but oil-based paint stands out for its toughness and adhesive strength. Consider the lighting and existing decor in your bathroom when choosing a color, as these elements will influence the final appearance and atmosphere of your revamped space.
Understanding Primer and Its Role in Cabinet Painting
Primer—often underestimated—is essential to any lasting paint job, especially on cabinets subject to daily use. A quality primer not only smooths the surface but also boosts adhesion and extends paint life. Glossy surfaces benefit greatly from a specialty primer that helps the paint grip securely. If your cabinets are dark, primer acts as a neutral foundation, allowing your chosen color to radiate vibrantly. In short, priming is your ticket to a polished, professional result.
Removing Cabinet Doors, Drawers, and Hardware
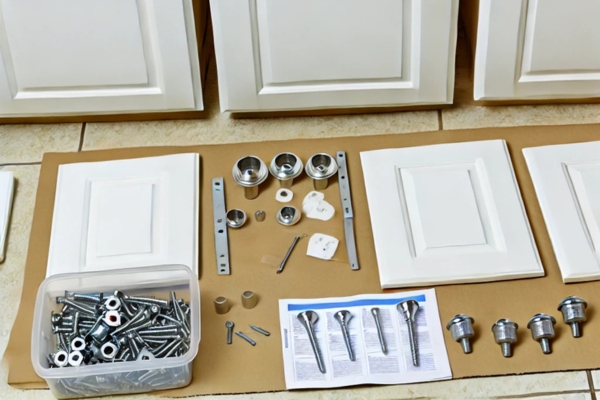
Before picking up that paintbrush, remove all cabinet doors, drawers, and hardware. Label each piece so reassembly is a breeze. Taking these elements apart grants access to every nook and cranny, ensuring even coverage. Small parts, screws, and knobs can be easily misplaced, so keep them in a labeled container. By detaching the hardware, you also have the option to swap out knobs or pulls, elevating your cabinet’s appearance even further.
Cleaning and Prepping Cabinet Surfaces
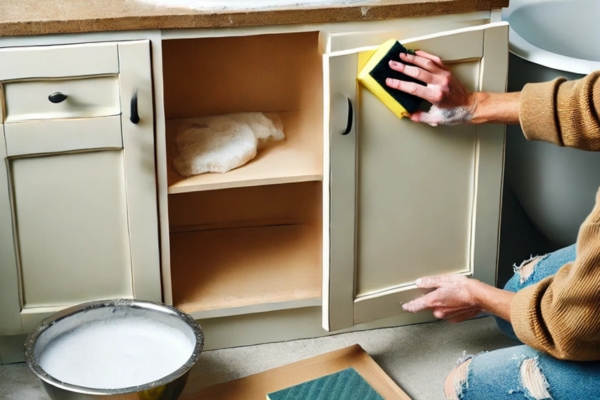
Clean cabinets are the foundation of a paint job that lasts. Gray Bathroom Cabinets What Color Walls, in particular, collect soap scum, grease, and grime, which can prevent the paint from bonding. A degreaser or warm soapy water does the trick for a thorough clean. Once scrubbed, rinse and allow them to dry. Follow with sanding—using medium-grit sandpaper—to smooth imperfections and create a lightly textured surface that’s ready for primer.
Filling and Repairing Any Cabinet Imperfections
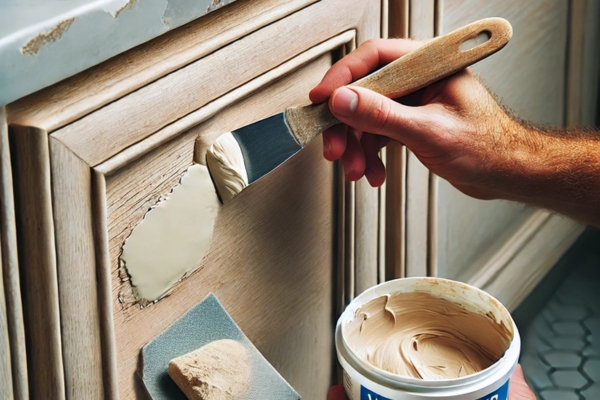
Before the paint goes on, repair any visible dents, cracks, or holes. Wood filler is ideal for this, applied with a putty knife to achieve a smooth, seamless finish. Once dry, sand down the filler to make it flush with the rest of the surface. By filling imperfections, you ensure that the final result is polished and professiPriming the Cabinets: The Key to a Durable Finishonal, free from distracting blemishes.

Priming the Cabinets: The Key to a Durable Finish
A thin, even layer of primer works wonders for durability and adhesion. Start with a small roller for broad areas and switch to a brush for corners and edges. After the primer has dried, check for rough patches and gently sand them. This step primes your cabinets for an enduring finish, capable of withstanding the damp, high-traffic environment of a bathroom.
The Painting Process: Applying the First Coat
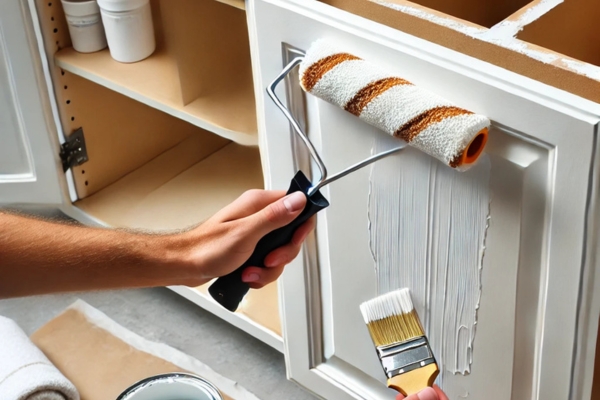
Precision is key with the first coat of paint. Use a brush for corners and a roller for larger areas. Apply smooth, even strokes with a light touch to avoid drips. Allow the paint to dry fully before deciding if additional coats are needed. Rushing can lead to brush marks and uneven coverage, so take your time to achieve a clean, professional look.
Adding Additional Coats: Building Up to a Perfect Finish
To attain that rich, durable finish, most cabinets require two or three thin coats. Each coat should dry completely before the next is applied, building layers that contribute to a resilient, even color. Gradual layering enriches the hue, giving your cabinets the depth and vibrancy that define a high-quality paint job.
Choosing a Protective Topcoat for Lasting Results
A topcoat such as polyurethane or polycrylic adds a final layer of protection, sealing in the paint to prevent moisture damage, scratches, and other daily wear. Glossy topcoats amplify shine, while matte finishes offer a subtle, softer effect. Take care with application to avoid streaks and drips; a high-quality brush ensures even coverage. A good topcoat preserves your hard work, keeping cabinets looking new and fresh.
Reassembling Cabinets and Attaching Hardware
Once the topcoat has dried, it’s time to put everything back in place. Reattach doors and drawers carefully to avoid nicking the paint, and secure hardware for a finished, cohesive look. Attention to alignment during reassembly lends a polished appearance, completing your transformation and making the cabinets fully functional once more.
Touching Up and Fixing Any Mistakes
Small imperfections—drips, streaks, or missed spots—are easily addressed in the touch-up stage. A fine brush can fill in any areas that need additional paint, while sandpaper smooths any bumps. With a steady hand, blend these touch-ups seamlessly into the overall finish, achieving a flawless look.
Cleaning Up After Your Painting Project
Once you’ve admired your work, it’s time to clean up. Proper disposal of materials, washing of brushes, and storage of leftover paint are essential steps. Remove protective coverings, and give the bathroom a final wipe-down to catch any lingering dust or paint. A tidy finish to your project also gives you a chance to bask in the satisfaction of a job well done.
Maintenance Tips for Newly Painted Bathroom Cabinets
Keeping your cabinets looking fresh requires minimal maintenance. Use a mild detergent and a soft cloth for regular cleaning. Avoid abrasive cleaners, as they can chip or fade the paint. Address chips or scratches promptly to maintain the integrity of the finish, and your cabinets will stay vibrant and beautiful for years to come.
Troubleshooting Common Cabinet Painting Problems
Problems such as peeling, bubbling, or discoloration can be remedied with quick fixes. Often, re-sanding and re-priming affected areas are enough to set things right. Humidity control is essential, especially in a bathroom; installing a fan or dehumidifier can work wonders. Persistent issues may require an additional topcoat to reinforce protection.
Creative Ideas for Customizing Your Painted Cabinets
Painting allows for endless customization. Try stencils, two-tone designs, or distressed effects for unique finishes. Upgrading hardware with new knobs, handles, or pulls personalizes the look even more, allowing your cabinets to perfectly reflect your style and complement the bathroom’s decor.
Cost Comparison: DIY vs. Hiring a Professional Painter
DIY offers substantial savings, with control over both costs and results. While professionals bring experience and efficiency, the DIY route allows for a hands-on, personalized project. Consider your time, budget, and desired outcome when deciding; for many, the pride of a DIY finish is well worth the effort.
Inspiration and Ideas for Painted Bathroom Cabinets
From timeless whites and grays to adventurous blues and pastels, the color choice sets the mood. Experiment with tones and textures to suit your bathroom’s style, and don’t shy away from mixing classic and modern hues for a distinctive look. Painted cabinets allow self-expression, transforming the ordinary into the exceptional.
Conclusion
Transforming your bathroom cabinets through paint is not only gratifying but achievable. With patience, attention to detail, and a touch of creativity, you’ll revitalize your bathroom into a space that feels fresh and uniquely yours. Embrace the journey, whether you choose a bold statement hue or a soft neutral, and enjoy the charm of your beautifully painted cabinets.
