
Updating your bathroom or kitchen doesn’t always require a complete remodel. Sometimes, small changes can make a big impact, and one of the easiest ways to refresh your space is by painting your faucets. Whether your fixtures are outdated or you just want to add a pop of color, paint faucets is a cost-effective DIY project that can breathe new life into your home. In this guide, we’ll walk you through the process of painting your faucets, ensuring a durable and professional-looking finish.
How Long Will The Paint Last On My Faucet?
The longevity of the paint depends on several factors, including the quality of the paint and primer, the amount of use the faucet gets, and how well the surface was prepared. Generally, a well-prepared and painted faucet can last several years, especially if a clear topcoat is applied for added protection.
Can I Paint Any Type Of Faucet?
Yes, most types of faucets can be painted, including those made of metal or plastic. However, it’s essential to use a primer and paint that are specifically designed for the material of your faucet. Metal faucets, in particular, require a primer suitable for metal surfaces.
Materials You’ll Need
Before you get started, gather the following materials:
- Sandpaper (220-grit)
- Painter’s tape
- Drop cloths or plastic sheeting
- Cleaning solution (like vinegar or dish soap)
- Microfiber cloths
- Primer suitable for metal surfaces
- Spray paint designed for metal
- Clear topcoat (optional for extra durability)
- Screwdriver
Step-By-Step Guide
Step 1: Remove Or Protect Surrounding Areas
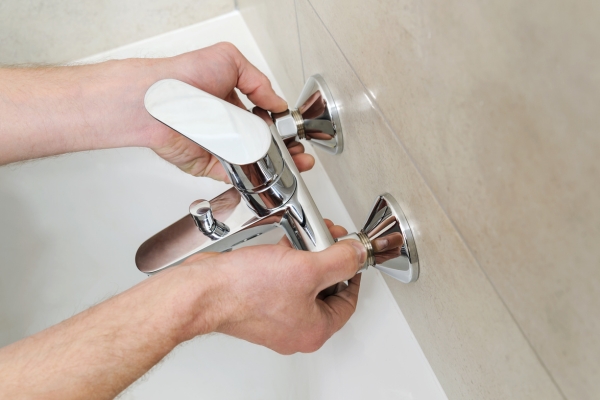
First, decide whether you want to remove the faucet entirely or paint it in place. If you choose to remove it, use a screwdriver to detach the fixture from the sink or countertop. This method provides the best access for painting. If removal isn’t an option, thoroughly cover the surrounding area with painter’s tape and drop cloths to prevent overspray.
Step 2: Clean And Sand The Faucet
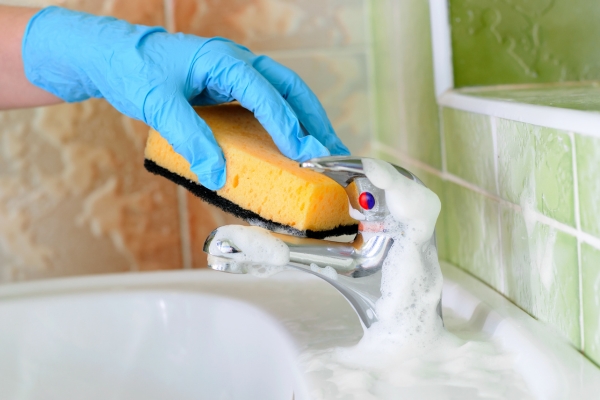
Clean the faucet thoroughly to remove any grease, grime, or soap residue. A mixture of vinegar and water or dish soap works well. After cleaning, dry the faucet completely with a microfiber cloth.
Next, use 220-grit sandpaper to lightly sand the surface of the faucet. This step is crucial as it helps the primer and paint adhere better to the metal surface. After sanding, wipe away any dust with a Clean A Beer Faucet microfiber cloth.
Step 3: Apply Primer
Once the faucet is prepped, it’s time to apply a primer designed for metal surfaces. Hold the spray can about 8-10 inches away from the tube and apply a light, even coat. Allow the primer to dry according to the manufacturer’s instructions, usually around 30 minutes to an hour. A second coat may be necessary for complete coverage.
Step 4: Paint The Faucet

After the primer has dried, it’s time to draw. Shake the spray paint vigorously before use. Apply the paint in light, even strokes, keeping the can about 8-10 inches away from the faucet. Multiple thin coats are better than one heavy coat to avoid drips and achieve a smooth finish. Allow each coat to dry thoroughly before applying the next.
Step 5: Apply A Clear Topcoat
For added durability, especially in high-use areas like the bathroom or kitchen, consider applying a clear topcoat. This step will protect the paint from chipping and make the finish last longer. Apply the topcoat in the same manner as the draw, using light, even strokes.
Step 6: Reattach The Faucet
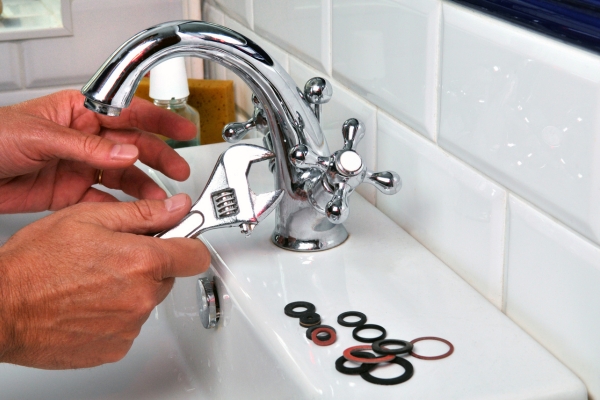
Remove the tube for painting, wait until the paint is completely dry before reattaching it to the sink or countertop. Ensure all screws are tightly secured, and check for any touch-ups that might be needed.
Step 7: Cure The Paint
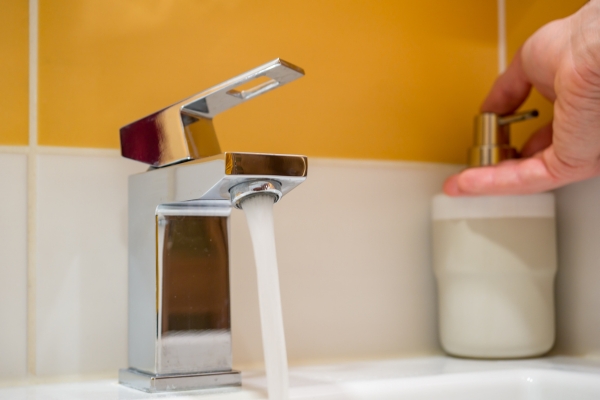
Allow the draw to fully cure before using the tube. This typically takes about 24 to 48 hours, depending on the type of draw and environmental conditions. During this time, avoid getting the faucet wet or exposing it to heavy use.
Final Thoughts
Painting your faucets is a simple yet effective way to update your bathroom or kitchen without breaking the bank. With the right preparation and materials, you can achieve a professional-looking finish that revitalizes your space. Whether you opt for a classic chrome look, a bold matte black, or something more colorful, the possibilities are endless. So, roll up your sleeves and give your faucets a fresh new look!

