
Paint wood chairs is a cost-effective and creative way to breathe new life into your furniture. Whether you’re aiming to modernize a dining set, add a splash of color to a plain chair, or simply safeguard the wood from wear, the process is simple yet impactful. With a bit of preparation—cleaning, sanding, priming—and the right choice of paint, you can transform old chairs into stunning, personalized pieces that complement your décor. By following a step-by-step approach and allowing each layer to dry thoroughly, you’ll achieve a durable, professional-quality finish that revitalizes your space.
Why Paint Wood Chairs?
Paint wood chairs is a practical and versatile way to enhance your furniture without breaking the bank. It offers a cost-effective alternative to purchasing new chairs, allowing you to transform outdated or worn pieces into stylish, like-new furniture. With endless color options, you can personalize your Paint wood chairs to perfectly match your home decor and express your unique taste. Additionally, painting serves as a protective barrier, shielding wood surfaces from moisture, scratches, and everyday wear, ensuring your chairs remain beautiful and durable for years to come.
Materials You’ll Need
Before starting, gather the following materials:
- Sandpaper (medium and fine-grit)
- Screwdriver (if the chair has removable parts)
- Cleaning cloth and mild detergent
- Primer suitable for wood
- Paint (acrylic, latex, or chalk paint)
- Paintbrushes or a paint sprayer
- Painter’s tape
- Drop cloth or newspaper
- Topcoat or sealant (optional for durability)
Step-By-Step Guide
1. Prepare Your Workspace
Before you start painting, it’s essential to prepare your workspace to ensure a smooth and safe process. Select a well-ventilated area, such as an open garage or outdoor space, to avoid inhaling paint fumes. Protect your floors or surfaces by laying down a drop cloth, old newspapers, or plastic sheeting to catch any drips or spills. A clean and organized workspace not only makes the painting process easier but also helps you achieve professional-quality results without creating a mess.
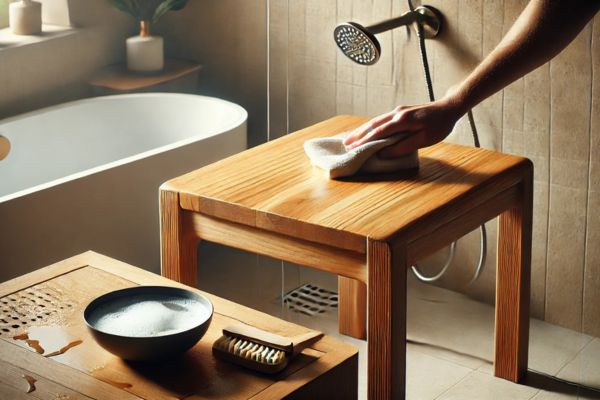
2. Clean The Chair
Cleaning the chair thoroughly is a crucial step to ensure the paint adheres properly. Start by wiping down the entire chair with a damp cloth to remove dust, dirt, and any loose debris. For stubborn stains or greasy spots, use a mild detergent mixed with water, scrubbing gently to lift away grime. Once the chair is clean, rinse it with a clean, damp cloth if needed, and allow it to dry completely before moving on to the next step. A clean surface ensures a smooth, long-lasting paint finish.
3. Disassemble If Necessary

Before You Begin Painting, disassemble the chair if it has removable parts such as cushions, screws, or other detachable elements. Using a screwdriver or appropriate tools, carefully take apart these components to avoid painting over areas that don’t need it. This step not only ensures an even and professional paint application but also makes it easier to reach tight spots or intricate details. Keep all removed parts organized for reassembly once the painting is complete.
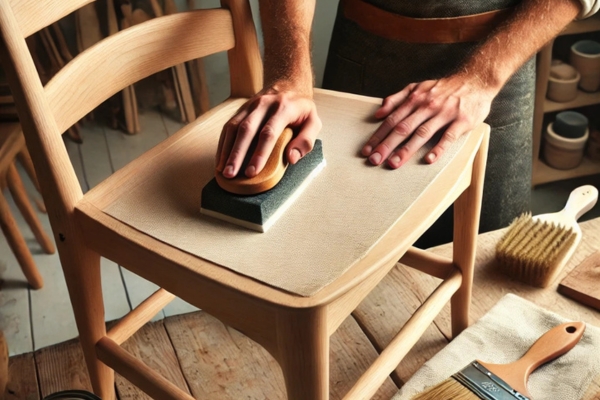
4. Sand The Surface

Sanding the chair is a vital step to ensure the paint adheres smoothly and evenly. Start by using medium-grit sandpaper to strip away old paint, varnish, or any rough spots on the surface. This helps to remove imperfections and create a fresh base for the new paint. Once the initial sanding is complete, switch to fine-grit sandpaper to achieve a smoother finish, which will enhance the final look. After sanding, wipe the chair thoroughly with a clean, damp cloth to remove all dust and debris, ensuring a clean surface for the next step in the process.
5. Apply Primer
Applying primer is essential to achieve a smooth, professional finish and ensure the paint adheres effectively to the wood. Use a high-quality wood primer to create an even base, filling in any small imperfections and enhancing the paint’s durability. Apply the primer evenly using a brush or roller, paying close attention to edges and corners. Allow the primer to dry completely, following the manufacturer’s instructions for drying time, as this step is crucial for the longevity and resilience of the final paint layer.
6. Paint The Chair
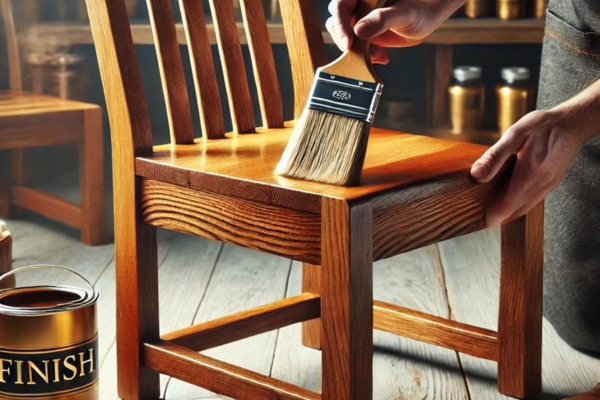
Painting the chair is where your project comes to life. Use a brush or sprayer to apply the paint, ensuring even coverage across all surfaces. Begin with thin, even coats to avoid drips and achieve a smooth finish. Allow each coat to dry fully before applying the next, as this builds up a rich, uniform color and prevents uneven surfaces. Typically, 2-3 coats are enough to create a polished and vibrant finish that transforms the chair into a stunning piece.
7. Add Details (Optional)
Adding details to your painted chair is a great way to infuse personality and creativity into the piece. Use painter’s tape to create crisp patterns or geometric designs for a modern look, or experiment with stencils to add intricate shapes, motifs, or decorative elements. For a touch of glamour, metallic paints can be applied to highlight specific areas like the edges or legs of the chair. These optional details elevate the overall aesthetic, transforming your chair from simple to extraordinary while making it a true reflection of your style.
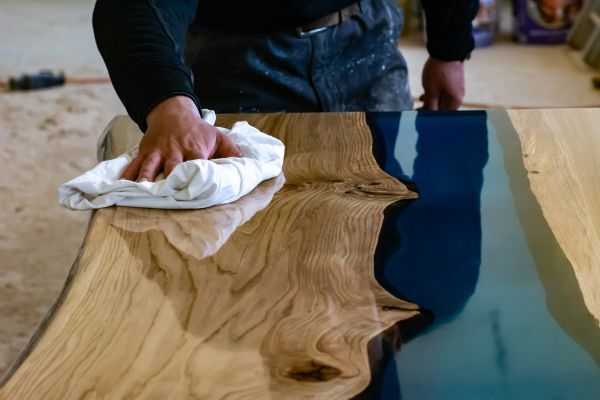
8. Apply A Topcoat
Applying a topcoat is the final step to ensure your painted chair remains beautiful and durable. Once the paint is completely dry, use a clear topcoat or sealant to protect the finish from scratches, moisture, and daily wear. Choose a finish—matte, satin, or glossy—that complements your aesthetic preferences and enhances the overall look of the chair. A topcoat not only adds an extra layer of protection but also gives the piece a polished, professional appearance that will stand the test of time.
9. Reassemble And Enjoy
Applying a topcoat is the final step to ensure your painted chair remains beautiful and durable. Once the paint is completely dry, use a clear topcoat or sealant to protect the finish from scratches, moisture, and daily wear. Choose a finish—matte, satin, or glossy—that complements your aesthetic preferences and enhances the overall look of the chair. A topcoat not only adds an extra layer of protection but also gives the piece a polished, professional appearance that will stand the test of time.
Tips For Success
- Choose the right paint: Chalk paint offers a vintage look, while latex paint is durable and easy to clean.
- Test your color: Always test paint on a small, inconspicuous area before committing.
- Patience is key: Allow ample drying time between coats for a professional finish.
Final Thoughts
After completing your painting project, it’s time to bring your chair back to life. Reattach any parts you removed earlier, such as cushions, screws, or other components, ensuring everything is securely in place. Once reassembled, position your chair in its designated spot and admire the transformation. The vibrant, personalized finish will add character to your space, making all your hard work worthwhile.
cleaning wood chairs is a rewarding DIY project that allows you to breathe new life into old furniture while expressing your creativity. With proper preparation, attention to detail, and the right materials, you can achieve a polished, professional-looking result that will enhance your home for years to come. Gather your tools, get inspired, and turn your vision into reality!

