Polishing a chrome faucet can breathe new life into your bathroom or kitchen, giving it a gleaming, pristine look. Over time, chrome faucets can accumulate water spots, fingerprints, and tarnish, diminishing their shine. Knowing how to polishit not only enhances its appearance but also extends its lifespan. This guide will walk you through simple, effective steps to restore your faucet’s brilliance using common household items and a bit of elbow grease. By following these tips, you can maintain the elegant look of your chrome fixtures and keep them looking brand new.
Why Is Polishing Chrome Faucets Important?
Polishing chrome faucets is crucial for several reasons. Firstly, it helps maintain the aesthetic appeal of your bathroom or kitchen by keeping the fixtures shiny and spotless. A well-polished it reflects light beautifully, creating a clean and modern look. Additionally, regular polishing prevents the build-up of grime, water spots, and mineral deposits, which can cause the chrome to corrode over time. By knowing how to polish it, you can prolong its lifespan and ensure it continues to function properly while looking its best.
How Often Should I Polish My Chrome Faucet?
The frequency of polishing your chrome faucet depends on several factors, including the quality of your water and the amount of use it gets. Generally, it is recommended to polish it every few weeks to maintain its shine and cleanliness. If you live in an area with hard water, you may need to polish more frequently to combat mineral deposits. Regular maintenance is key; even a quick weekly wipe-down can prevent the build-up of residues that dull the chrome. By understanding how to polish it and integrating it into your cleaning routine, you can keep your fixtures looking pristine with minimal effort.
Can I Use Household Items To Polish My Chrome Faucet?
Yes, you can effectively polish your Clean Brushed Nickel Faucets using common household items, making the process both convenient and cost-effective. Items like white vinegar, baking soda, and aluminum foil can work wonders on chrome. For instance, a paste made of baking soda and water can gently scrub away stains without scratching the surface. White vinegar is excellent for dissolving mineral deposits and adding shine. Even a piece of crumpled aluminum foil can help remove rust spots. Knowing how to polish it with these everyday items not only saves money but also reduces the need for harsh chemicals, making it an eco-friendly cleaning solution.
What You Will Need
To Polish Your Chrome Faucet, Gather The Following Materials:
- Soft Cloths Or Microfiber Towels
- Mild Dish Soap
- White Vinegar
- Baking Soda
- Lemon
- Aluminum Foil
- Non-Abrasive Sponge
- Old Toothbrush
- Chrome Polish Or Metal Polish
Step-By-Step Guide To Polishing Your Chrome Faucet
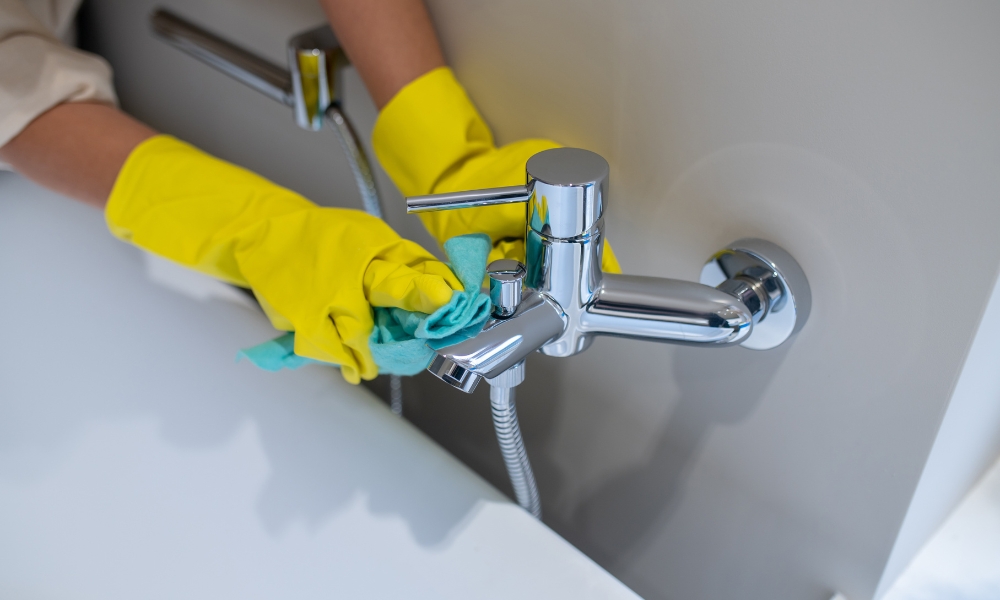
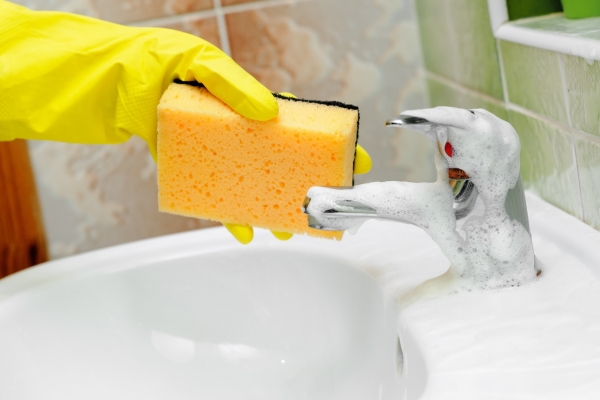
Step 1: Clean The Surface
The first step in polishing it is to clean the surface thoroughly. Begin by wiping down the faucet with a damp microfiber cloth to remove any loose dirt and grime. For a deeper clean, mix a solution of warm water and a few drops of mild dish soap. Dip the cloth into the soapy water and gently scrub the entire it, paying special attention to areas around the handles and spout where buildup tends to accumulate. Rinse the faucet with clean water and dry it with a soft towel to prevent water spots from forming.
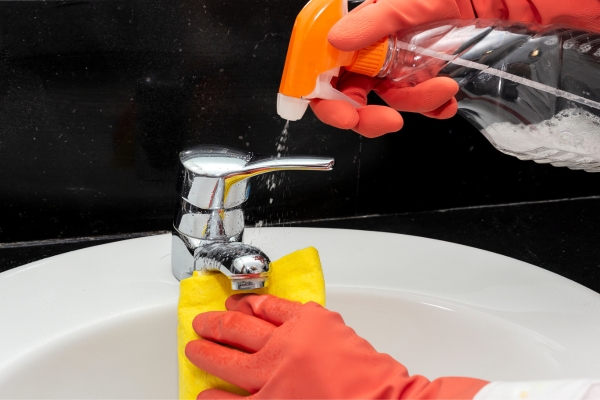
Step 2: Remove Stubborn Stains
After cleaning the surface, it’s time to tackle any stubborn stains that remain. For mineral deposits and water spots, white vinegar is highly effective. Soak a cloth or paper towel in white vinegar and wrap it around the stained areas. Let it sit for about 10-15 minutes to allow the vinegar to break down the deposits. For tougher stains, create a paste using baking soda and a small amount of water. Apply the paste to the stains and gently scrub with a soft-bristled toothbrush. Rinse thoroughly with water and dry the faucet with a clean cloth.
Step 3: Tackle Rust Spots
Rust spots on chrome faucets can be particularly challenging, but they can be removed using household items like aluminum foil. Tear off a small piece of aluminum foil and dip it in water. Rub the wet foil gently over the rust spots; the aluminum will react with the rust, effectively removing it without scratching the chrome surface. Once the rust is gone, rinse the faucet to remove any residue and dry it completely. To finish, polish the faucet with a microfiber cloth to restore its shine.
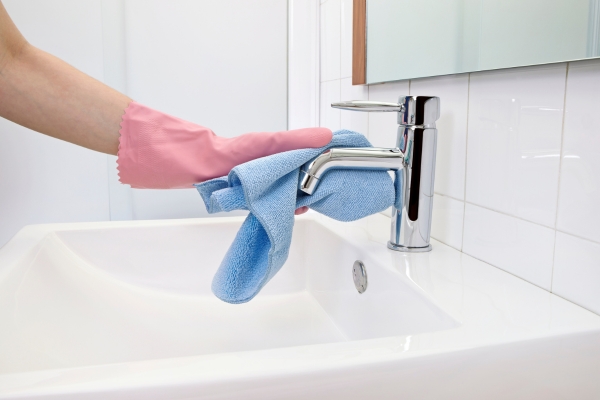
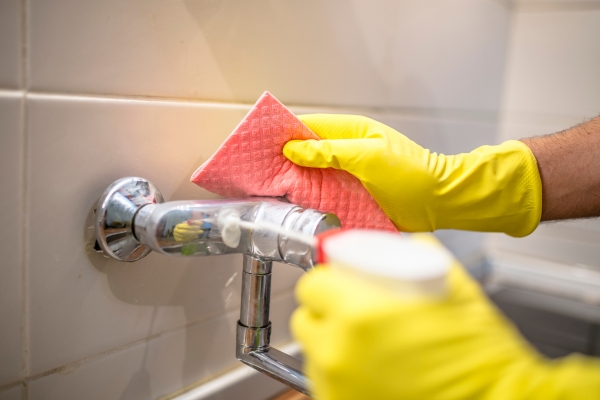
Step 4: Polish The Faucet
Now that the surface is clean and free of stains, it’s time to polish the faucet to bring out its original shine. Use a chrome polish or a mixture of equal parts water and white vinegar. Apply the polish or mixture to a soft cloth and gently rub it onto the chrome surface in circular motions. Ensure that you cover the entire it, including hard-to-reach areas around the base and handles. After polishing, buff the faucet with a dry, clean microfiber cloth to remove any excess polish and to achieve a brilliant, streak-free finish.
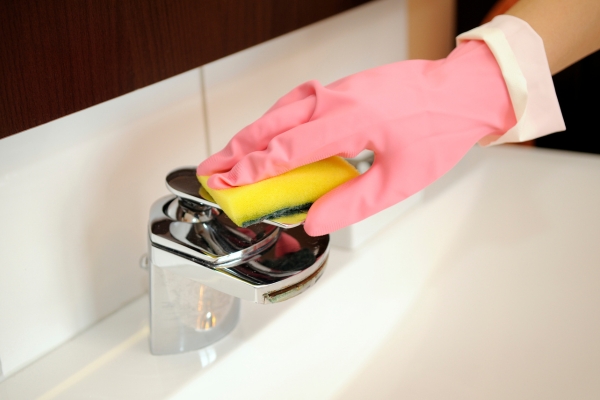
Step 5: Maintain The Shine
To keep it looking pristine, regular maintenance is essential. Wipe down the faucet daily with a dry microfiber cloth to remove water spots and fingerprints. For weekly maintenance, use a mild soap solution to clean it and prevent buildup. Avoid using abrasive cleaners or scrubbers, as they can scratch the chrome surface. By incorporating these simple habits into your cleaning routine, you can maintain the faucet’s shine and extend its lifespan.
Conclusion
Polishing a chrome faucet may seem like a small task, but it can significantly enhance the look of your kitchen or bathroom. By following these steps—cleaning the surface, removing stubborn stains, tackling rust spots, polishing the faucet, and maintaining the shine—you can ensure your chrome fixtures remain gleaming and in top condition. With regular care and the right techniques, you’ll know how to polish it effectively, keeping it looking brand new for years to come.

