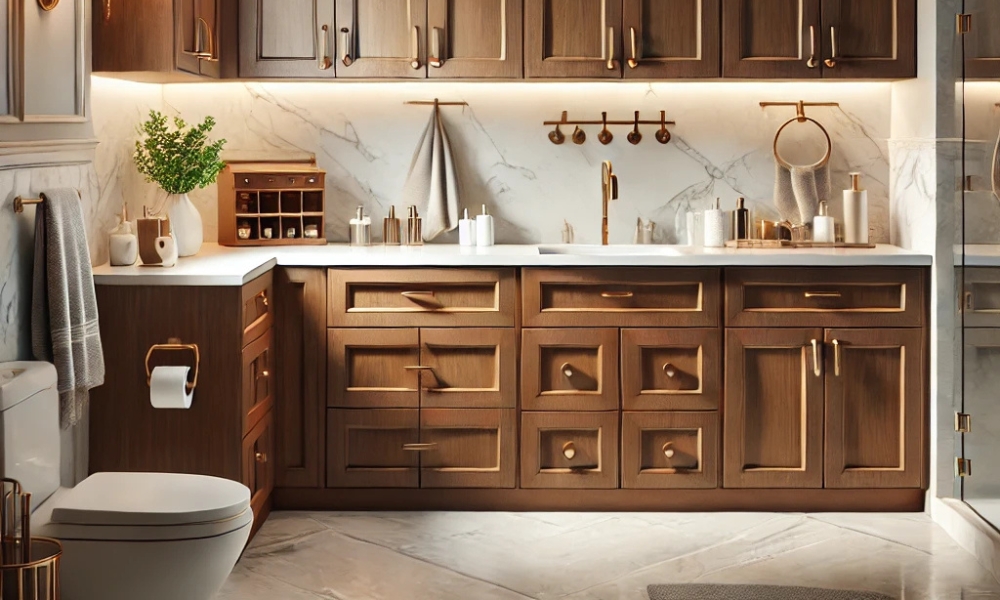
A bathroom makeover is one of the most transformative renovations you can undertake in your home. Full-scale renovations can be expensive and time-consuming. Fortunately, redo your bathroom cabinets offers an affordable way to completely refresh the look and feel of your space without tearing everything down. Whether you’re looking to update outdated cabinets, add a modern touch, or simply freshen up the existing ones, the right approach can make a world of difference.
Redesigning your bathroom cabinets gives you the flexibility to express your personal style. It’s an opportunity to incorporate colors, materials, and features that align with your vision for the room. So, roll up your sleeves and get ready to revitalize your bathroom with a simple yet effective cabinet makeover.
How To Decorate Bathrooms With Brown Cabinets?
Brown cabinets are often favored for their timeless appeal and versatility, making them a popular choice for bathroom decor. When it comes to decorating bathrooms with brown cabinets, the key lies in balancing the warm tones with complementary colors and textures. Pairing rich bathrooms decorated with brown cabinets with light, airy accents like white or soft gray walls can create a harmonious and inviting atmosphere.
To enhance the depth and sophistication of brown cabinetry, consider using metallic hardware, such as brushed gold or chrome. This combination will elevate the overall aesthetic, making your bathroom feel more polished. For those looking to introduce a pop of color, soft blues, greens, or even warm earthy tones can contrast beautifully with brown cabinet, bringing energy and vibrancy to your space.
Assessing Your Bathroom Cabinets: Before You Start
Before diving into any renovation project, it’s crucial to assess the condition of your bathroom cabinets. Are they structurally sound, or do they need repairs? Are the cabinets simply outdated, or are they suffering from wear and tear? Take the time to thoroughly examine the cabinet and determine what aspects need to be reworked.
Look for signs of water damage, such as peeling paint or warped wood, as these can indicate issues that may require more attention. Additionally, check the hinges, handles, and overall functionality of the cabinet doors and drawers. Knowing the extent of the work will guide your decision on whether you should refinish, repaint, or completely replace certain elements.
Step-By-Step Guide
Step 1: Gathering Materials And Tools For Redoing Your Bathroom Cabinets
The first step in redoing your bathroom cabinets is gathering the necessary materials and tools. You will need:
- Sandpaper (medium and fine grit)
- Paint or wood stain
- Paint Brushes or rollers
- Drop cloths or protective sheeting
- Screwdrivers
- Cabinet hardware (new knobs, handles)
- Wood filler (for repairs)
- Cleaner (degreaser or all-purpose cleaner)
- Primer (if painting)
- Protective gloves and safety goggles
Having everything on hand before you begin ensures you don’t have to pause in the middle of your project to hunt for tools or materials. Proper preparation sets the foundation for a smooth and successful cabinet makeover.
Step 2: Preparing The Bathroom For Cabinet Redoing
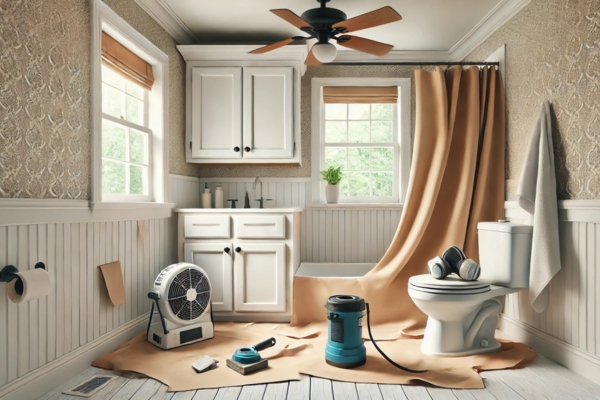
Preparation is key when starting a cabinet makeover. Clear the bathroom of any items that could get in the way, such as toiletries, towels, and decor. Cover the countertops and floor with drop cloths to protect them from dust, paint splatters, and debris.
Ensure proper ventilation in the bathroom by opening windows or using fans, as the fumes from paint and cleaners can be strong. If you plan to use an electric sander, consider wearing a dust mask to protect your lungs from inhaling particles.
Step 3: Removing Hardware And Cabinet Doors
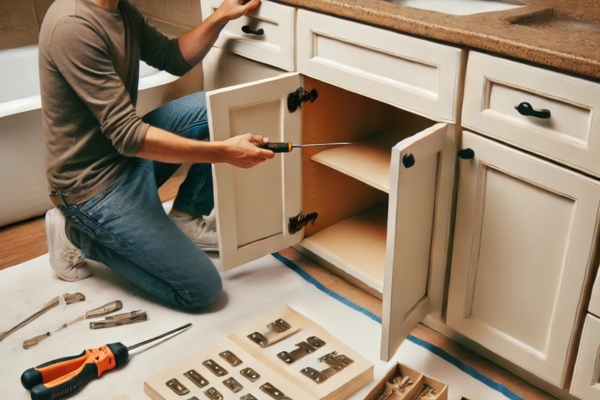
The next step involves removing the cabinet doors, drawers, and all hardware, including handles and knobs. Carefully unscrew the hinges and set them aside if you plan to reuse them later. If you’re replacing the hardware, ensure you’ve purchased replacements that fit properly.
Label each door and drawer as you remove them to help with reassembly later. This will ensure that doors and drawers are reattached to their original positions, preventing confusion and misalignment.
Step 4: Cleaning Your Cabinets Thoroughly
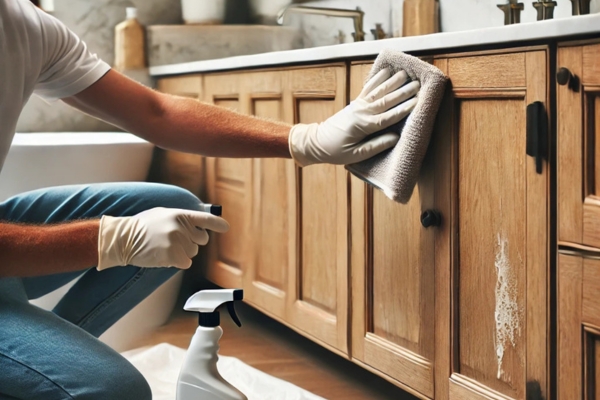
A clean surface is essential for painting or refinishing. Use an all-purpose cleaner or degreaser to remove dirt, grease, and soap scum buildup from the surfaces of the cabinets. Pay special attention to areas around handles and hinges, where grime tends to accumulate.
Once cleaned, allow the cabinet to dry completely before proceeding with any sanding or refinishing.
Step 5: Sanding And Preparing The Cabinet Surfaces
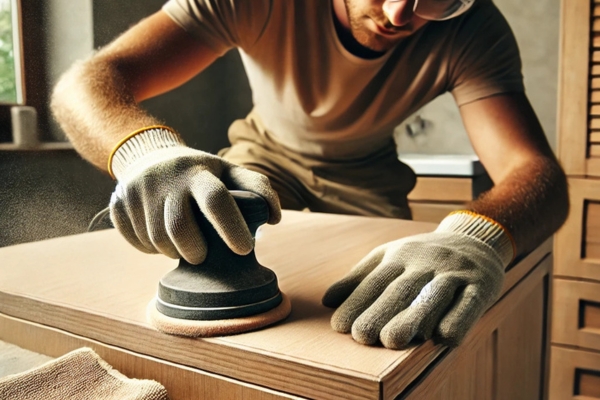
Sanding is a crucial step in the process, especially if you plan to paint your cabinets. Start with medium-grit sandpaper to remove any old paint, varnish, or rough patches. Follow up with fine-grit sandpaper to smooth the surface and create a more even finish.
If your cabinets are made of wood, sanding also helps open the pores of the wood, allowing for better paint or stain adhesion. Be sure to wipe down the cabinets with a clean, damp cloth afterward to remove any dust created during sanding.
Step 6: Repairing Any Damaged Areas
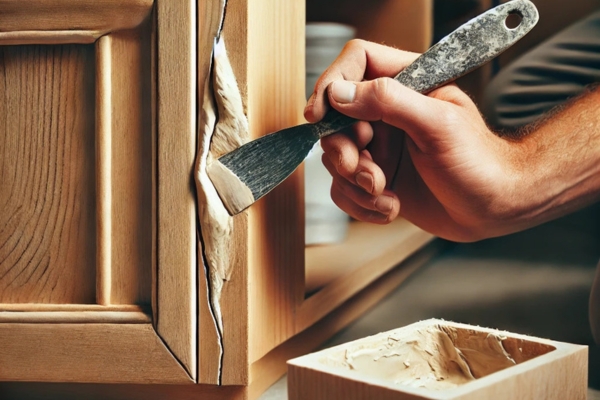
Inspect your cabinets for any dents, chips, or cracks. Use wood filler to fill in any imperfections, ensuring a smooth, seamless surface. Once the filler has dried, lightly sand the area to blend it with the surrounding wood.
For more extensive damage, consider replacing the damaged panels entirely.
Step 7: Choosing The Right Paint Or Finish For Your Bathroom Cabinets
Choosing the right paint or finish is critical to achieving a durable and beautiful result. If you want a sleek, modern look, opt for a high-gloss or semi-gloss paint, which is both water-resistant and easy to clean. For a more rustic or vintage feel, consider a matte or satin finish.
If you prefer a natural wood look, a high-quality wood stain can enhance the grain and texture of your cabinet while still providing protection against moisture.
Step 8: Applying Paint Or Stain To Bathroom Cabinets
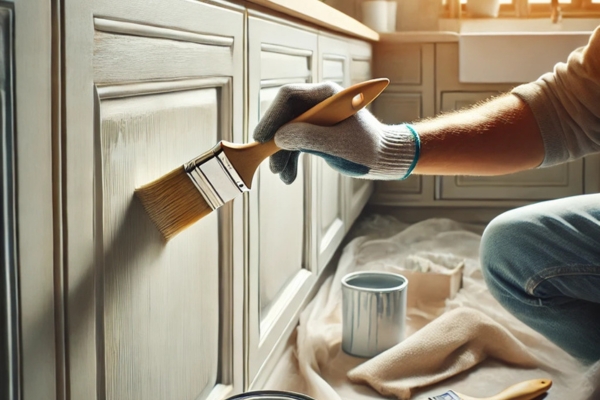
Once the surfaces are prepped, it’s time to apply your chosen finish. Start with a primer if you are painting over an existing finish. A coat of primer helps create a smooth base for the paint and ensures better adhesion.
After the primer dries, apply your first coat of paint or stain. Allow it to dry thoroughly before applying additional coats. For an even finish, use long, smooth strokes with a brush or roller. A second or third coat may be necessary to achieve the desired color and coverage.
Step 9: Replacing Or Updating Cabinet Hardware
Updating the hardware is a simple yet impactful way to give your bathroom cabinets a fresh look. Whether you choose sleek modern handles or classic knobs, the hardware you select can define the style of your cabinet.
When installing new hardware, measure and mark the locations of the screws carefully to ensure symmetry. Drill pilot holes if needed before securing the new hardware in place.
Step 10: Reattaching Cabinet Doors And Hardware
Once the paint or stain has fully dried, it’s time to reattach the cabinet doors and drawers. Start by attaching the hinges to the doors, followed by securing the doors to the cabinet frame. Make sure everything is aligned properly before tightening the screws.
Double-check that all doors and drawers open and close smoothly before finishing the installation.
Step 11: Installing New Storage Solutions Inside Your Cabinets
Now that your cabinets are looking refreshed on the outside, consider updating the interior storage solutions. Adding pull-out shelves, drawer dividers, or additional shelving can enhance functionality and maximize space.
These upgrades will help keep your bathroom organized and ensure your newly redone cabinets remain as functional as they are stylish.
Step 12: Keeping Your Newly Redone Bathroom Cabinets Looking Fresh
Maintaining the beauty of your bathroom cabinet is simple with a little care. Clean the surfaces regularly with a gentle cleaner to prevent buildup. Avoid harsh chemicals or abrasive materials that could damage the finish.
For cabinets that are exposed to high moisture, consider applying a protective clear coat or wax to add an extra layer of defense against humidity.
Step 13: Cost-Effective Ways To Redo Bathroom Cabinets
Redoing bathroom cabinets doesn’t have to be expensive. If you’re on a budget, consider refinishing or painting your existing cabinets rather than replacing them entirely. Reusing the original hardware or buying affordable, stylish options from a home improvement store can also keep costs down.
Planning ahead and shopping smart can help you achieve a high-end look without breaking the bank.
Step 14: Making Your Bathroom Cabinets Shine With Accessories
Small accessories like elegant drawer pulls, decorative knobs, and coordinated shelf baskets can add personality and flair to your bathroom cabinet. Consider adding a touch of greenery with small potted plants or a scented candle to elevate the overall atmosphere.
These thoughtful details can complement your new cabinets and add a personal touch to the space.
Step 15: When To Consider Full Bathroom Cabinet Replacement
While redoing your cabinets can breathe new life into your bathroom, there are times when full replacement may be necessary. If your cabinets are severely damaged, outdated, or no longer functional, replacing them with new ones might be the best option.
New cabinets can offer improved storage options, better materials, and a fresh look that matches modern bathroom trends.
Conclusion
Redoing your bathroom cabinets is a rewarding project that can completely transform the look of your space. With the right materials, tools, and approach, you can achieve a professional-looking result without the hefty price tag. By following a step-by-step guide and taking the time to carefully plan and execute the project, you’ll enjoy a refreshed, stylish bathroom that enhances both your home’s aesthetic and functionality.
