
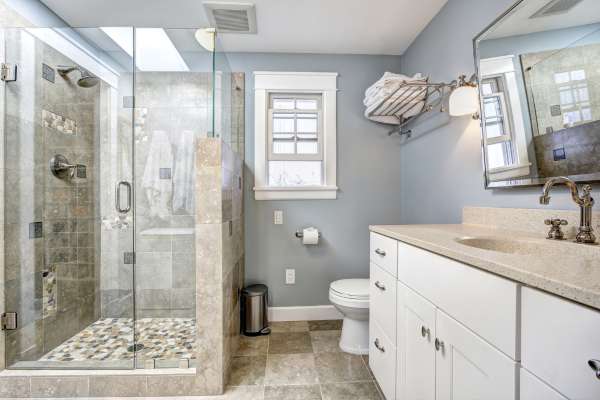
Embarking on the task of how to remove shower doors may initially appear challenging, but with the right guidance, it’s a straightforward process. This comprehensive guide is designed to assist homeowners in safely and efficiently dismantling their Fall doors. Whether it’s for maintenance, renovation, or an upgrade, these instructions will provide a clear and easy-to-follow approach, ensuring that anyone can undertake this task with confidence. Discover the essential tools, tips, and techniques needed for removing shower doorstep and give your bathroom a fresh new look.
Why Remove Shower Doors
Removing shower doors is often considered for several reasons. Aesthetically, homeowners might desire a change, opting for a more modern or accessible design like a walk-in shower or a simple curtain for a fresh look. Functionally, shower doorstep can become problematic over time – issues like sticking doors, troublesome tracks, or broken parts can make daily use frustrating. Additionally, the seals and small crevices in Fall doorstep often become breeding grounds for mold and mildew, prompting health-conscious homeowners to prefer an easier-to-clean alternative. In some cases, the removal is part of a larger bathroom renovation project, where the old doors no longer fit the new design.
Can I Recycle My Old Shower Doors?

Yes, recycling old shower doorstep is possible and encouraged. Most Fall doors are made of glass and metal, both of which are commonly recyclable materials. However, the process may not be straightforward due to the type of glass (often tempered) used in these doors, which requires different handling than regular glass. Additionally, the metal components need to be separated from the glass. It’s important to contact local waste management or recycling centers for specific instructions and requirements, as local policies on recycling such materials can vary.
Understanding The Need For Removing Shower Doorstep

Understanding the need for removing shower doorstep is crucial for a successful process. For those looking to update their bathroom’s aesthetics, removing old, dated doors can make a significant difference. In terms of functionality, removing doors that are no longer operating smoothly can eliminate daily hassles and safety concerns, especially in homes with elderly or physically challenged individuals where easy access is crucial. Furthermore, if the door has suffered damage, such as cracks or shattering, removal becomes a safety necessity to prevent potential injuries. Also, understanding the reason for removal helps in planning. The subsequent steps – whether it’s replacing with new doors, installing a curtain, or leaving the shower open.
Step-By-Step Guide To Removing Shower Doors
Step 1: Loosening The Screws
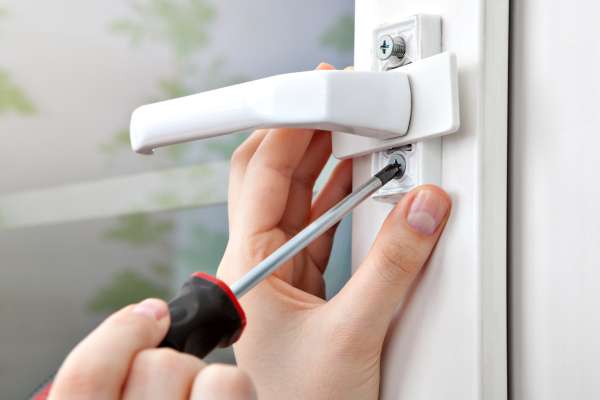
The first step involves loosening and removing the screws that hold the shower doorstep in their tracks. Start by identifying all the hardware securing the doors. You will need a suitable screwdriver, usually a Phillips or flat-head, depending on the screw types used in your shower door assembly. Carefully unscrew all the fasteners. Remember to keep all the screws and small hardware in a safe place, like a container or bag. So they don’t get lost in case you need to re-install the doors or use them for another purpose.
Step 2: Detaching The Doors

Once all screws are removed, it’s time to detach the doors. Shower doorstep typically slide within a track or might be hinged. If they slide, gently lift the doors up and angle. The bottom away from the track, then lower them out of the upper track. If they are hinged, carefully lift the door away from the hinge pins or unscrew the hinges from the door frame, depending on the design. It’s essential to be cautious during this step, as Fall doors can be heavy and fragile. Having a helper is advisable to avoid dropping the doors or causing injury.
Step 3: Handling Fixed Panels

If your shower enclosure includes fixed glass panels, these will need to be handled separately. Fixed panels are often secured with clips, silicone sealant, or other fasteners. Carefully examine how the panels are attached. If they are held in place with clips, unscrew or loosen these clips. For panels sealed with silicone, you may need to use a utility knife to cut through the sealant. Work slowly and steadily to avoid damaging the glass or the surrounding wall. Once the sealant is cut or the clips are removed, gently push the panel away from the wall or lift it out of its track.
Cleaning And Maintenance Post-Removal
After removing shower doors, it’s important to clean and maintain the area to ensure it remains in good condition. Start by removing any debris or remnants from the removal process. Clean the tracks and the area where the doorstep were mounted using a suitable bathroom cleaner to remove any mold, mildew, soap scum, or accumulated dirt. For stubborn residue, a mixture of white vinegar and water can be effective. If you notice any mold, use a mold-killing solution to prevent its spread. After thorough cleaning, inspect the area for any damage to tiles or walls. If necessary, carry out repairs or reseal any gaps with suitable caulking to prevent water damage.
Alternatives To Traditional Shower Doors
Once you’ve removed your traditional shower doorstep, you might consider alternative options for your shower. One popular choice is a shower curtain, which offers flexibility in design and ease of maintenance. Shower curtains come in various materials and designs, allowing for easy updates to the bathroom’s decor. Another option is a frameless glass panel, which provides a modern, open look while still containing water effectively. For those seeking a minimalist design or improved accessibility, an open shower or walk-in shower is a great choice. These designs are especially suitable for smaller bathrooms as they create a sense of space and openness.
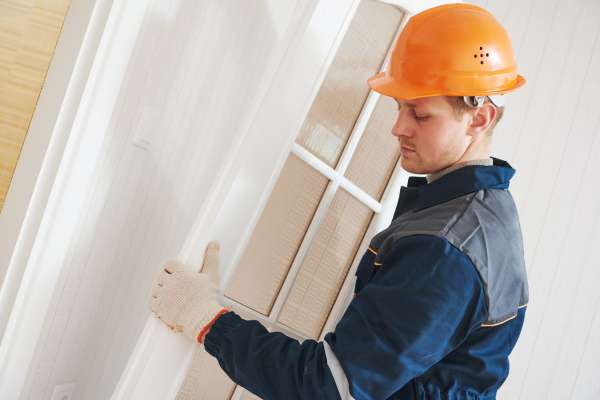
When To Call A Professional

While many homeowners can successfully remove shower doorstep as a DIY project, there are situations when calling a professional is advisable. If you encounter complex installations, such as doors with intricate framing or heavy, unwieldy glass panels. A professional can ensure safe and efficient removal. Additionally, if you come across any structural issues, such As damaged tiles or walls, consulting with a professional can prevent further damage. In cases where reinstallation of new doorstep or a complete bathroom remodel is planned. A professional’s expertise can be invaluable for a seamless And high-quality finish. Lastly, if at any point during the removal process you feel unsure or unsafe, it’s best to stop and seek professional assistance.
Troubleshooting Common Problems
When removing the shower doorstep, you may encounter a few common problems. If screws are rusted or stuck, apply a penetrating oil and allow it to soak in before attempting to loosen them again. For doors that seem jammed in their tracks, check for any hidden screws or debris obstructing the path. If the doorstep is heavy or unwieldy, always seek assistance to prevent injury or damage. In case of silicone sealant proving difficult to remove, gently use a razor blade to slice through it, being careful not to scratch the surfaces.
Reinstalling Shower Doors
If you plan to reinstall Fall doors, whether the same ones or new, start by ensuring that the track and area are clean and in good repair. If installing new doors, follow the manufacturer’s instructions closely. For sliding doorstep, install the top track first, ensuring it’s level, then proceed with the side tracks. Hang the doorstep carefully, adjusting them to ensure smooth operation. For hinged doors, attach the hinges to the door first, then align and secure them to the frame or wall. Check the alignment and make adjustments as necessary. Finally, apply silicone sealant around the edges where the door meets the walls or tub to prevent water leakage.
Conclusion
Removing and reinstalling shower doors can refresh your bathroom’s look or address functional issues. While the process can be straightforward, it requires careful attention to detail and safety precautions. Troubleshooting common issues is part of the process, and knowing when to call a professional is important. Whether you opt to replace your doors with new ones, choose an alternative like a curtain, or even leave your shower open, this change can significantly impact your bathroom’s functionality and style. With the right tools and approach, you can successfully complete this project and enjoy a rejuvenated bathroom space.

