
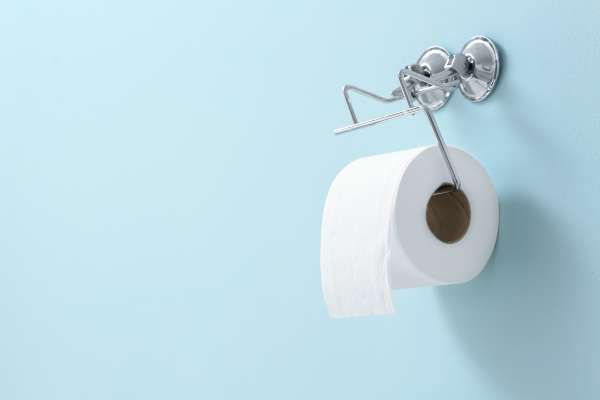
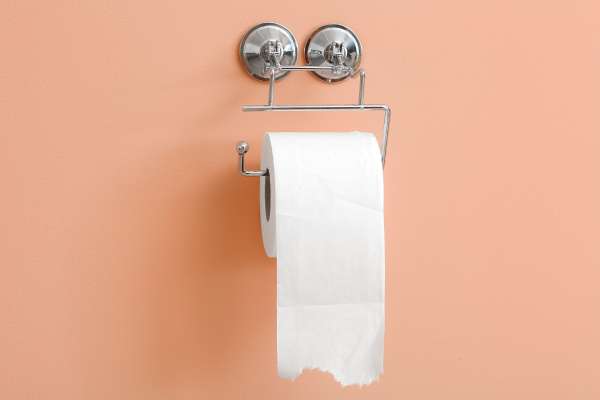
The realm of home improvement and do-it-yourself projects, learning how to remove and install a toilet paper holder in wall can be a practical and rewarding endeavor. The convenience and aesthetics of a well-placed paper holder are often underestimated until the need for removal or replacement arises. Whether you’re looking to update your bathroom’s decor, replace an outdated fixture, or simply need to address a malfunctioning holder, this guide provides step-by-step instructions for efficiently tackling the task. From dismantling the existing fixture to seamlessly installing a new one, this comprehensive walkthrough ensures that the process is not only accessible to all skill levels but also enhances the overall functionality and appeal of your bathroom space. Unlocking the secrets of it removal and installation can empower homeowners with the confidence to personalize and maintain their living spaces with ease.
Tools and Materials Required
Before embarking on the journey of removing and installing a paper holder, it’s essential to gather the necessary tools and materials to ensure a smooth and efficient process. Commonly required tools include a screwdriver, pliers, a level, and a stud finder. Additionally, having the new paper holder, screws, anchors, and a measuring tape on hand is crucial for the installation phase. Ensuring that all tools and materials are readily available beforehand not only streamlines the project but also minimizes interruptions, allowing for a more focused and successful endeavor.
Removing The Toilet Paper Holder Step By Step
Step 1: Assessing the Existing Holder
The initial step in this process involves a thorough assessment Of the existing toilet paper holder. Examine The current installation to determine the type of fasteners used, whether screws or adhesive, and identify any potential challenges that may arise during removal. This assessment lays the foundation for a strategic approach, enabling you To plan for The removal process effectively.
Step 2: Gathering Necessary Tools
With a clear understanding of the existing holder, proceed to gather the necessary tools outlined earlier. Ensure that the chosen tools match the requirements identified during the assessment. Having the correct tools at your disposal from the outset contributes To the overall efficiency Of the removal process, making it easier To disassemble The existing holder without unnecessary complications.
Step 3: Turning Off Water Supply

Before diving into the physical removal of the paper holder, it’s imperative To turn off the water supply to the bathroom. This precautionary measure ensures A mess-free process And eliminates the risk Of water spillage. Locate The shut-off valve near the toilet And turn it clockwise until it Is fully closed. This step is crucial, especially If the paper holder is installed near or behind the toilet, To prevent any water-related mishaps during the removal And subsequent installation.
Step 4: Removing The Holder
With the water supply safely turned off, proceed to remove the existing toilet paper. Depending on the assessment conducted in Step 1, use the appropriate tools—whether a screwdriver, pliers, or another suitable implement—to carefully detach the holder from the wall. Exercise caution to avoid damage To the surrounding area, and keep track Of any screws or fasteners for later reference. Gently pull the holder away From the wall, ensuring a smooth and controlled removal process.
Step 5: Patching Holes And Repainting

Upon successful removal of the old holder, The next step involves patching any holes left behind in the wall. Use a suitable wall filler or spackle to fill in the holes, smoothing the surface for a seamless finish. Once the patching material has dried, lightly sand the area to create an even surface. To complete the project, repaint the wall To match the surrounding décor. Choosing a paint color that complements The bathroom’s aesthetic will not only cover any imperfections but also contribute to A polished and cohesive look. This final step ensures that the removal and installation process leaves behind a visually pleasing and well-maintained bathroom space.
Step 6: Choosing A New Holder

Before proceeding with the installation, take the time to select a new holder that suits both your aesthetic preferences And functional needs. Consider the design, material, and finish that will seamlessly integrate with your bathroom decor. Whether opting for A classic, modern, or decorative style, ensure that The new holder aligns with the existing theme. Measure the space carefully To guarantee a proper fit and choose A model that accommodates your preferred toilet paper roll size. This thoughtful selection process sets The stage For A successful and visually pleasing installation.
Step 7: Installing The New Holder
With the chosen holder in hand, follow the manufacturer’s instructions for installation. Use the tools and materials gathered earlier, ensuring that the new holder Is securely anchored to the wall. Utilize a level during The installation process To ensure proper alignment. Pay attention to any specific recommendations regarding weight capacity and installation height. Once the new holder is firmly in place, turn The water supply back on and confirm that there are no leaks. This step-by-step approach ensures A seamless transition from the removal to the installation phase, resulting In a functional and aesthetically pleasing addition to your bathroom.
Maintenance Tips For Wall-Mounted Toilet Paper Holders
To prolong the life and functionality Of your wall-mounted holder, adopt A few maintenance practices. Regularly check For any loose screws or fittings And tighten them As needed. Wipe down The holder with A damp cloth To remove dust and maintain Its appearance. Be cautious not To overload The it with excessive weight, As this can strain the wall anchors over time. By incorporating these simple maintenance tips into your routine, You Can ensure the longevity And reliability of your newly installed It.
Common Mistakes To Avoid
In the process of removing and installing A wall-mounted toilet paper, certain common mistakes can be easily avoided. Ensure that the new holder Is level during installation to prevent uneven wear on the roll And potential stress on the holder. Use the correct tools and follow the manufacturer’s guidelines to avoid damage to the new it or the bathroom wall. Additionally, refrain from over-tightening screws, as this Can lead to cracks in the wall or damage To the it. By being mindful of these common pitfalls, you can navigate the process smoothly and enjoy a successful toilet paper holders replacement.
Benefits Of DIY Removal
Engaging in a do-it-yourself (DIY) removal of a toilet paper offers a range of advantages beyond cost savings. One of The primary benefits Is the empowerment It provides to homeowners, allowing them to take control of small home improvement tasks. DIY removal fosters A sense of accomplishment And independence, encouraging individuals To develop their skills and confidence in tackling household projects. Furthermore, It facilitates a deeper understanding of the home’s infrastructure, making future maintenance and repairs more approachable. The personal satisfaction derived from successfully completing A DIY removal project adds A unique layer of appreciation For one’s living space.
Creative Alternatives To Wall Installation

While wall-mounted holders are A common choice, exploring creative alternatives Can add a distinctive touch To your bathroom. Consider freestanding holders, which come In various styles and materials, providing flexibility In placement. Alternatively, repurposing items like decorative baskets or vintage crates Can serve As unique And eye-catching holders. Freestanding or repurposed options not only offer functional alternatives but also contribute To the overall aesthetic of the bathroom, allowing For a personalized And eclectic touch.
Conclusion
The process of removing and installing a presents A practical And rewarding opportunity For homeowners to enhance their living spaces. The step-by-step approach outlined above ensures A smooth transition from assessing the existingit to selecting And installing A new one. Engaging in DIY removal not only saves on costs but also empowers individuals To take charge of their home maintenance. Exploring creative alternatives to traditional wall installations adds A touch of personalization to The bathroom. Whether opting for A classic wall-mounted holder or embracing A unique alternative, the key lies In the satisfaction of A successfully completed project and a refreshed and functional bathroom space.

