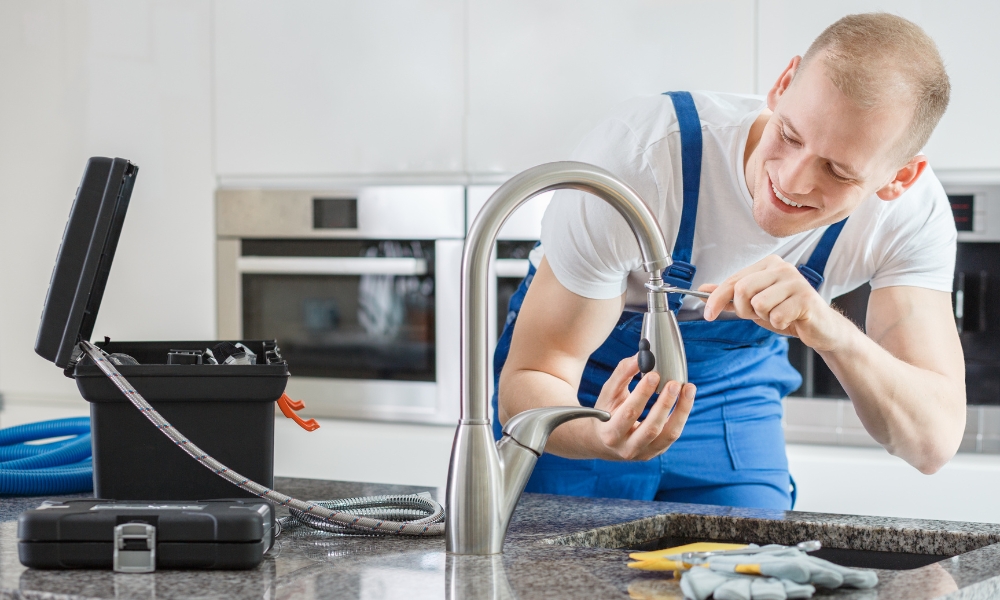
A kitchen faucet is one of the most frequently used fixtures in any home, and over time, even the most reliable brands like Moen can experience wear and tear. If your Moen kitchen faucet is leaking, has low water pressure, or has a loose handle, it might be time for a repair. In this guide, we’ll walk you through the step-by-step process of repairing your Moen kitchen tube, ensuring that it works like new again.
Identify The Problem
Before you begin, it’s essential to identify the specific issue with your tube. Common problems include:
- Leaking Faucet: Water drips from the spout even when the tube is turned off.
- Low Water Pressure: The water flow is weaker than usual.
- Loose Handle: The handle feels wobbly or doesn’t operate smoothly.
- Difficult Rotation: The spout or handle is hard to move.
Knowing the exact problem will help you determine the tools and parts you’ll need for the repair.
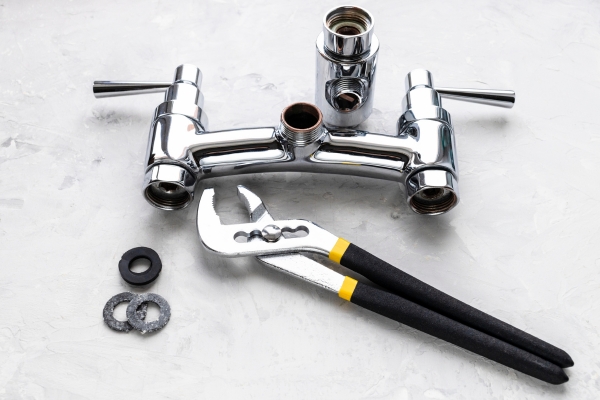
Gather Your Tools And Parts
For most Moen faucet repairs, you’ll need the following tools:
- Adjustable wrench
- Screwdriver (Phillips and flathead)
- Allen wrench
- Pliers
- Plumber’s tape
- Replacement parts (e.g., O-rings, cartridges)
Moen faucets Paint are known for their simple design and easy-to-find replacement parts, so make sure you have the right components before you start.
step-by-step instructions
1. Turn Off The Water Supply

Before working on your faucet, turn off the water supply to prevent any accidental flooding. You’ll find the shut-off valves under the sink. Turn them clockwise to stop the water flow. If your sink doesn’t have shut-off valves, you’ll need to turn off the main water supply for your home.
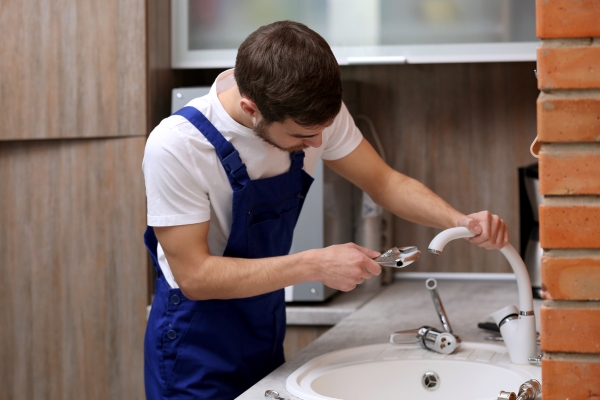
2. Disassemble The Faucet
Carefully remove the faucet handle using an Allen wrench to access the screw. Once the handle is off, use a screwdriver to remove the retaining nut or any other components securing the cartridge in place. Pay attention to how the parts come apart, as you’ll need to reassemble them in the same order.
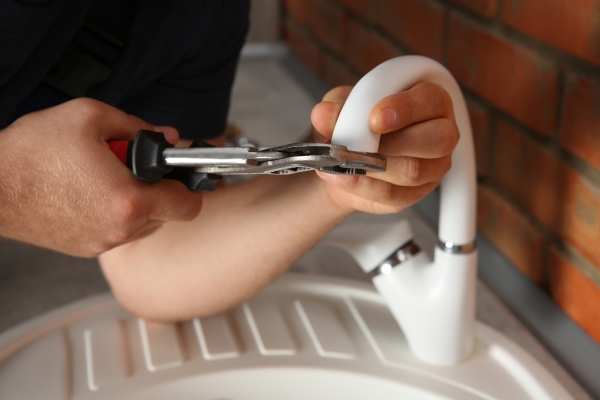
3. Inspect And Replace The Cartridge
The cartridge is a crucial component that controls water flow and temperature. If your faucet is leaking, the cartridge might be damaged or worn out. Remove the cartridge by pulling it straight out using pliers. Inspect it for any signs of wear or damage. If necessary, replace it with a new one, ensuring that the replacement matches the model of your tube.
4. Check And Replace O-Rings And Washers
Leaky faucets often result from worn-out O-rings or washers. Inspect these small rubber parts located around the cartridge and spout. If they’re cracked or worn, replace them with new ones. Applying plumber’s tape around the threads can help prevent future leaks.
5. Reassemble The Faucet
Once you’ve replaced the necessary parts, carefully reassemble the tube in the reverse order of disassembly. Tighten all components securely, but avoid overtightening to prevent damage.
6. Turn On The Water Supply And Test
After reassembling the faucet, turn the water supply back on and test the tube. Check for any leaks and make sure that the handle operates smoothly. If the tube works properly, you’ve successfully completed the repair.
Regular Maintenance Tips
To prolong the life of your Moen kitchen tube, follow these maintenance tips:
- Regular Cleaning: Wipe down the tube with a mild cleaner to prevent buildup.
- Avoid Harsh Chemicals: Use non-abrasive cleaners to protect the faucet’s finish.
- Check for Leaks: Periodically inspect the tube for leaks and address them promptly.
What are the common issues that occur with Moen kitchen faucets?
Common issues include leaking faucets, low water pressure, loose handles, and difficulty in turning the spout or handle. These problems are typically caused by worn-out cartridges, O-rings, or washers.
What should I do if my Moen faucet still leaks after replacing the cartridge?
The faucet still leaks after replacing the cartridge, check to ensure. All components are installed correctly and securely tightened. If the problem persists, the issue might be with the tube body itself, and it may require professional assistance.
Conclusion
Repairing a Moen kitchen faucet is a straightforward task that can save you the cost of hiring a plumber. By following these steps, you can fix common issues like leaks, low water pressure, and a loose handle, ensuring your tube remains functional for years to come. Remember to gather the right tools, identify the problem, and take your time with each step for a successful repair.

