Replace your laundry faucet, often overlooked, plays a pivotal role in your day-to-day household chores. It’s the silent workhorse of the utility room, delivering the water needed to rinse, wash, and clean. But as with all things mechanical, time takes its toll. Faucets wear down, start to leak, and, over the years, their performance declines. Imagine the steady drip, drip, drip, wasting water, or the rust creeping up, tainting the once gleaming fixture. It’s a slow unraveling of efficiency. Replacing a laundry faucets might sound daunting, but it’s a task well within reach. Armed with the right tools and a bit of patience, you’ll find this is a straightforward process—more manageable than expected, yet crucial for maintaining a functional space.
Why Replace Your Laundry Faucet?
Over time, the reasons to replace a laundry faucet stack up. Mineral deposits, often invisible to the naked eye, build up within the internal mechanisms, clogging the pathways. Corrosion sneaks in where moisture lingers, weakening fittings, and suddenly, you’re faced with leaks that can no longer be ignored. Moreover, aesthetics matter too. A tired, outdated faucets drags down the visual appeal of your laundry area. Newer faucets are not only more efficient but often designed with a modern flair. Beyond function, they refresh the entire space, injecting a clean, contemporary look. It’s about more than water flow—it’s about enhancing both performance and style.
Importance Of Maintaining A Functional Laundry Faucet
A properly functioning laundry faucet is a small, yet critical, component of your home’s plumbing ecosystem. The smooth flow of water, without interruptions or leaks, ensures tasks like washing clothes and cleaning up remain hassle-free. But when that faucets falters—whether it’s from reduced pressure or persistent dripping—frustration builds. By replacing an aging faucet, you’re not only solving an immediate problem, but you’re also investing in the longevity of your home’s plumbing system. It’s a proactive step that saves time, money, and prevents bigger issues down the line.
How Does A New Faucet Improve Efficiency And Aesthetics?
A fresh faucet breathes new life into your laundry room. It’s not just about better water flow, though that’s certainly a perk. Modern faucets come packed with features: water-saving designs, adjustable spray patterns, even finishes that resist fingerprints and smudges. These advancements enhance efficiency—saving both water and effort in every use. But beyond that, they bring an undeniable aesthetic upgrade. Sleek lines, polished finishes, and ergonomic designs turn a mundane utility area into a more pleasant, functional space. Every time you step into the laundry room, that new faucets will be a subtle reminder of how form and function can come together beautifully.
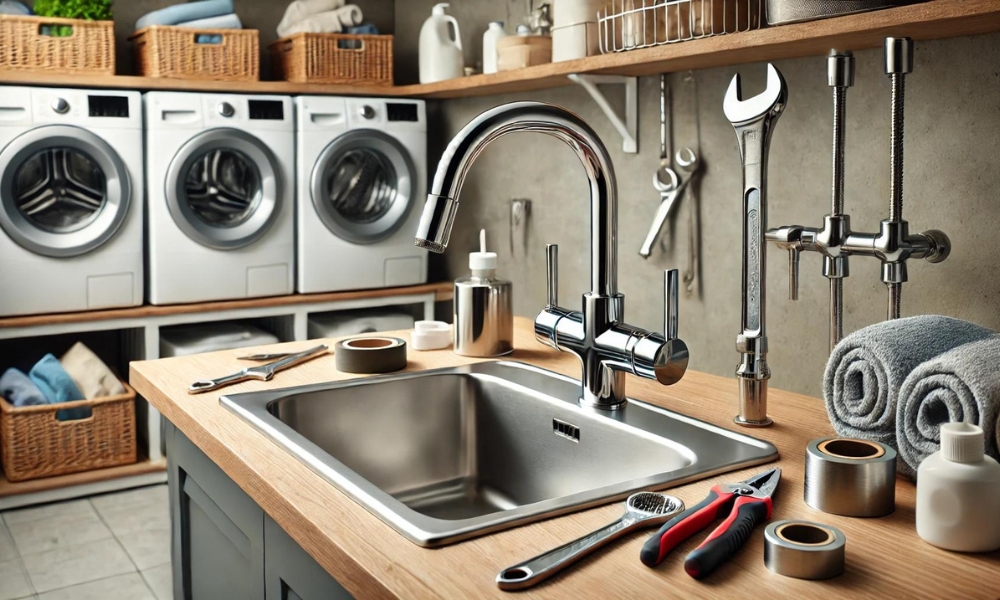
Preparing The Installation Area
Before diving headfirst into the faucets Replacing A Clawfoot Bathtub Faucet, preparation is key. Clear the workspace—remove detergents, supplies, and anything that might get in the way. Lay down towels or a bucket to catch any residual water, because trust me, there will be some. Gather your tools: an adjustable wrench, basin wrench, plumber’s tape, and perhaps a flashlight if you’re working in a tight, dimly lit space. A little preparation goes a long way. With everything within arm’s reach, you’ll avoid unnecessary delays and ensure a smoother installation process.
Step-By-Step Guide To Safely Removing The Old Faucet
Step 1: Turn Off The Water Supply
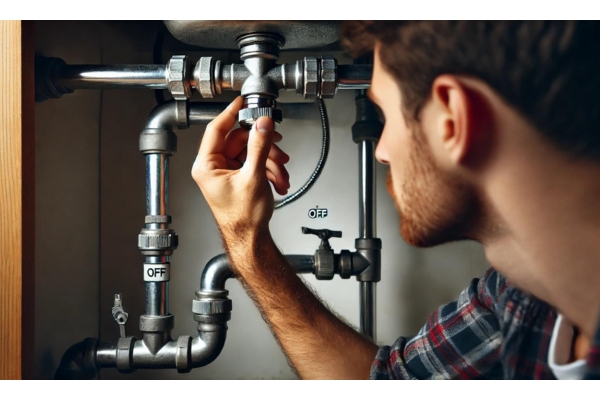
Begin by turning off the water supply. If your faucet has individual shutoff valves, twist them off. If not, you might have to shut off the water at the main supply line. This step is non-negotiable; skipping it would be a disaster waiting to happen.
Step 2: Drain The Pipes
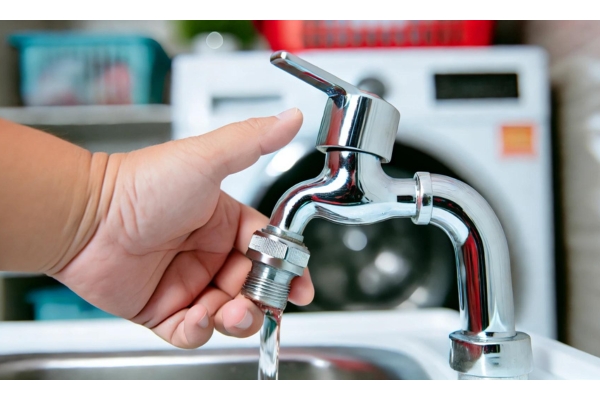
Once the water is off, open the faucets to release any lingering water in the pipes. This prevents surprises when you start disconnecting the lines—no one likes an unexpected spray of cold water.
Step 3: Disconnect The Water Supply Lines
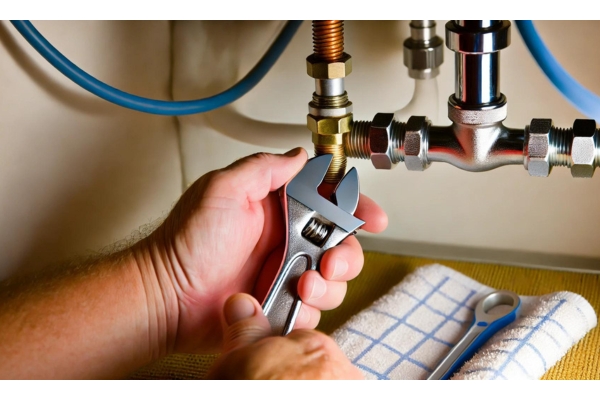
With your adjustable wrench in hand, carefully loosen the nuts securing the water supply lines to the faucet. A bit of water might drip out, so have those towels or a bucket ready. Take your time—rushing can cause damage to the lines.
Step 4: Remove The Faucet Handles And Spout
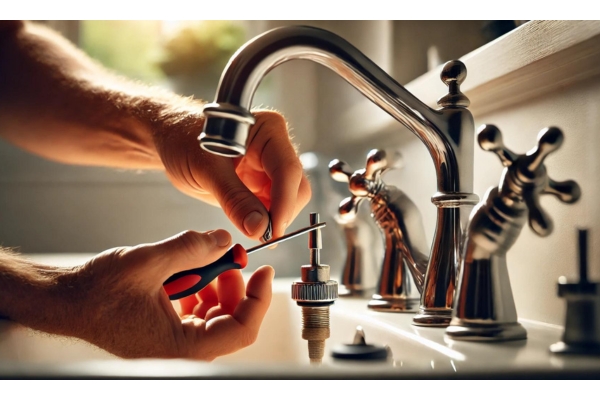
Next, remove the faucets handles and spout. If they have decorative caps, pop them off gently. Unscrew the handles to reveal the mounting hardware underneath. This step clears the way for the full removal of the faucet.
Step 5: Disconnect The Faucet Mounting Nuts

Reach under the sink, where the faucet is secured by mounting nuts. Using a basin wrench, loosen these nuts. This can be a bit awkward in tight spaces, but persistence is key.
Step 6: Detach The Old Faucets
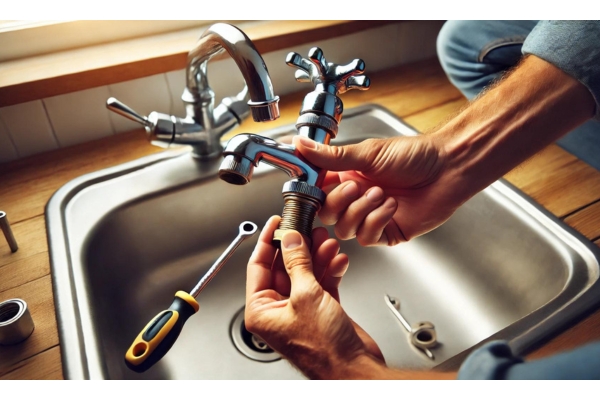
Once the mounting nuts are off, the faucet is free. Wiggle it gently to lift it out of place. If it’s stuck, don’t force it. A little leverage with a flathead screwdriver should do the trick without damaging the sink.
Step 7: Clean The Area

With the old faucets gone, it’s time to clean the area around the faucet holes. Scrub away old caulk, rust, or any debris that could interfere with the installation of the new faucets. A clean surface ensures a perfect fit.
Step 8: Check The Plumbing For Leaks Or Damage
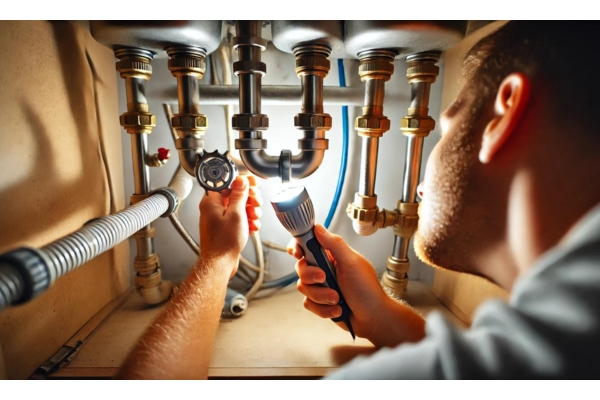
Before you proceed with installing the new faucet, take a moment to inspect the water supply lines and valves. Any sign of wear or leaks? Now is the time to fix them. Addressing potential issues upfront prevents future headaches.
Why Is A Clean Surface Critical For A Secure Fit?
A clean surface is the foundation of a secure installation. Any debris, leftover caulk, or rust can create uneven contact between the faucets and the sink, leading to poor sealing and future leaks. Ensuring a spotless surface is the easiest way to guarantee your faucet sits snugly, with no room for water to seep through.
How To Correctly Reattach The Hot And Cold Water Supply Lines?
Reconnecting the water supply lines requires attention to detail. The hot water line typically attaches to the left, the cold to the right. Use plumber’s tape around the threads to create a watertight seal, then tighten the connections with a wrench. A snug fit prevents leaks, but don’t overtighten—it can damage the fittings.
How To Test For Proper Water Flow And Leaks?
Once everything is reconnected, turn the water back on slowly. Allow it to flow through the faucet for several minutes. Check all connections, keeping an eye out for any signs of drips or leaks. If everything runs smoothly, you’ve done it right. If there’s a small leak, tightening the connections just a bit more usually fixes the problem.
What To Do If You Notice Reduced Water Pressure?
If the water pressure seems lower than expected after installation, don’t panic. It could be a simple issue, such as debris in the faucets aerator or a kink in the supply lines. Check the aerator first—unscrew it and clean out any sediment that might be clogging the flow.
Why Is It Important To Seal The Base Of Your Faucet?
Sealing the base of your faucet with plumber’s putty or silicone creates a watertight barrier. Water can easily seep underneath an unsealed faucet, causing damage to the surrounding area and even leading to mold or mildew growth. A proper seal keeps your faucet secure and prevents these long-term issues from cropping up.
Conclusion
Replacing a laundry faucet isn’t as daunting as it may seem. By following the steps laid out and taking your time, this simple upgrade can restore both function and beauty to your laundry room. A new faucet not only solves practical issues like leaks and low pressure, but it also enhances the overall look of your space. Maintain your plumbing, enjoy the refreshed utility, and take pride in a job well done. With a little patience and attention to detail, your laundry room will be ready for years of efficient service.

