Replacing a clawfoot bathtub faucet may seem daunting at first, but with the right guidance and tools, it’s a task that even a beginner can accomplish. This vintage centerpiece of your bathroom deserves the best care and maintenance, and knowing how to replace its faucet is essential. Whether you’re dealing with a dripping tube, outdated fixtures, or simply upgrading your bathroom’s aesthetics, this guide will walk you through the entire process. We’ll explore each step in detail, ensuring that by the end of this article, you’ll feel confident in tackling this project yourself.
How to Measure For a New Faucet?
Before you even think about purchasing a new faucet, you must accurately measure the existing setup. The distance between the supply lines, the size of the tube holes, and the clearance required for handles all play crucial roles in ensuring the new tube fits seamlessly. Grab a measuring tape and note the spacing between the holes—this is typically 3 3/8 inches center-to-center, but variations exist. Consider the reach of the tube spout as well; it needs to extend far enough to direct water into the tub but not so far that it becomes cumbersome. Accurate measurements are the foundation of a successful installation.
Understanding Your Clawfoot Bathtub
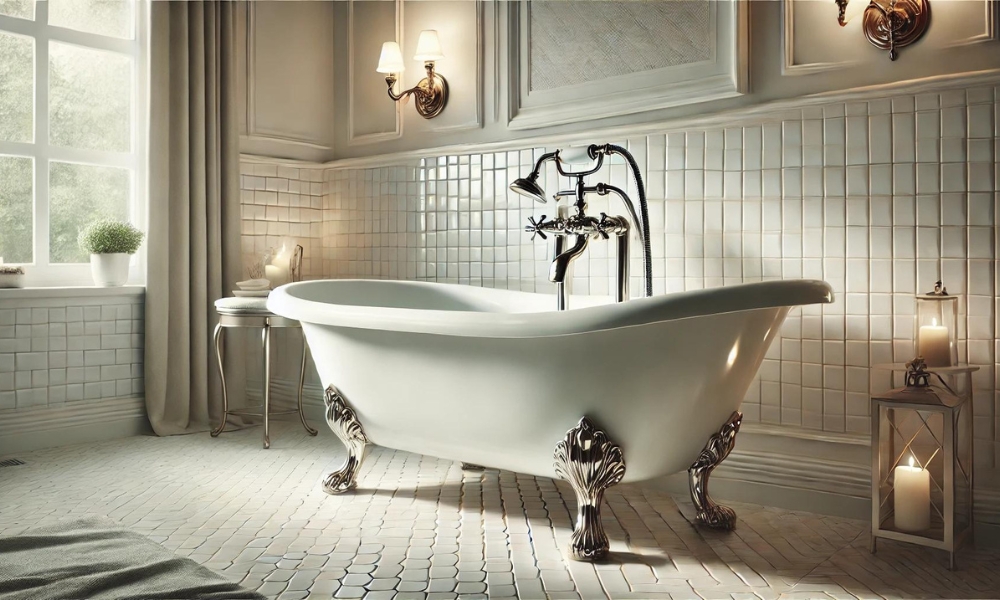
The clawfoot bathtub is more than just a bathing vessel; it’s a symbol of luxury, nostalgia, and craftsmanship. Its design, with its elevated structure and ornate feet, harkens back to a time when bathing was an experience to be savored. Understanding the anatomy of your clawfoot tub, from the material it’s made of (often cast iron or acrylic) to the configuration of its plumbing, is vital. This knowledge will not only help in selecting the right tube but also in preserving the integrity of your tub during the replacement process.
Different Types Of Clawfoot Bathtub Faucets
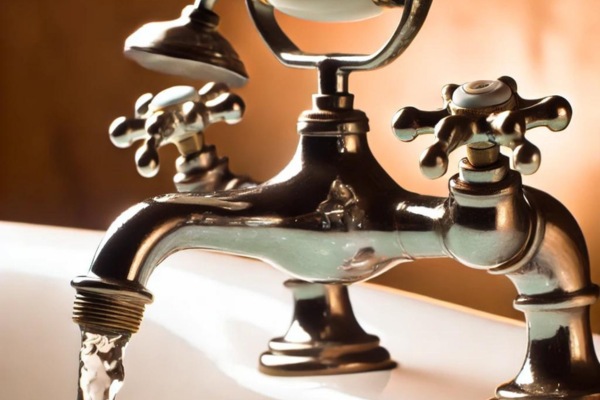
Clawfoot bathtub faucet come in a variety of styles, each suited to different aesthetic and functional preferences. From the classic freestanding tube that mounts to the floor, to the more modern deck-mounted options, understanding the differences is key. Some faucets come with a handheld shower attachment, while others stick to the basics. There are also wall-mounted versions that require specific plumbing configurations. Each type has its own installation quirks, and knowing these in advance will help you make an informed choice.
Choosing The Right Replacement Faucet
Selecting the right replacement faucet involves more than just matching it to your bathtub; it’s about harmonizing with your bathroom’s overall decor. Consider the finish—whether you opt for polished chrome, brushed nickel, or antique brass, the choice should reflect your style. Functionality is equally important. Do you need a simple tube, or would you benefit from additional features like a hand shower or thermostatic controls? Budget, durability, and ease of installation are other factors to weigh. The perfect tube is one that balances aesthetics, functionality, and longevity.
Essential Tools And Materials For Replacing A Faucet
Preparation is crucial when it comes to replacing a faucets. Before you begin, gather all the necessary tools and materials. You’ll need an adjustable wrench, pliers, a basin wrench, Teflon tape, plumber’s putty, and possibly a utility knife. Having these on hand will save you from mid-project runs to the hardware store. Additionally, you might need new supply lines or mounting hardware, depending on the condition of the existing setup. Proper preparation ensures a smooth and efficient installation process.
Step-By-Step Instructions
1. Shutting Off The Water Supply
The first and most critical step in replacing a clawfoot bathtub faucet is to shut off the water supply. This may seem obvious, but it’s a step that cannot be overlooked. Locate the water supply valves, typically found near the base of the tub or under the bathroom sink, and turn them off. In some cases, you might need to shut off the main water supply to your home, especially if the valves are difficult to reach or if the plumbing configuration is complex. Ensuring that no water can flow to the tube during the replacement process is crucial to prevent any accidental flooding or water damage.
2. Draining The Bathtub Pipes
With the water supply securely turned off, the next step is to drain any remaining water from the bathtub pipes. This is done by turning on the faucet until no more water flows out. It’s important to take your time with this step to ensure the pipes are completely emptied. This prevents any water from spilling out when you remove the old tube, keeping your workspace dry and safe. A dry environment is essential for both the ease of the replacement process and the longevity of your bathtub and flooring.
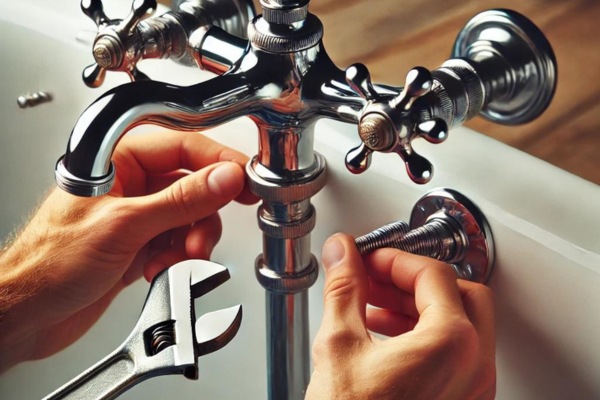
3. Removing The Old Faucet
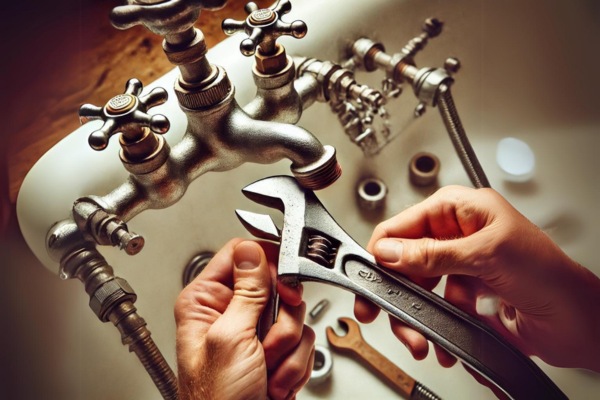
Once the pipes are drained, it’s time to remove the old faucets. Start by unscrewing the tube from its mounting. Depending on the age and condition of the tube, you might encounter some resistance due to rust or corrosion. In such cases, applying a penetrating oil to the connections can help loosen them. Carefully use an adjustable wrench or pliers to turn the nuts and bolts, being cautious not to damage the surrounding plumbing or the bathtub itself. Removing the old tube with care ensures that the mounting holes and surrounding area remain intact for the new installation.
4. Inspecting The Faucet Mounting Holes
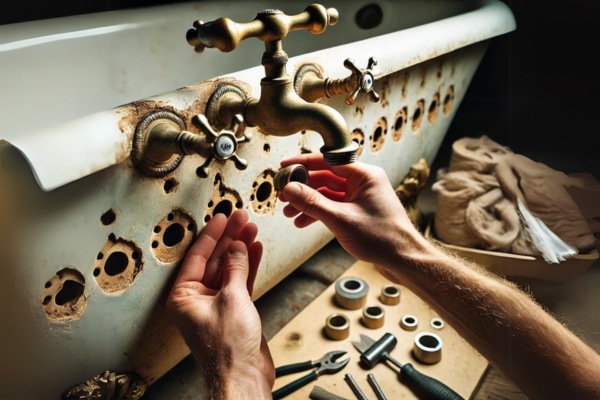
After the old faucet has been removed, it’s essential to inspect the mounting holes. Check for any signs of rust, corrosion, or debris that could interfere with the installation of the new tube. If you notice any damage, now is the time to address it. This might involve sanding down rust spots, cleaning out debris, or even making minor repairs to the surrounding area. Ensuring the mounting holes are clean and in good condition is crucial for achieving a secure and leak-free installation of the new tube.
5. Cleaning The Faucet Mounting Area
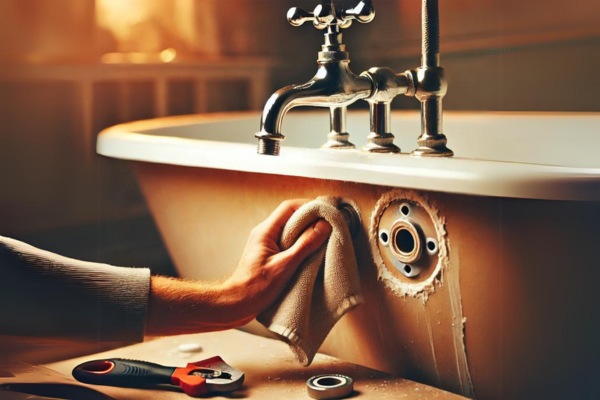
Before installing the new faucet, it’s important to clean the mounting area thoroughly. Use a mild cleaner and a cloth to wipe down the area, removing any old plumber’s putty, dirt, or residue left behind by the previous tube. A clean surface ensures that the new tube will sit flush against the tub and create a proper seal. This step might seem minor, but it plays a significant role in preventing leaks and ensuring the longevity of the new installation.
6. Preparing The New Faucet For Installation
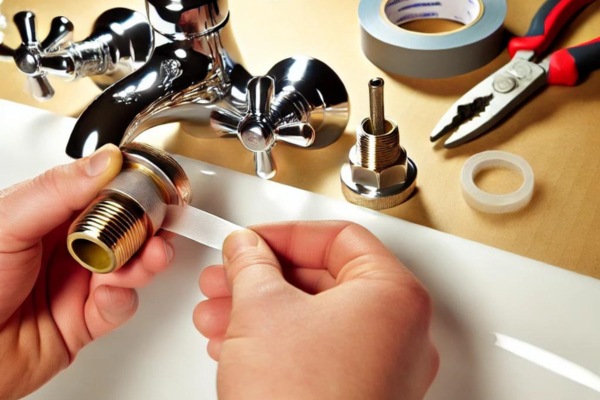
With the mounting area clean and ready, the next step is to prepare the new tube for installation. This often involves wrapping the threads of the faucet’s connections with Teflon tape to create a watertight seal. If the new tube requires any assembly before installation, follow the manufacturer’s instructions carefully. Ensuring that all components are properly aligned and securely fastened will make the installation process smoother and reduce the risk of leaks.
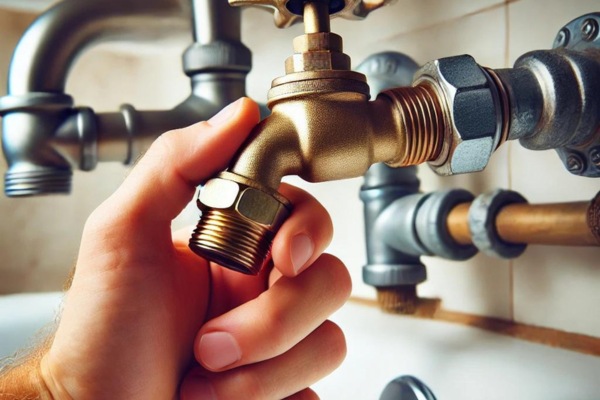
7. Connecting The Supply Lines
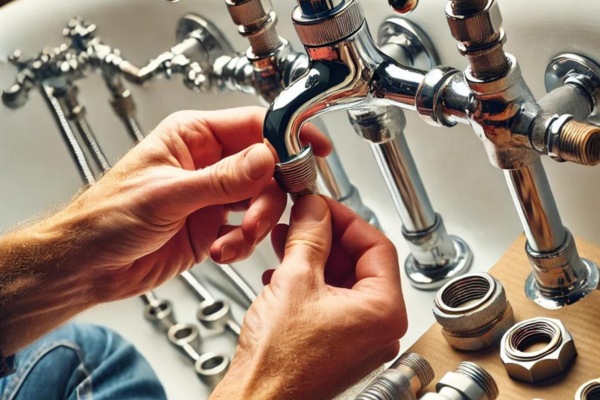
Once the new faucet is ready, it’s time to connect the supply lines. Attach the lines to the tube, making sure they are properly aligned and securely fastened. Be careful not to overtighten the connections, as this can damage the fittings and lead to leaks. Double-check that all connections are tight enough to prevent water from escaping once the water supply is turned back on. Properly connected supply lines are key to ensuring that your new faucet functions correctly without any leaks.
8. Securing The Faucet To The Bathtub
With the supply lines connected, the next step is to secure the tube to the bathtub. Position the tube over the mounting holes and use the provided hardware to fasten it in place. Make sure the faucet is level and aligned correctly before tightening the screws or bolts. A secure installation not only ensures that the tube will function properly but also contributes to the overall aesthetic of your bathroom, giving it a polished, professional look.
9. Testing The Faucet Installation
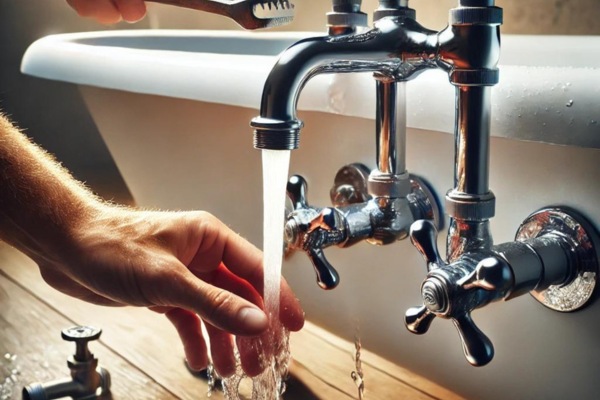
Before moving on to the final steps, it’s important to test the Clean A Beer Faucet installation. Slowly turn the water supply back on and watch for any signs of leaks around the connections. Let the water run for a few minutes to ensure that everything is functioning as it should. Testing the installation at this stage allows you to address any issues before completing the installation process, ensuring that your new tube works perfectly.
10. Checking For Leaks And Tightening Connections
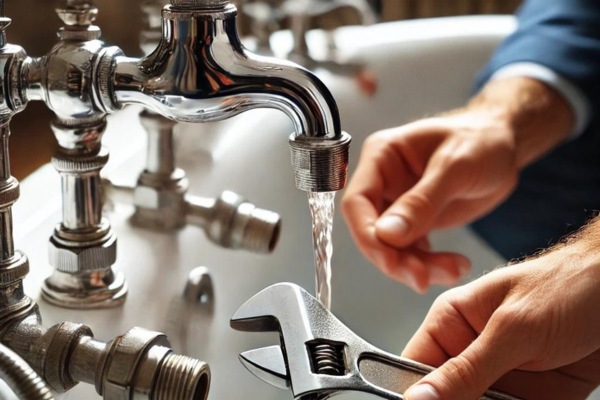
As the water flows, carefully inspect all connections for leaks. If you notice any water escaping, turn off the water supply and tighten the connections as needed. Be cautious not to overtighten, as this can cause damage to the fittings or the faucet itself. A final check for leaks is crucial to ensuring that your new tube installation is secure and will remain leak-free for years to come.
11. Reattaching Handles And Decorative Elements
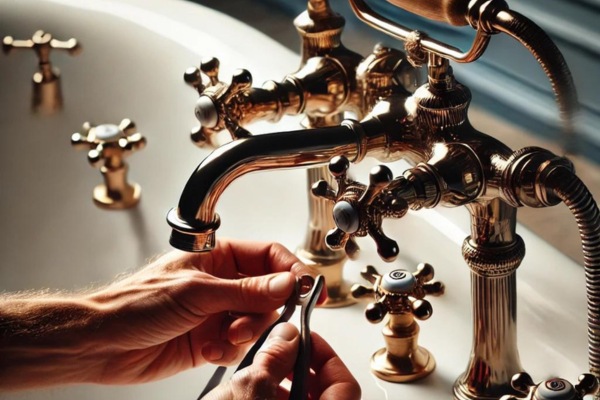
Faucet includes separate handles or decorative elements, now is the time to reattach them. Follow the manufacturer’s instructions to ensure they are properly aligned and securely fastened. These elements not only add to the functionality of the tube but also contribute to the overall design of your bathroom. Ensuring they are properly installed will enhance both the look and feel of your new faucet.
12. Restoring The Water Supply
With the faucet and all its components securely in place, the final step is to restore the water supply fully. Turn the water back on and let it run for a few minutes to clear out any air pockets or debris that might have entered the lines during the installation process. This final flush ensures that your new faucet is ready for use and operating at its best.
13. Testing The Faucet Functionality
The last step in the replacement process is to thoroughly test the faucet’s functionality. Check both the hot and cold water flow, ensuring that the water pressure is consistent and that the faucet operates smoothly. If your tube has additional features, such as a handheld shower attachment, test those as well. This final test ensures that your new tube is fully functional and ready for everyday use, completing the installation process with confidence.
Troubleshooting Common Installation Issues
Even with careful preparation, issues can arise during installation. Common problems include leaks, loose fittings, or uneven water flow. If you encounter these, don’t panic. Often, a simple adjustment can resolve the issue. For more stubborn problems, consider consulting the faucet’s manual or reaching out to a professional plumber.
Maintaining Your New Clawfoot Bathtub Faucet
To keep your new faucet in top condition, regular maintenance is essential. This includes cleaning the faucet regularly with a mild cleaner and checking for any signs of wear or leaks. Periodically inspect the supply lines and connections to ensure they remain tight and secure.
Upgrading Your Clawfoot Bathtub With Additional Features
Consider enhancing your clawfoot bathtub with additional features. A popular upgrade is adding a handheld shower attachment, which increases the faucet’s versatility. Other upgrades might include a thermostatic valve for consistent water temperature or a diverter for switching between the tub spout and showerhead.
Adding A Handheld Shower To Your Clawfoot Faucet
Adding a handheld shower is a straightforward upgrade that offers great benefits. It provides flexibility for rinsing the tub, washing pets, or even cleaning the bathtub. Installation typically involves attaching a diverter valve to the tube, allowing you to switch between the faucet and the showerhead.
Preventing Future Faucet Leaks And Drips
Preventing leaks and drips is largely about regular maintenance. Ensure that the connections remain tight, and replace washers or seals at the first sign of wear. Avoid using excessive force when turning the faucet handles, as this can wear out the internal components prematurely.
Caring For Your Clawfoot Bathtub And Faucet
Proper care for your clawfoot bathtub and faucet involves more than just cleaning. Use non-abrasive cleaners to avoid scratching the finish, and regularly check for any signs of rust or corrosion. By caring for both the tub and the tube, you’ll extend their lifespan and keep them looking beautiful.
Final Thoughts
Replacing a clawfoot bathtub faucet is a rewarding DIY project that can breathe new life into your bathroom. With careful planning, the right tools, and this step-by-step guide, you can achieve professional results. Not only will you have a functioning and stylish tube, but you’ll also gain the satisfaction of having completed the task yourself. Enjoy the elegance and charm of your clawfoot bathtub for years to come, now enhanced by your new tube installation.

