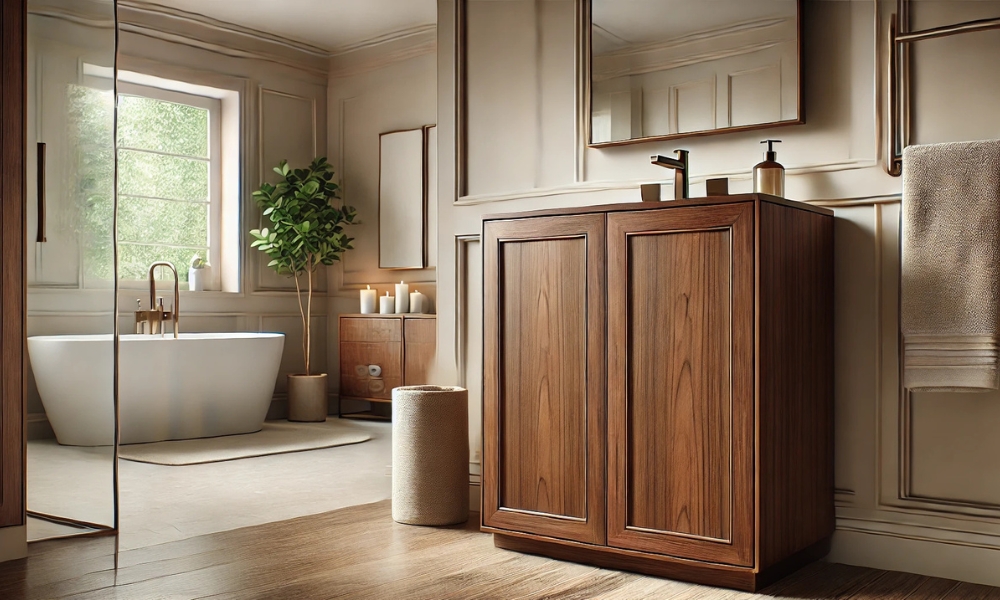
Stain your bathroom cabinets is an effective way to refresh the look of your space without committing to an expensive renovation. Unlike painting, which covers the wood’s natural grain, staining enhances the texture and pattern of the wood, creating a more sophisticated and timeless appeal. Stained cabinets can lend a sense of warmth and luxury to even the smallest bathroom, elevating the overall ambiance. Whether you’re aiming for a rustic, classic, or modern finish, staining is an affordable, DIY-friendly option that delivers long-lasting results.
In addition to the aesthetic transformation, staining provides a layer of protection, preserving the wood against moisture and wear. A well-applied stain can shield cabinets from daily bathroom humidity while giving them a stunning visual appeal. Whether you’re a beginner or experienced DIYer, staining bathroom cabinets is a manageable project that doesn’t require extensive tools or skills. Let’s dive into the steps to help you get that perfect finish for your cabinets.
Choosing The Right Stain For Your Bathroom Cabinets
The first and perhaps most crucial decision in the staining process is selecting the right stain for your bathroom cabinets. There are two main types of stains: oil-based and water-based. Oil-based stains are known for their rich, deep colors and longer working time, making them ideal for larger surfaces. However, they have a stronger odor and require more drying time. Water-based stains, on the other hand, dry faster, have less odor, and are easier to clean up, making them a great option for smaller projects or bathrooms with limited ventilation.
When choosing a color, consider the natural wood of your cabinets and how it complements the other elements in your bathroom. Lighter shades of stain, such as honey or oak, can brighten up the space, making it feel more open and airy. Darker stains, such as walnut or espresso, offer a more luxurious and dramatic look. If you’re unsure, test a few samples on a hidden area of the wood to see how they look once applied.
Tools And Materials You’ll Need For Staining Bathroom Cabinets
Before you begin the staining process, gather all the necessary tools and materials to ensure a smooth and efficient project. Here’s what you’ll need:
- Stain
- Brushes or rags
- Sandpaper
- Wood cleaner or degreaser
- Protective gear
- Polyurethane (optional)
How To Prepare Your Bathroom Cabinets For Staining?
Preparation is key to achieving a flawless finish when staining bathroom cabinets. The first step is to thoroughly clean the surface to remove any dirt, oils, or old polish that could interfere with the state’s ability to penetrate the wood. Use a wood cleaner or degreaser, and wipe down all surfaces with a soft cloth.
Next, remove any hardware such as handles, knobs, and hinges to ensure you don’t accidentally stain them. If you’re staining the cabinet doors separately, take them off their hinges and lay them flat for even coverage.
Once cleaned, lightly sand the cabinet surfaces to open up the wood’s pores and allow for better stain absorption. Sanding also smooths out imperfections and old finishes. After sanding, wipe away any dust with a tack cloth to ensure a clean surface for staining.
Removing Old Paint Or Stain: The Right Way
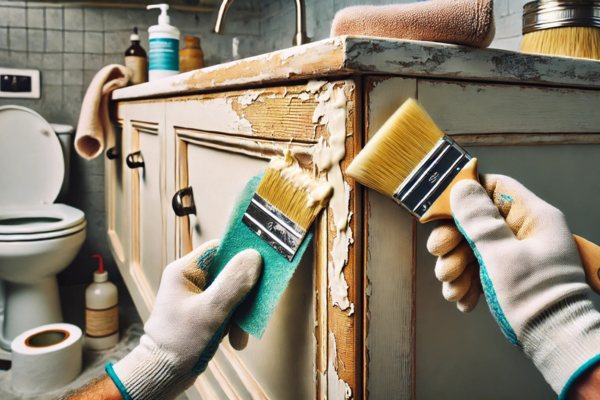
If your bathroom cabinets are already painted or stained, you may need to strip off the old finish before applying new stain. This step can be done using either a chemical stripper or by sanding off the old finish.
For chemical stripping, apply the remover with a brush and follow the manufacturer’s instructions. Once the old finish begins to peel or bubble, use a scraper to gently lift it off. Be sure to work in a well-ventilated area and wear protective gloves.
If you prefer sanding, use a coarse-grit sandpaper to remove the old paint or staining, then switch to a finer grit for a smooth, even surface. Afterward, clean the surface to remove any debris and dust before proceeding with staining.
How To Sand Bathroom Cabinets Before Staining?
Sanding is a critical step that will determine the final result of your stain. Start by using medium-grit sandpaper (around 120-grit) to sand down the surface, always sanding in the direction of the wood grain. This helps to avoid scratches and gives you a smooth, uniform finish. Once the surface is smooth, switch to a finer grit (around 220-grit) to further refine the surface.
It’s important to sand evenly across all areas, paying special attention to any rough spots or areas where the previous finish may have been thicker. Sanding not only smooths the wood but also opens up the grain, which allows the staining to absorb more evenly. Once you’ve finished sanding, use a tack cloth or a damp rag to remove any dust before moving on to the next step.
Staining Your Bathroom Cabinets: A Beginner’s Guide
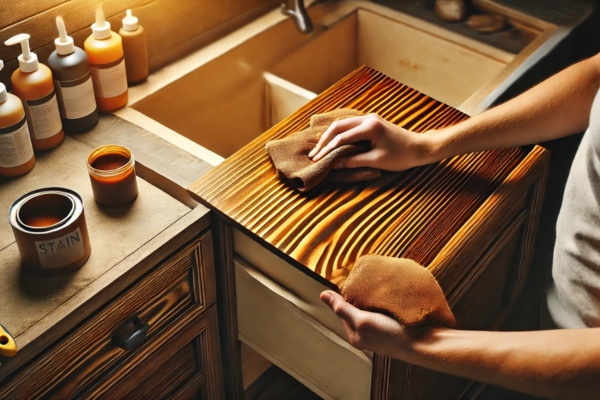
Now that your cabinets are prepped and ready, it’s time to apply the stain. Begin by stirring the stain thoroughly to ensure an even consistency. Using a brush or a clean rag, apply the stain in long, even strokes, following the grain of the wood. Be mindful of the application; working in small sections helps to avoid streaks and ensures an even distribution of the stain.
Allow the stain to soak in for a few minutes, and then use a clean rag to wipe off any excess. The longer you leave the stain before wiping it off, the darker and richer the finish will be. If you prefer a lighter color, wipe it off sooner. For a deeper hue, let the stain sit longer before removing the excess.
Blending Stains For A Custom Look
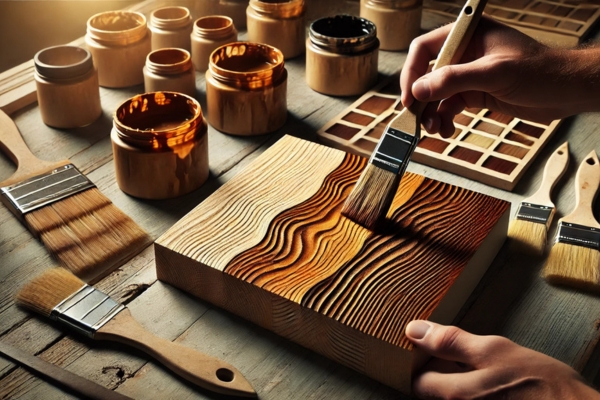
One of the advantages of staining is the ability to mix different staining colors to create a custom finish. If you’re aiming for a unique look, consider blending two or more stain shades. Test your blend on a scrap piece of wood to see how it looks before applying it to your cabinets.
To achieve a seamless look, apply the stains while they’re still wet, allowing them to merge naturally. This technique can help you create a rich, multi-dimensional effect that enhances the beauty of the wood grain.
How To Remove Excess Stain For A Professional Finish?
To achieve a smooth, professional finish, it’s essential to remove any excess stain before it dries. After applying the stain, wait for a few minutes (depending on the type of stain you’re using) and then wipe off the excess with a clean rag. The goal is to leave only a thin layer of stain on the surface to avoid blotchy or uneven areas.
Be sure to wipe with the grain, not against it, to prevent streaking. If you notice any areas where the stain is too thick or uneven, take the rag and gently buff those spots until the finish is consistent.
Drying And Curing Time: What You Need To Know
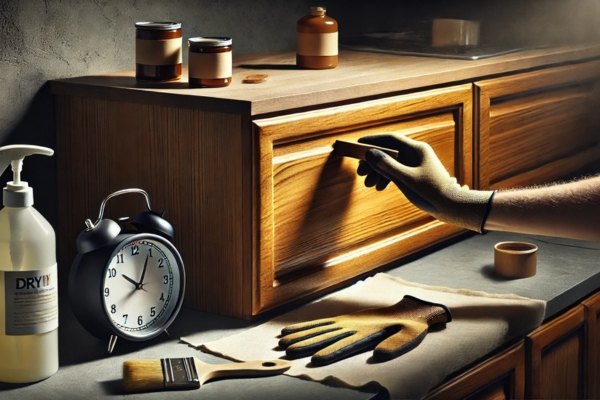
Drying and curing time are critical components of the staining process. While most stains will dry to the touch within a few hours, it’s important to let the stains cure properly. Curing, which involves the stain fully setting into the wood, can take several days. During this time, avoid touching the cabinets to prevent smudges or marks.
If you plan to apply a topcoat, allow the stain to dry completely before doing so, as applying a topcoat too soon can result in an uneven finish.
Applying A Protective Coat For Bathroom Cabinets
Once the stain has dried and cured, it’s time to apply a protective topcoat. A polyurethane or lacquer finish will protect your stained cabinets from moisture, dirt, and daily wear. Apply the topcoat using a clean brush, and be sure to apply it in thin, even coats to avoid drips or streaks.
Allow the first coat to dry completely before applying additional coats. For a smoother finish, lightly sand the surface between coats with fine-grit sandpaper. This ensures that each layer adheres properly and that you achieve a flawless, durable finish.
How To Reassemble And Install Your Stained Bathroom Cabinets?
Once the stain and protective topcoat have dried, it’s time to reassemble your cabinets. Start by reattaching the cabinet doors and hardware, ensuring everything is securely in place. When handling stained surfaces, be gentle to avoid leaving marks or smudges.
For best results, wait at least 24 hours after applying the final coat before reassembling the cabinets, allowing the finish to set properly. Once everything is reassembled, stand back and admire your beautifully stained cabinets!
How To Maintain Your Stained Bathroom Cabinets?
To keep your stained bathroom cabinets looking their best, regular cleaning and maintenance are essential. Wipe down the cabinets with a soft, damp cloth to remove dust and grime. Avoid harsh chemical cleaners, as they can strip away the protective finish and damage the wood.
Every few months, you may want to apply a fresh layer of wax or polish to maintain the shine and provide an added layer of protection. Be sure to monitor for any signs of wear, such as fading or water damage, and address them promptly to extend the life of your cabinets.
Troubleshooting Common Staining Issues
Despite your best efforts, you may encounter some challenges during the staining process. Common issues include blotchy or uneven staining, or the stain not absorbing properly. If this happens, don’t panic. You can fix blotches by lightly sanding the area and applying another coat of stains, ensuring an even coverage.
If the stain isn’t adhering well, check your wood preparation—ensuring it was clean and properly sanded is key to a successful result.
How To Stain Bathroom Cabinets Without Stripping Them?
If you’re looking for a quicker, less invasive method, you can stain bathroom cabinets without stripping the old finish. Gel stains are a good option for this, as they sit on top of the wood rather than soaking in deeply. Clean and lightly sand the surface before applying the gel stain in thin, even coats.
This method allows you to refresh the look of your cabinets without going through the time-consuming stripping process.
How To Choose The Best Wood For Bathroom Cabinets?
Choosing the right wood for your bathroom cabinets is an important consideration for staining. Hardwoods like oak, maple, and cherry are ideal for staining, as they accept the stain well and provide a rich, durable finish. Avoid softwoods like pine, which may absorb the stain unevenly.
Additionally, consider the wood’s natural grain—those with a tighter grain pattern often provide the most consistent and visually appealing results when stained.
How To Match Your Bathroom Cabinet Stain With Your Overall Bathroom Theme?
The color of your bathroom cabinet stain should complement the rest of your bathroom’s design. For example, a dark walnut stain may pair well with a modern, industrial-style bathroom, while a lighter oak stain suits a more traditional or cottage-style theme. If your bathroom is small, lighter stains can make the space appear more open and airy.
Take into account your flooring, wall color, and any other wood elements in the room to ensure a cohesive design.
Eco-Friendly Staining Options For Your Bathroom Cabinets
For those looking for a greener alternative, eco-friendly stains are an excellent option. Low-VOC (volatile organic compound) stains have fewer harmful emissions and are safer for both the environment and your health. Water-based stains, which are naturally lower in VOCs, offer a more eco-conscious solution for staining your cabinets.
Look for stains that are made from natural oils or plant-based ingredients for a truly sustainable choice.
How To Fix Common Staining Mistakes?
Staining is an art, and mistakes can happen. The good news is that most errors can be fixed. If you’ve applied too much stain, gently sand the area to reduce the intensity, and reapply a lighter coat. If the stain has dried unevenly, lightly sand and apply a new coat of stain to even out the color.
When in doubt, patience and careful sanding can resolve most issues, restoring the finish to its original beauty.
Why Staining Bathroom Cabinets Is A Smart Investment?
Staining your bathroom cabinets is not only a great way to update the look of your space, but it also offers long-term benefits. Stained cabinets are easier to maintain, more durable, and offer a timeless aesthetic that enhances the value of your home. Unlike painted cabinets, stains allow the natural beauty of the wood to shine through, making them less prone to showing wear over time.
Additionally, staining is a cost-effective alternative to replacing old cabinets, allowing you to achieve a high-end look on a budget.
How To Clean Bathroom Cabinets?
To clean bathroom cabinets, start by dusting the surfaces with a soft, dry cloth to remove any loose dirt and debris. For more thorough cleaning, use a damp cloth with a mild soap solution, ensuring it’s not too wet to avoid water damage to the wood. Gently wipe down the cabinet doors, shelves, and handles, paying attention to any areas with build-up or stains. For stubborn spots, use a wood-safe cleaner or a mixture of vinegar and water, but always test it on a small, hidden area first. After cleaning, dry the surfaces thoroughly with a soft towel to prevent moisture absorption, and finish by applying a wood polish or conditioner to maintain the finish and enhance the shine. Regular cleaning and occasional touch-ups will keep your cabinets looking fresh and well-maintained.
Conclusion
Staining bathroom cabinets is an excellent way to breathe new life into your space. From choosing the right stain to applying a protective topcoat, the process can be a rewarding DIY project. With the right preparation and care, your stained cabinets will provide lasting beauty and functionality for years to come. Whether you’re enhancing your home’s value or simply looking for a fresh update, staining is a simple and effective way to transform your bathroom on a budget.
