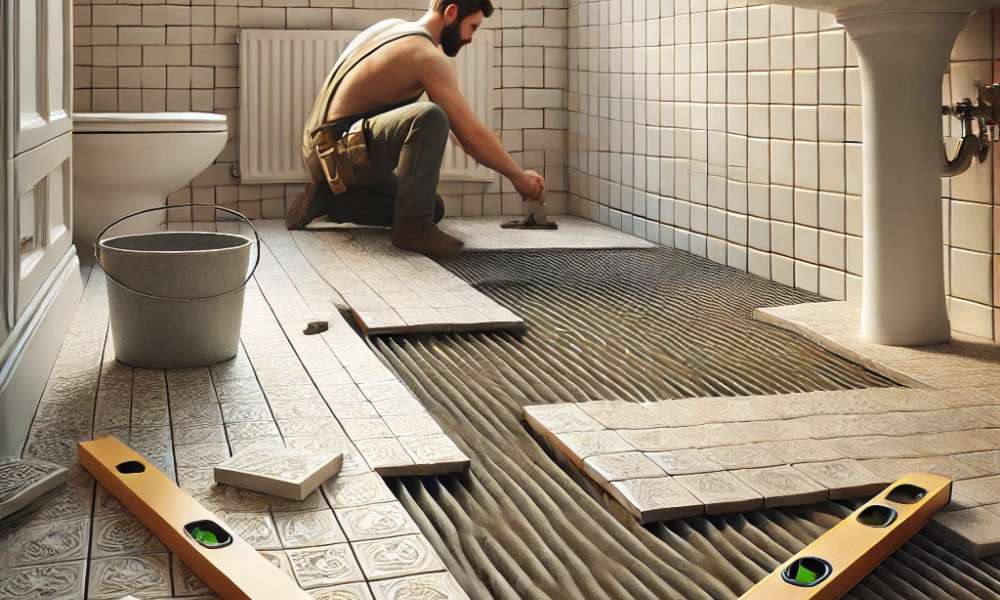
Tiling transforms a drab bathroom into a sleek, water-resistant sanctuary. A sturdy surface underfoot not only elevates the visual charm but also guards against moisture infiltration. Adept bathroom floor tiling demands a combination of planning, diligence, and the right materials. Anyone with intermediate DIY skills can learn How To Tile A Bathroom Floor, though beginners with sufficient patience and attention to detail may also succeed. Such a project offers the satisfaction of creating an impervious and stylish foundation that stands the test of time.
Materials & Tools Needed
Before embarking on the tiling journey, gathering the necessary tools and materials is crucial. The success of the installation depends heavily on the quality of these supplies. Here’s a list of essential items:
Tools:
- Tile cutter or wet saw for precise cuts
- Notched trowel for spreading adhesive evenly
- Tile spacers to maintain uniform gaps
- Rubber mallet for securing tiles
- Level to ensure flat installation
- Grout float for smooth grout application
- Sponge and bucket for cleanup
Materials:
- Tiles: Ceramic, porcelain, or natural stone (choose based on durability and aesthetics)
- Thin-set mortar: Provides strong adhesion to the subfloor
- Grout: Essential for sealing the spaces between tiles
- Sealer: Protects grout from moisture and stains
- Cement backer board: Prevents water damage and reinforces stability
- Waterproofing membrane: Critical for bathrooms to avoid leaks
3. Preparing the Bathroom Floor for Tiling
Old flooring must be removed meticulously to reveal the subfloor. Any residual adhesive or debris can jeopardize the new surface’s integrity. A level subfloor is paramount for uniform tile placement, so smoothing out bumps or dips is vital. Installing cement backer board fortifies the substrate and minimizes risk of moisture damage. For further waterproofing, membranes or specialized coatings help thwart water seepage that can undermine the floor’s stability.
4. Planning the Tile Layout
Measured precision serves as the bedrock of a successful layout. Accurately gauging dimensions prevents awkward tile cuts that disturb the overall visual harmony. Many enthusiasts advocate dry-fitting tiles before applying adhesive—this simple step reveals potential pitfalls. Finding the center point ensures a symmetrical arrangement that enhances aesthetics. A measured layout, combined with careful planning, offers confidence in knowing exactly How To Tile A Bathroom Floor without wasting materials.
5. Cutting and Placing the Tiles
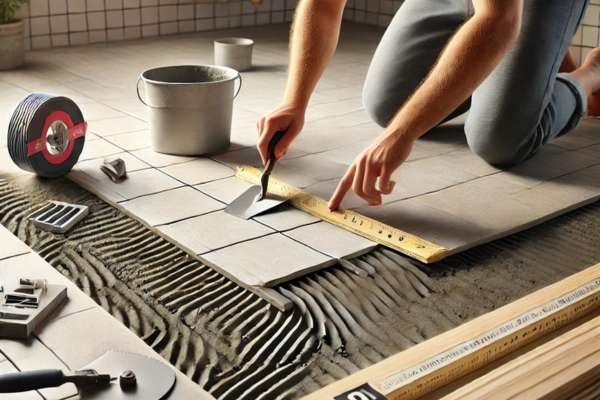
Tiles rarely fit perfectly around every edge or obstacle. A wet saw yields smooth, precise cuts, although a manual tile cutter may suffice for simpler shapes. When installing the first row, aligning it along a reference line helps maintain consistency throughout. Tile spacers deserve particular attention; they keep gaps even and enable tidy grout lines. Careful cutting around fixtures, such as toilet flanges, requires patience and exactness to prevent unsightly gaps.
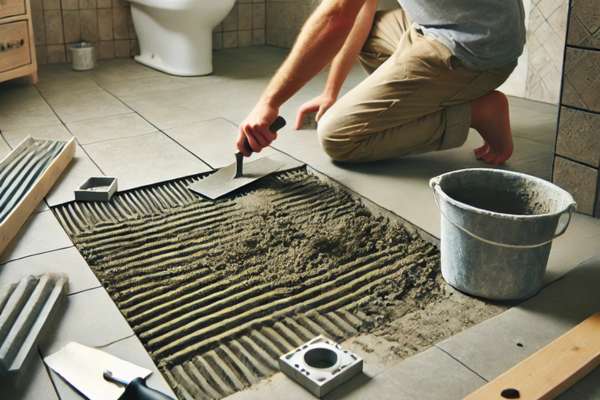
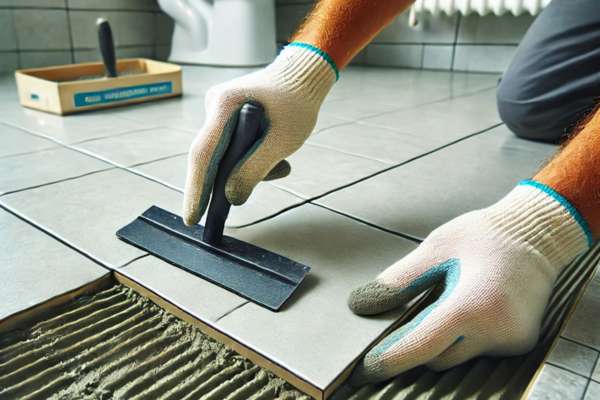
6. Applying the Adhesive and Laying the Tiles
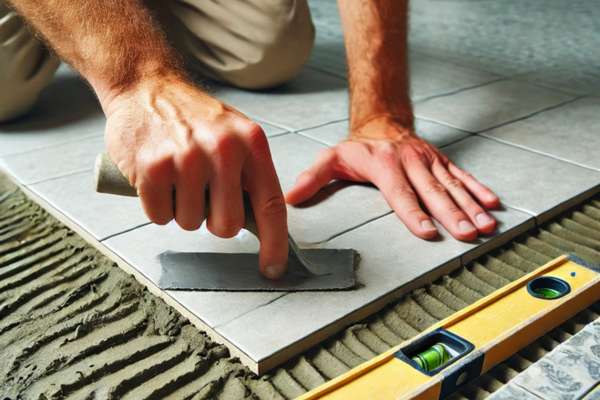
The appropriate mortar or thin-set adhesive makes all the difference in strength and permanence. Spread it evenly with a notched trowel in small sections; large areas can dry prematurely, causing tiles to lose cohesion. Press each tile firmly into place, ensuring alignment with spacers. Light taps with a rubber mallet help embed them securely. Maintaining levelness avoids a lopsided floor that disrupts both comfort and longevity.
7. Grouting and Sealing the Tiles
Once tiles are set, tile grout tips become invaluable. Work grout into joints with a float, holding it at a 45-degree angle. Excess grout should be wiped away gently with a damp sponge before it fully hardens. Prompt cleanup prevents stubborn haze. After sufficient curing, sealing the grout lines forms a moisture-resistant barrier that bolsters overall durability. This step often gets overlooked, yet it dramatically extends the life of a tiled bathroom floor.
8. Drying Time & Final Touches
A sense of urgency can sabotage months of hard work, so allowing ample curing time is essential. Stepping on tiles too soon might shift them and create unevenness. Once thoroughly set, reattach fixtures and baseboards for a polished finish. A gentle cleaning with a neutral detergent removes any lingering dust, revealing a pristine new floor beneath the incandescent glow of bathroom lights.
9. Common Mistakes to Avoid
Some oversights recur frequently. Forgoing waterproofing measures can invite mold and mildew. Rushing the drying process often culminates in cracked grout or misaligned tiles. Installing porous tiles without proper sealing can lead to moisture buildup beneath the surface. In every instance, ignoring best practices can compromise the allure and functionality of How To Tile A Bathroom Floor.
Conclusion
Undertaking a bathroom floor tiling project imparts both aesthetic and practical rewards. Each stage—from selecting top-tier materials to sealing the grout—strengthens the floor’s defense against wear and water. Learning How To Tile A Bathroom Floor can be an invigorating endeavor, empowering homeowners to create a resilient, flawless surface. When doubts arise, expert guidance or hiring a professional remains a dependable option, yet many find deep satisfaction in completing this straightforward renovation themselves.

