Uninstalling a Tushy Bidet can seem daunting, but with the right guidance, the process is straightforward and hassle-free. Whether you’re moving, upgrading, or simply no longer need your bidet, it’s important to follow a systematic approach to ensure a smooth removal. This guide will walk you through each step on how to uninstall Tushy Bidet, ensuring you avoid any potential issues and leave your bathroom fixtures in perfect condition. From disconnecting the water supply to safely detaching the bidets attachment, we’ll cover everything you need to know to uninstall tushy bidett efficiently.
What Is Tushy Bidet?
The Tushy Bidet is a popular bathroom accessory designed to enhance personal hygiene by providing a convenient, effective, and eco-friendly alternative to traditional toilet paper. It is a simple, non-electric bidets attachment that fits onto most standard toilets, offering adjustable water pressure and nozzle positions for a customized cleaning experience. With its user-friendly design and easy installation process, It has become a favored choice for those looking to improve their bathroom routine and reduce their environmental footprint.
Uninstall Process
1. Turn Off The Water Supply

The first step in the uninstall process is to turn off the water supply to your toilet. Locate the shut-off valve, typically found on the wall behind the toilets, and turn it clockwise until it is fully closed. This prevents any water from flowing into the toilets, ensuring a mess-free uninstall process. Make sure to double-check that the Reservoir supply is completely off by flushing the toilets once to ensure no new water enters the tank.
2. Empty The ToiletsTank
Next, you need to empty the toilets tank to avoid any water spillage during the removal. To do this, flush the toilet and hold down the handle to drain as much water as possible. You may need to use a sponge or towel to soak up any remaining water in the tank. Ensuring the tank is empty will make the uninstall process cleaner and easier.
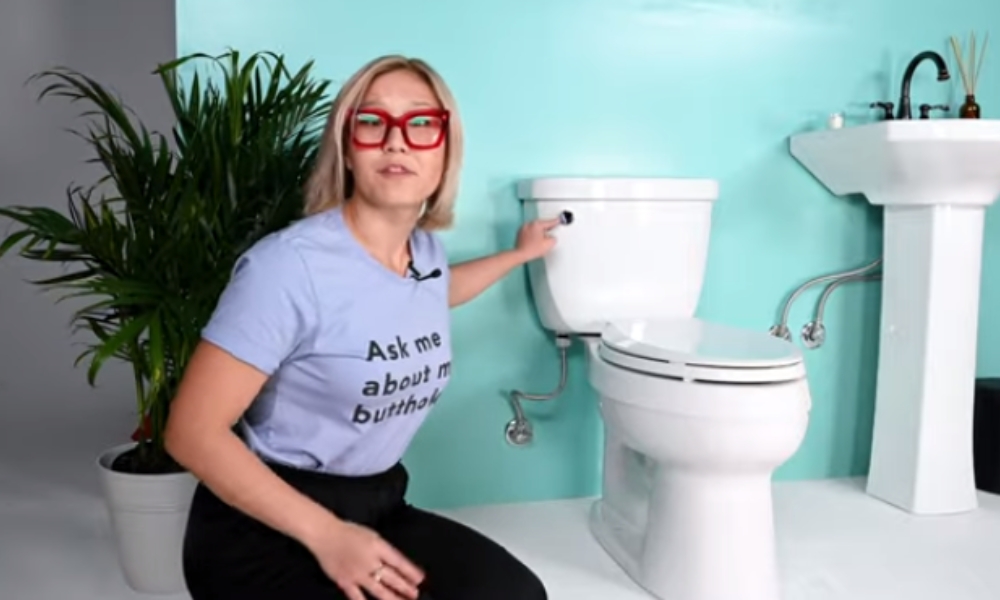
3. Disconnect The T-Adapter
The final step involves disconnecting the T-adapter, which is a crucial component of the Tushy Bidets installation. The T-adapter connects the water supply line to both the toilets and the bidet. Begin by unscrewing the hose that connects the T-adapter to the bidet. Then, carefully unscrew the T-adapter from the Reservoir supply line and the toilet’s fill valve. Be prepared for a small amount of residual water to spill out, so have a towel handy. Once the T-adapter is disconnected, you can remove the bidets attachment from the toilets seat. At this point, It has been successfully uninstalled, and your toilets is ready to revert to its original setup.
4. Remove The Bidet Attachment
After disconnecting the T-adapter, the next step is to remove the bidets attachment itself. Carefully lift the toilets seat and locate the mounting brackets that secure the Clean Bidet Nozzle to the toilet. Using a screwdriver, unscrew the bolts that hold the bidet attachment in place. Once the bolts are removed, gently lift the bidets attachment off the toilet. Ensure you keep all screws and components in a safe place in case you need to reinstall the bidets in the future.
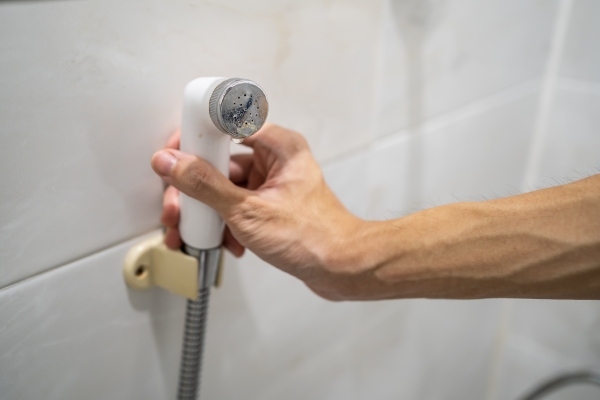
5. Disconnect The Bidet Hose
With the bidet attachment removed, you can now disconnect the bidet hose. This hose connects the bidets to the Reservoir supply via the T-adapter. Carefully unscrew the hose from the bidets attachment and the T-adapter. Be mindful of any remaining water in the hose and have a towel ready to catch any drips. Once the hose is completely disconnected, set it aside along with the other bidets components.
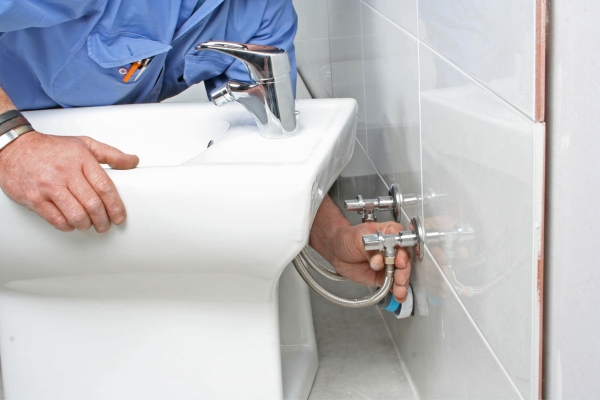
6. Restore The Original Toilet Setup
To restore your toilets to its original setup, begin by reattaching the original water supply line to the fill valve of the toilet tank. If you had to remove any parts of the toilet during the bidet installation, make sure to reinstall them now. Double-check that all connections are secure and that the toilets seat is properly reattached. This step ensures that your toilet will function correctly without the bidets.
7. Turn On The Water Supply

Now that everything is back in place, it’s time to turn the water supply back on. Slowly turn the shut-off valve counterclockwise to allow water to flow into the toilet tank. As the tank fills, inspect all connections to ensure there are no leaks. If you notice any water dripping, tighten the connections as needed. Allow the tank to fill completely before proceeding to the final step.
8. Test The Toilet
Once the tank is full, flush the toilet to test its operation. Ensure that the water flows smoothly into the bowl and that the flush mechanism works properly. Check for any leaks around theReservoir supply line and the tank. If everything is functioning correctly, your toilet has been successfully restored to its original state, and the uninstall process is complete.
The Final Thought
Uninstalling a Tushy Bidet may seem challenging, but by following these detailed steps, you can accomplish it with ease and confidence. Properly turning off the water supply, emptying the tank, and disconnecting the necessary components ensures a smooth and mess-free process. By carefully restoring the original toilets setup and testing for leaks, you can be assured that your toilet will function correctly after the bidet is removed. Whether you’re upgrading to a new model or simply no longer need the bidets, this guide provides all the information you need to uninstall it efficiently and effectively.

