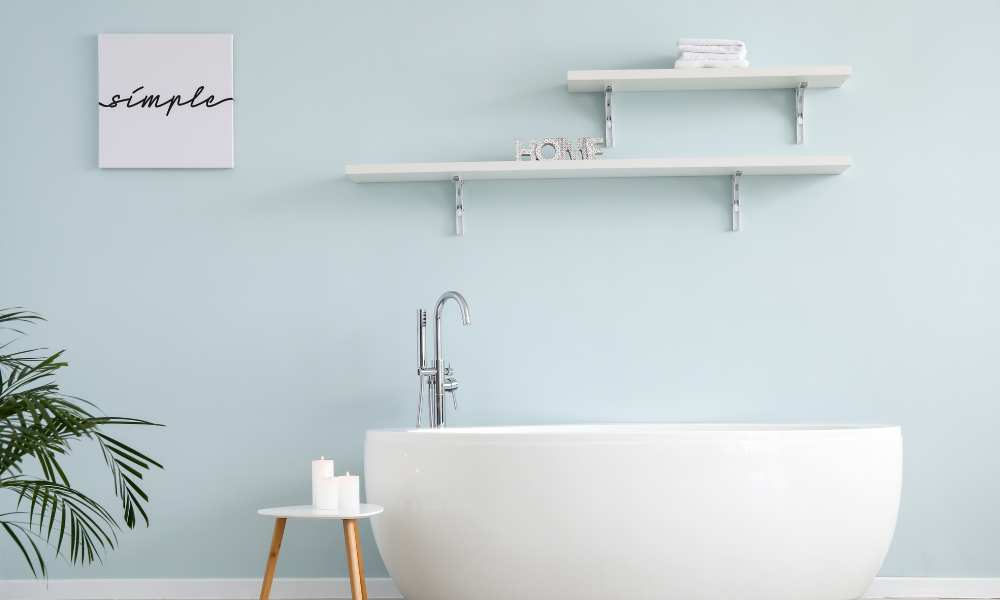
Wall-mounted bathroom shelves are A practical and stylish addition to any bathroom. They not only provide extra storage space for towels, toiletries, And other essentials but also help to organize your restroom And keep everything within easy reach. Whether you have A small restroom with limited floor space or simply want to maximize the available wall area, Wall-mounted shelves are the perfect solution. In this article, We will guide you through the step-by-step process of installing wall-mounted washroom shelves, Ensuring that you can achieve A functional and aesthetically pleasing storage solution in no time. So let’s dive in And learn how to master the art of wall-mounted bathroom shelves!
Prepare For Installation
Preparation is the first and arguably the most essential step in installing wall-mounted washroom shelves. This stage involves determining the exact location where the shelf will be mounted, evaluating the type of wall (plaster, drywall, or masonry), and assessing if it can support the intended load. Essential tools and supplies like the shelf, brackets, screws, pencil, drill, a level, and perhaps a stud finder, need to be ready at hand. Preparing the area where you will work is also vital – ensure it is clear of obstacles and clutter. By preparing correctly, you’re setting yourself up for a successful installation process, mitigating potential risks and pitfalls.
Measure And Mark The Bracket Positions

The next phase in installing wall-mounted bathroom shelves involves precise measurements and markings. You need to calculate the distance between the brackets based on the shelf’s length, mark the exact spot where the shelf will sit, and how high it will be mounted from the floor or vanity. These measurements must consider usability, the shelf’s visual appeal, and the existing restroom layout. Mark the bracket positions lightly with a pencil, double-checking for accuracy. These markings are your installation road map; they need to be accurate to ensure a well-aligned, sturdy shelf that complements your bathroom’s aesthetics.
Use A Level To Ensure Proper Alignment

Alignment is everything when it comes to wall-mounted bathroom shelves. For this, a level is indispensable. It ensures that your shelf is perfectly straight and will provide maximum functionality. Place the level on your marked bracket positions, confirming they are in alignment. If not, adjust the marks accordingly before you start drilling. This step may seem simple, but it is the determinant of whether your installation looks professionally done or haphazard. Proper alignment ensures your shelf will not only be sturdy and secure but also visually pleasing, seamlessly blending with your restroom décor.
Drill Pilot Holes And Attach The Brackets
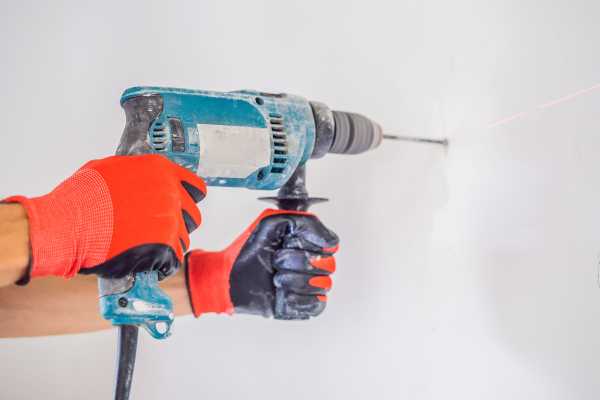
The next step in installing wall-mounted washroom shelves involves drilling pilot holes at the marked bracket positions. Pilot holes help to guide your screws and prevent the wall material from cracking or splitting. Depending on your wall type (drywall, Plaster, Or masonry), You may need to use appropriate wall anchors for added support. After drilling the pilot holes, Attach the brackets using the screws provided. Ensure the brackets are tightly secured to the wall to create a sturdy support system for your frames. This step requires both precision and strength, ensuring your brackets are well-placed and secure enough to withstand the weight of the items the shelf will hold.
Measure And Cut The Shelves If Necessary

Measuring And cutting the shelves is A critical step that depends on the kind of shelf you’re installing. If you’re using pre-made frames, this step may not be necessary. However, If You’re Working With A cut-to-size material Like wood or glass, Proper measurement, And cutting are essential. The length of your shelf should align with the distance between the brackets, And Its depth should be suitable for your storage needs And the space available in your restroom. Once measured, use A saw or glass cutter to cut your shelf material to size. Remember, safety is paramount, so use appropriate protective gear during this process.
Place The Shelves Onto The Brackets/Supports
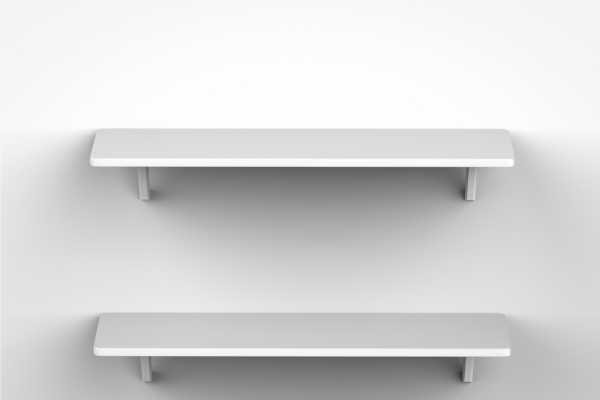
The final step involves placing your cut and finished shelves onto the brackets. This step might seem straightforward, but care must be taken to ensure the frames sit evenly and securely on the brackets. Depending on the shelf and bracket types, you might need to secure the shelf onto the brackets using screws. Once the frames are placed, double-check their sturdiness and alignment. Congratulations! You’ve successfully installed your wall-mounted washroom frames. They are now ready to be used, adding extra storage and style to your restroom.
Secure The Shelves To The Brackets/Supports

Securing the frames to the brackets provides additional stability. Ensuring your restroom frames can safely bear the weight of your items. Depending on your shelf and bracket types, this might involve using screws, adhesives, or other securing methods. Ensure the shelf is firmly attached to the bracket, with no wobbling or shifting. This step is fundamental for safety and durability, guaranteeing that your frames remain firmly in place even when loaded with washroom essentials.
The Final Thought
Wall-mounted bathroom shelves are A fantastic way to maximize space And add A stylish touch to your restroom. Their installation may seem intimidating, But with the right preparation and careful execution of each step, You can have your bathroom wall shelves up in no time. From prepping the installation site, Taking precise measurements, ensuring proper alignment, drilling pilot holes, Attaching the brackets, cutting the shelves, and placing, And securing the shelves – each step carries its importance in the process. So, take your time, follow this guide, and transform your washroom into a more organized, visually pleasing space!

