A bath pillow is more than just a comfort – it’s the essence of relaxation, supporting you in your peaceful retreat from the world. This cushion cradles your neck, softening the moments as you unwind. But water, though refreshing, brings challenges. Over time, Wash a bath pillow is bound to accumulate mold, mildew, and the kind of unpleasant odors that diminish its charm. Ensuring its cleanliness not only prolongs its life but keeps every bath as rejuvenating as the first. A well-cared-for bath pillow becomes a sanctuary, a truly hygienic retreat.
Materials Needed
Gather your tools, each a soldier in the battle against dirt and mildew:
- Mild detergent – gentle yet effective
- White vinegar – nature’s disinfectant
- A soft-bristled brush for delicate scrubbing
- Warm water to dissolve and rinse away residue
- A clean cloth or sponge to target stubborn areas
- A drying rack or absorbent towel for post-wash care
These essentials protect the pillow, preserving its softness and shape through each step.
Step To Step Washins Guide
Step 1: Check The Care Label
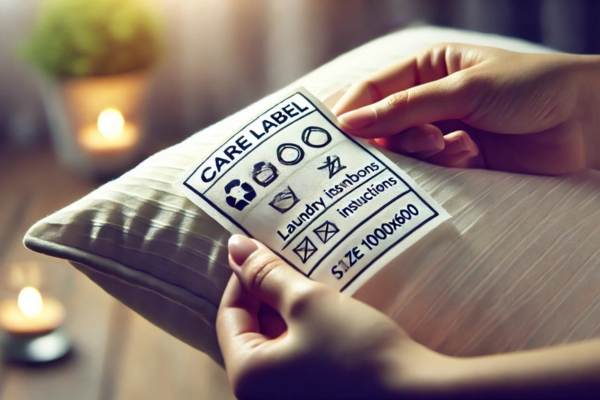
Look closely. Every bath pillow is unique, and so are its washing needs. The manufacturer’s label may reveal if your pillows welcomes a washing machine or requires tender hand washing bath pillow. Overlooking this step could lead to premature wear, compromising the structure that makes your pillow so inviting.
Step 2: Remove The Pillow From The Bathtub
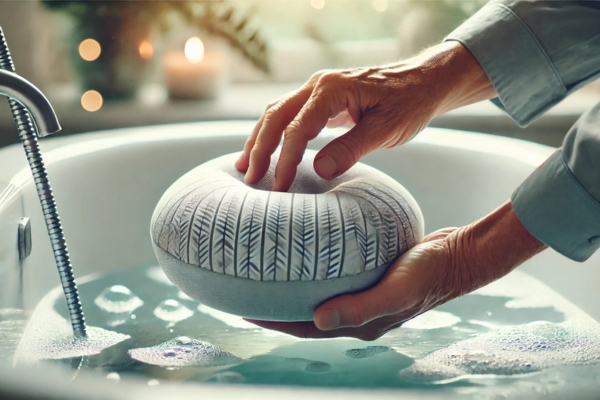
Gently release the pillow from the bathtub, taking extra care with any suction cups. Tug each cup gently – like unfastening a stubborn button – to keep the fabric and suction points intact. Rushing this step could damage the materials, so take it slow.
Step 3: Inspect For Stains Or Mold
Hold the pillow under a light. Look for stains, dark spots, or patches that hint at lurking mold or mildew. These areas will need a targeted approach, so note them before proceeding to avoid saturating the entire pillows.
Step 4: Prepare The Cleaning Solution
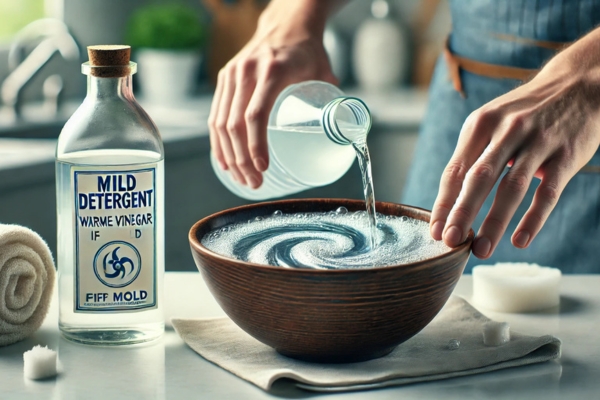
In a bowl, mix a mild detergent with warm water. The warmth activates the detergent, unlocking its potential to dissolve grime. If mold is present, add a splash of white vinegar for its sanitizing strength. This solution strikes the right balance, safe for both your pillow and your skin.
Step 5: Pre-Treat Stains Or Mold
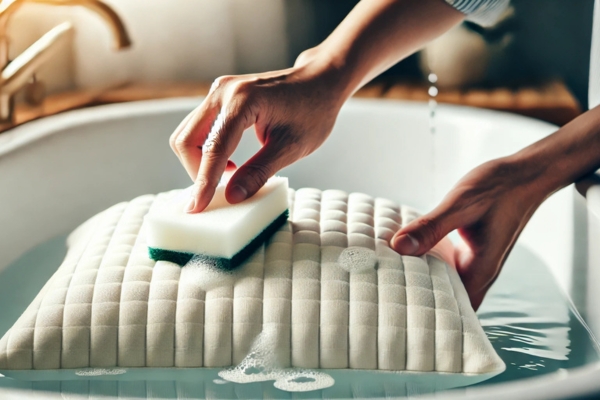
Dip a sponge or cloth into the solution and apply it directly to the problem areas. Let it sit. Patience is key here, as it allows the cleaning agents to penetrate. Rub gently, coaxing the stains without disturbing the fabric. This step loosens the grime, making the deep clean smoother.
Step 6: Rinse Thoroughly
Now, rinse. Run warm water over the pillows, letting it wash away dust and dirt particles, preparing it for the deeper soak. This initial rinse cleanses the surface, paving the way for a more effective wash.
Step 7: Clean Suction Cups (If Applicable)

Suction cups often harbor soap scum. Detach them, if possible, and scrub each with a drop of mild detergent. Clean cups grip better, ensuring your pillows stays in place. Properly washed, they’ll enhance the pillow’s hold, keeping you comfortable during your soak.
Step 8: Submerge Pillow In Cleaning Solution
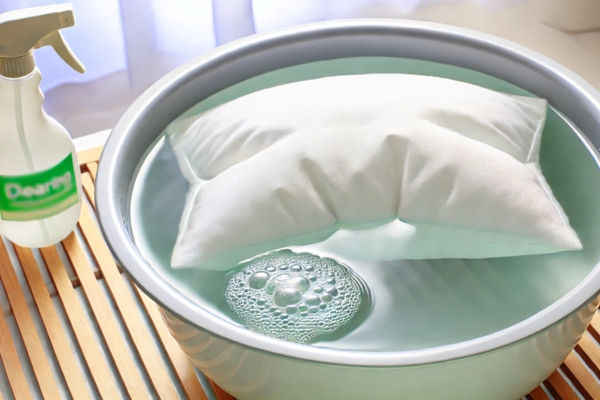
Submerge the pillow, immersing it in the prepared solution. Let it soak for 15–20 minutes, giving the solution time to reach deep into the fabric, breaking down trapped dirt and any lingering oils.
Step 9: Agitate The Pillow In The Solution
With slow, rhythmic presses, agitate the pillows in the solution. Each movement releases particles, dislodging them gently. This process preserves the structure while enhancing the cleaning effect.
Step 10: Scrub Gently With A Brush
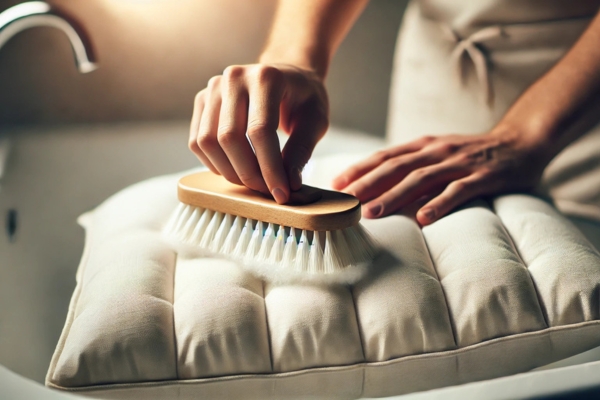
For areas requiring extra attention, lightly scrub with a soft-bristled brush. Corners and seams often collect the most grime. Move gently to avoid fraying the fabric. The brush’s bristles will reach where fingers can’t, lifting hidden particles.
Step 11: Rinse With Clean Water
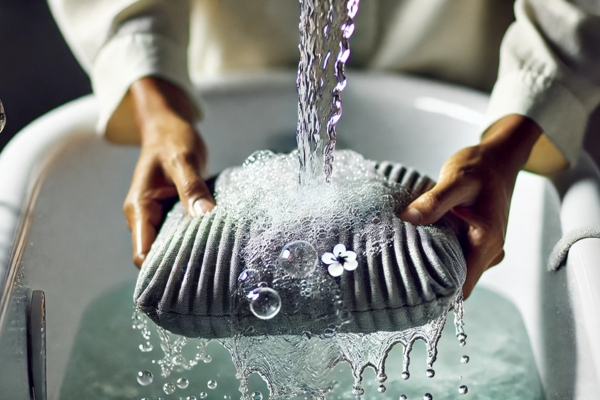
Hold the pillow under a stream of clean, warm water. Rinse thoroughly to clear away all remnants of detergent. Any leftover soap can degrade the fabric or irritate sensitive skin, so rinse until the water runs clear.
Step 12: Sanitize With White Vinegar Solution
For added assurance, rinse the pillows in a solution of equal parts white vinegar and water. The vinegar combats bacteria, preventing the regrowth of mold. Let it sit for a few minutes, then rinse again. This step is the key to a truly clean pillow.
Step 13: Final Rinse
With fresh water, give the pillow one last rinse. This ensures that no trace of vinegar lingers. A proper rinse clears all residues, leaving the pillows fresh, with a clean and natural scent.
Step 14: Gently Squeeze Out Water
Gently press on the pillow to release excess water, but never twist or wring it. Twisting can distort the shape or harm the inner filling. A soft press minimizes drying time without compromising the pillow’s form.
Step 15: Dry With A Towel
Lay the pillow on a clean towel. Fold the towel over it and press, absorbing as much moisture as possible. This step prepares the pillows for air drying, which preserves its shape and prevents waterlogging.
Step 16: Air Dry In A Ventilated Area
Lay the pillows on a drying rack in a well-ventilated space. Circulating air hastens the drying process while reducing the risk of mold. Avoid direct sunlight, which can cause fading and weaken fibers over time.
Step 17: Optional: Sunlight For Freshness
For a final touch, place the pillows in indirect sunlight if possible. Sunlight is a natural deodorizer, infusing a clean, fresh scent. However, limit exposure to avoid damaging the fabric.
Step 18: Final Check Before Use
Before settling into your next bath, ensure the pillows are completely dry. Even a trace of lingering moisture can invite mold, undermining all the care you’ve invested in cleaning. Run your hands along the surface and seams to detect any damp spots. Pay attention to the interior, as any hidden moisture in the filling can lead to mildew growth, which not only impacts hygiene but can also create unpleasant odors. A thorough dryness check guarantees a fresh, comfortable, and hygienic bath pillows, ready to elevate your relaxation experience.
Conclusion
Regularly caring for your bath pillow transforms each soak into a truly luxurious experience. By following a gentle yet thorough cleaning routine, you not only keep your pillows fresh and inviting but also extend its lifespan, ensuring it remains a staple in your bath ritual. A clean bath pillow not only adds comfort but also peace of mind, knowing your relaxation space is hygienic and free from unwanted odors or mildew. Embrace the calm of a pristine bath pillows and let it enhance every moment of your well-deserved rest and rejuvenation.
