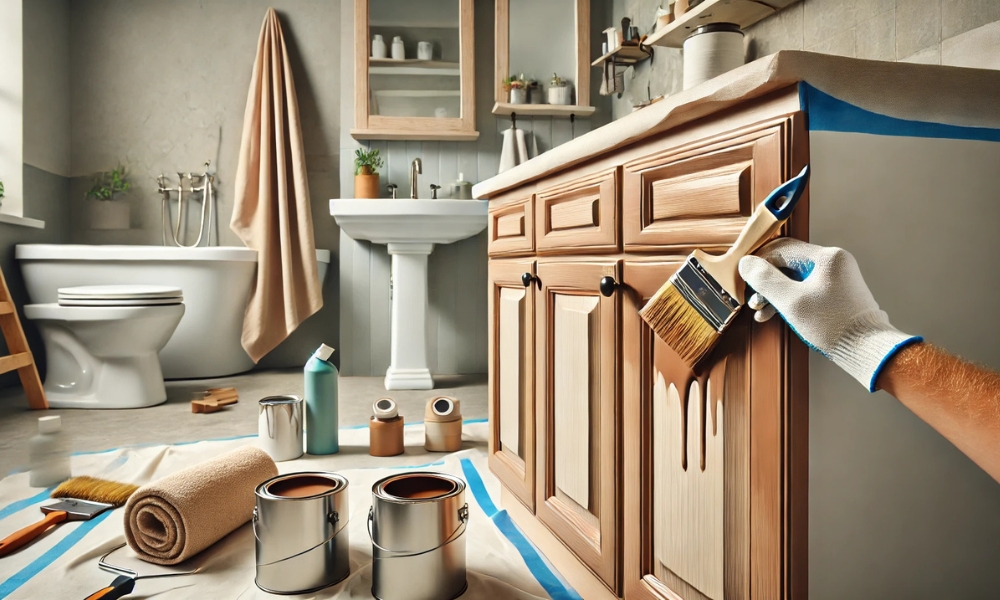
When it comes to home improvement, the right paint can do wonders—especially in spaces like the bathroom. The paint on your bathroom cabinets is more than just a decorative choice; it plays a vital role in protecting your furniture from moisture, mildew, and wear over time. Choosing the right type of paints ensures durability, long-lasting beauty, and ease of maintenance. The right finish can completely transform your bathroom’s look, giving it a fresh, modern feel or preserving a classic charm. This guide will help you understand the key factors in selecting paint, offer insights into the best types of paints for bathroom cabinets, and show you how to achieve a flawless finish that will stand up to the test of time.
Understanding The Challenges Of Bathroom Cabinet Painting
Bathrooms are notorious for their humidity levels, and that moisture can take a toll on cabinetry. The constant cycle of hot showers, steam, and occasional splashes of water can lead to paint peeling, warping, or even the growth of mildew. These environmental challenges make it essential to choose a paints that not only enhances the appearance of the cabinet but also provides robust protection against these conditions. In addition to moisture, frequent cleaning with abrasive products can also affect the finish. It’s essential to select a paint that withstands regular wear and tear while maintaining its beauty. Understanding these unique challenges will help you make an informed decision on the best paints to use.
Choosing The Best Paint For Bathroom Cabinets: Key Considerations
When selecting paint for your bathroom cabinets, it’s important to focus on a few key factors. These include:
- Durability: The paint must be able to withstand daily use and constant exposure to water and humidity without chipping or peeling.
- Moisture Resistance: Bathrooms are damp environments, so moisture resistance is a top priority. Without it, your paints job could deteriorate faster than expected.
- Ease of Application and Finish: Depending on your level of DIY expertise, you’ll want a paints that is easy to apply and provides a smooth, even finish.
Types Of Paints For Bathroom Cabinets: What Are Your Options?
Not all paints are created equal, and bathroom cabinets need specific types to perform well under the unique conditions of the space. The following are some of the best options:
- Latex Paint: Water-based latex paints are a common choice due to their ease of use, quick drying times, and low odor. They’re highly durable when formulated for high-humidity areas, making them a solid option for bathroom cabinets.
- Oil-Based Paints: Although it has a longer drying time and stronger odor, oil-based paints offers a more durable finish. It’s ideal for high-traffic areas like bathroom cabinets, where frequent cleaning might be necessary.
- Chalk Paints: Chalk paint is known for its matte finish and ability to adhere to various surfaces. It’s a popular choice for vintage or distressed looks, but it may not be the best choice for heavy moisture exposure unless sealed with a protective coat.
- Enamel Paint: Known for its hard, glossy finish, enamel paint is an excellent option for bathroom cabinets. It provides both durability and a beautiful sheen that resists staining and water damage.
Why Use Semi-Gloss Or Glossy Paint For Bathroom Cabinets?
The finish you choose is just as important as the type of paint. Semi-gloss and glossy finishes are highly recommended for bathroom cabinets because of their water-resistant properties. These finishes not only make your cabinets easier to clean but also offer a sleek, shiny appearance that elevates the entire bathroom’s aesthetic. A glossy or semi-gloss finish also reflects light, making the space appear larger and brighter—a huge advantage for small or windowless bathrooms.
The Benefits Of Using Mold-Resistant Paint For Bathroom Cabinets
Bathrooms, especially those without adequate ventilation, are prone to mold and mildew growth. Mold-resistant paints have antimicrobial agents that help prevent the growth of mold and mildew, making it an ideal choice for bathroom cabinetry. Not only does it protect the paint itself, but it also helps improve the air quality in the bathroom by reducing the spread of harmful spores. By using mold-resistant paints, you’re investing in both the longevity of your cabinets and the health of your home.
How To Choose The Right Color For Your Bathroom Cabinets
Selecting the right color for your bathroom cabinets can significantly impact the overall ambiance of the space. Lighter shades, like soft whites, creams, and pastel hues, create a fresh, airy feeling, perfect for small or dimly lit bathrooms. On the other hand, dark tones such as navy blue, charcoal, or even deep green can add a sense of drama and sophistication, creating a striking focal point in larger bathrooms. When selecting a color, consider how it complements the rest of your bathroom’s décor, such as the countertops, flooring, and tiles.
How To Prepare Bathroom Cabinets For Painting
Preparation is key to achieving a flawless finish. Start by removing all hardware, including knobs and handles, to avoid accidental splashes of paint. Then, clean the surface thoroughly with a degreaser or mild soap to remove dust, dirt, and grease that could interfere with the paint’s adhesion. After cleaning, lightly sand the cabinets to smooth out any imperfections and create a rough surface for better paints adhesion. Finally, apply a quality primer that is designed to bond to the material of your cabinets—whether it’s wood, laminate, or MDF.
Essential Tools For Painting Bathroom Cabinets
To ensure the best results, you’ll need the right tools:
- Paintbrushes and Rollers: A high-quality angled brush for detailed areas and a smooth roller for flat surfaces will ensure an even application.
- Painter’s Tape: Use tape to protect areas you don’t want to paints, such as walls, trim, or countertops.
- Drop Cloths or Plastic Sheeting: Protect your floors and surrounding areas from accidental spills.
- Primer: Invest in a high-quality primer that helps with adhesion and provides an even base for your paints.
- Sandpaper: Choose a fine grit to gently smooth the surface without damaging the cabinets.
The Step-By-Step Process Of Painting Bathroom Cabinets
Step 1: Cleaning And Preparing The Surface
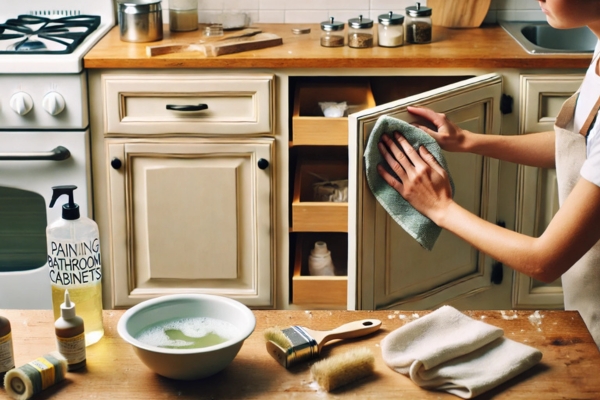
The first and most important step in painting bathroom cabinets is thorough cleaning. Before you start painting, it’s crucial to remove dirt, grime, grease, and any other residues that could interfere with the paint’s adhesion. Use a degreaser or a mild cleaner mixed with warm water to wipe down all surfaces of the cabinets, including doors, drawers, and the cabinet frame. Pay special attention to areas around handles or knobs, where oils and dirt can accumulate. After cleaning, dry the surfaces completely with a clean towel to ensure no moisture remains, as any lingering dampness can affect the patient’s ability to bond properly.
Next, remove all hardware, such as knobs, handles, and hinges. This will help you achieve a smooth, even coat of paints without any interruptions or paints build-up around the hardware areas. If you plan to replace the hardware, this is a great time to do so.
Step 2: Sanding And Priming For Better Adhesion
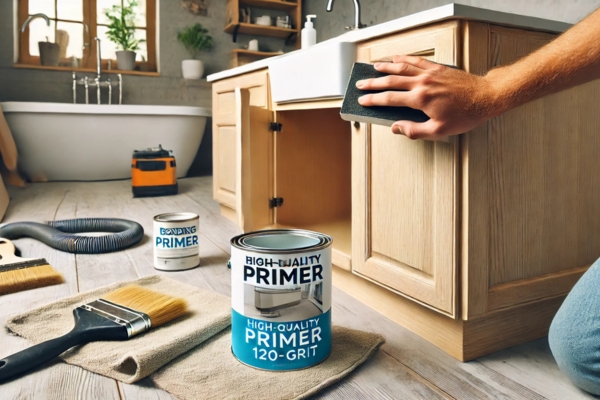
Once the cabinets are clean and dry, the next step is to sand the surfaces. Sanding is essential because it helps to smooth out any imperfections and creates a rough surface that allows the paint to adhere better. Use medium-grit sandpaper (about 120 to 150 grit) to lightly sand the cabinet surfaces. Focus on areas with any existing imperfections, such as scratches or dents. After sanding, use a vacuum or a damp cloth to remove all dust from the surface. It’s important to remove every speck of dust, as any leftover particles can mar the smoothness of the finish.
After sanding, it’s time to apply a primer. Priming is particularly crucial when painting bathroom cabinets because it helps the paints stick better, especially on glossy or non-porous surfaces, and it improves the overall durability of the finish. Choose a high-quality bonding primer specifically formulated for bathrooms or cabinetry. Apply a thin, even coat of primer using a brush or roller, depending on the texture of the surface. Allow the primer to dry completely before moving on to the next step.
Step 3: Applying The First Coat Of Paint
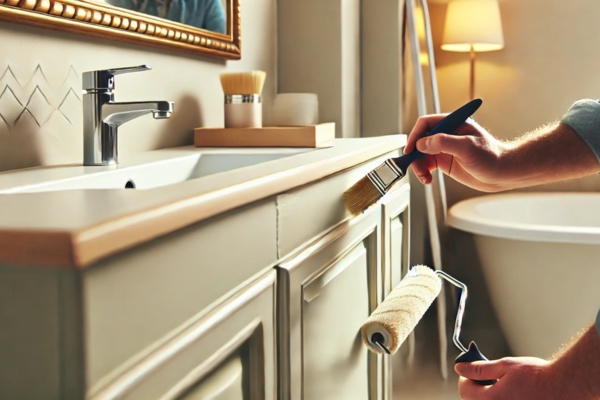
Once the primer is dry, it’s time to apply the first coat of paint. Choose a paint that is specifically designed for bathroom environments, as it will have the necessary moisture and mildew resistance. For bathroom cabinet, a semi-gloss or satin finish is ideal, as it provides a smooth, shiny surface that’s easy to clean and maintain.
Using a high-quality brush, begin by painting the edges and corners first, followed by the larger flat areas. It’s best to work in small sections to avoid the paints drying before you can smooth it out. If you’re using a roller, choose one with a fine nap to avoid leaving any texture on the surface. Apply the paints in thin, even layers, and avoid overloading the brush or roller to prevent drips.
Allow the first coat to dry completely, which could take anywhere from 2 to 4 hours, depending on the paint and humidity levels. Be patient; rushing this step will lead to uneven coverage and an unsatisfactory finish.
Step 4: Sanding Between Coats For A Smooth Finish
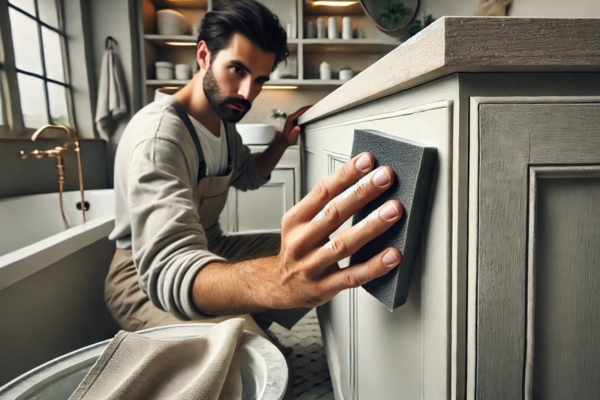
After the first coat has dried, it’s important to sand the surface lightly to ensure a smooth finish. Use fine-grit sandpaper (around 220 grit) to gently scuff the painted surface. Sanding between coats helps to remove any imperfections, such as bubbles or brush marks, and creates a smooth base for the next coat of paints. It also improves adhesion, ensuring that each layer bonds properly with the previous one.
Once you’ve lightly sanded the surface, remove any dust or debris with a damp cloth, and allow the surface to dry completely. This process of sanding between coats is key to achieving a smooth, professional-looking finish that will last for years.
Step 5: Sealing The Paint With A Protective Topcoat
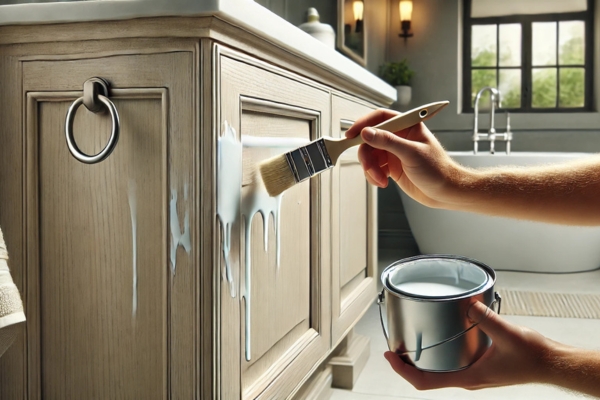
The final step in the painting process is applying a protective topcoat. This is particularly important for bathroom cabinet, where moisture and humidity can easily affect the paint finish. A topcoat will seal the paints, providing an added layer of protection against water damage, stains, and wear over time.
Choose a clear, water-resistant polyurethane topcoat for best results. Apply a thin, even layer using a brush or foam applicator, making sure to follow the grain of the wood or surface. Avoid over-applying the topcoat, as it can lead to streaks or bubbles. Allow the topcoat to dry completely, following the manufacturer’s recommended drying time. If necessary, apply a second coat for added durability.
Once the topcoat is fully dry, reattach the hardware to your freshly painted cabinets, and enjoy the stunning transformation!
How Long Does It Take To Paint Bathroom Cabinets?
The time it takes to paint bathroom cabinet depends on several factors, including the size of the cabinets, the type of paint used, and the number of coats required. Typically, you can expect the entire process, including drying times, to take several days. Be sure to allow adequate drying time between coats to ensure the paint has time to set properly. While it may take a few days for the paint to fully cure, the results are well worth the wait.
How To Fix Common Mistakes When Painting Bathroom Cabinets
Even experienced DIYers can make mistakes when painting Bathroom Cabinets. Here are a few tips for correcting common issues:
- Streaks and Brush Marks: If your paint has visible brush strokes, sand the surface lightly and apply a smoother coat.
- Uneven Coverage: If the paint looks uneven, use a small roller to touch up the areas with thin coverage.
- Paint Drips: If you notice paint drips, allow them to dry and then sand them down carefully before applying another coat.
The Cost Of Painting Bathroom Cabinets Vs. Replacing Them
Painting bathroom cabinet is a cost-effective alternative to replacing them entirely. While the price of paint and supplies may vary, it is generally much cheaper than purchasing new cabinets. Plus, painting allows you to refresh your space without the hassle and expense of a full renovation. For many homeowners, painting provides a budget-friendly solution that still achieves a high-end look.
Common Paint Finishes For Bathroom Cabinets: Which One Is Right For You?
Paint finishes can make a big difference in the overall look of your bathroom. Here are the most common finishes:
- Matte Finish: Ideal for vintage or rustic designs, though it’s not as resistant to moisture as glossy finishes.
- Satin Finish: A soft, low-luster finish that’s easy to clean and maintain, making it a popular choice for bathroom cabinet.
- Semi-Gloss and Gloss Finish: These finishes provide a high-shine, reflective surface that resists moisture and cleaning wear.
How To Maintain Painted Bathroom Cabinets
Once your bathroom cabinets are painted, proper maintenance will ensure they remain looking fresh. Clean them regularly with a damp cloth to remove dust and grime. Avoid using harsh chemicals or abrasive scrubbers that could damage the paint. Reapply a protective coat of wax or polyurethane every couple of years to maintain the finish and enhance its durability.
Should You Hire A Professional Or Diy Bathroom Cabinet Painting?
While painting bathroom cabinet is a manageable DIY project, it requires time, patience, and attention to detail. If you’re short on time or unsure about your painting skills, hiring a professional can help ensure a flawless result. However, if you’re up for a challenge, DIY painting can save you money and give you the satisfaction of completing the project yourself.
Best Paint Brands For Bathroom Cabinets
Some of the best paint brands for bathroom cabinet include:
- Benjamin Moore Advance: Known for its durability and smooth finish.
- Sherwin-Williams ProClassic: Offers excellent coverage and moisture resistance.
- Behr Premium Plus Ultra: A great budget-friendly option that still offers high quality.
How To Avoid Common Painting Mistakes In A Humid Bathroom Environment
Humidity can be a paint job’s worst enemy. To avoid mistakes like peeling or bubbling, ensure the room is well-ventilated during painting and drying. Use a dehumidifier or open windows to reduce moisture in the air. Always check the humidity level before starting, as painting in high humidity can interfere with the paint’s adhesion and drying time.
Adding A Personal Touch: Decorative Techniques For Bathroom Cabinet
To make your bathroom cabinet truly unique, consider adding a personal touch with decorative techniques such as stenciling, glazing, or distressing. These methods can create a one-of-a-kind look that fits your style, whether you’re going for rustic charm or modern elegance.
FAqs: What Kind Of Paint For Bathroom Cabinets?
What Is The Most Durable Paint For Bathroom Cabinets?
The most durable paint for bathroom cabinet is typically an oil-based paint or a high-quality enamel paint. Oil-based paints are known for their hard, long-lasting finish and excellent resistance to moisture, which makes them ideal for high-humidity areas like bathrooms. Enamel paints are also highly durable, offering a smooth, glossy finish that resists stains and water damage. Additionally, latex paints formulated specifically for high-moisture environments can be a great option if you’re looking for a quicker drying time and easier cleanup. Choosing a paint with a semi-gloss or gloss finish enhances durability, as these finishes are better at resisting moisture and are easier to clean.
Can I Paint Over Laminate Bathroom Cabinets?
Yes, you can paint over a laminate bathroom cabinet, but it requires a little more preparation. Laminate surfaces are non-porous, which means paint can struggle to adhere to them unless properly prepared. First, clean the cabinets thoroughly to remove any grease, dirt, or residues. Then, lightly sand the surface with fine-grit sandpaper to create a rough texture for better paint adhesion. After sanding, apply a bonding primer specifically designed for laminate surfaces. Once the primer is dry, you can apply your chosen paint. It’s important to use a durable, water-resistant paint, such as a satin or semi-gloss finish, to ensure longevity.
How Often Should I Repaint My Bathroom Cabinets?
The frequency with which you should repaint your bathroom cabinet depends on a few factors, including the amount of wear and tear they experience, the quality of the paint used, and the bathroom’s humidity levels. On average, you should consider repainting your bathroom cabinet every 5 to 7 years. However, if you notice the paint is beginning to chip, peel, or fade, it may be time for a touch-up or a full recoat. Bathrooms with high humidity or heavy traffic may require more frequent maintenance, especially if the cabinets are exposed to frequent splashes or cleaning.
How To Paint Bathroom Cabinets That Are Not Wood?
Painting bathroom cabinet that are not wood—such as those made from laminate, MDF (medium-density fiberboard), or metal—requires a slightly different approach to ensure a lasting finish. Here’s how to paint non-wood cabinets:
- Clean the Surface: Start by thoroughly cleaning the cabinets with a degreaser to remove dirt, grease, and any residues that could prevent paint from adhering.
- Sand the Surface: Gently sand the surface to remove any gloss and create a rough texture that helps the paint stick. Use fine-grit sandpaper (around 220 grit) to avoid damaging the surface.
- Prime the Cabinets: Apply a bonding primer designed for non-porous surfaces. This step is essential to ensure that the paint adheres properly and lasts longer.
- Choose the Right Paint: Select a high-quality paint that’s suitable for the material. For example, a satin or semi-gloss finish is ideal for laminate and MDF, as it provides durability and moisture resistance.
- Apply the Paint: Use a high-quality brush or roller to apply thin, even coats. For non-wood surfaces, it may take more than one coat for full coverage, so be sure to let each coat dry thoroughly before applying the next.
- Finish with a Protective Topcoat: Once the paint has dried, apply a clear polyurethane or polycrylic topcoat to protect the finish from moisture and wear.
Conclusion
Choosing the right paint for your bathroom cabinets is an essential part of any bathroom renovation. Not only does it protect your cabinets from the damaging effects of moisture, but it also helps create a beautiful, cohesive space. By carefully selecting the right paint type, color, and finish, you can transform your bathroom into a stylish, durable sanctuary. Whether you decide to tackle the project yourself or hire a professional, the results will be worth the effort. Happy painting!
