Removing bathroom floor tiles may seem like an intimidating task, but with the right approach, it becomes a manageable and even rewarding DIY project. Whether you’re renovating your bathroom or replacing damaged tile, understanding the correct techniques will save you time, effort, and potential repair costs. In this guide, we’ll walk you through each step, from preparation to clean-up, ensuring that you achieve a professional finish without unnecessary complications.
Understanding Your Bathroom Floor Tile
Before you start prying up tile, it’s essential to understand the materials involved. Bathroom tiles can be ceramic, porcelain, or natural stone, each with different removal challenges. Additionally, the subfloor beneath the tile—whether concrete, plywood, or cement backer board—will dictate the tools and methods required. Assessing the tile and adhesive type will prepare you for the best removal approach, minimizing the risk of damage to underlying structures.
Preparing for Tile Removal
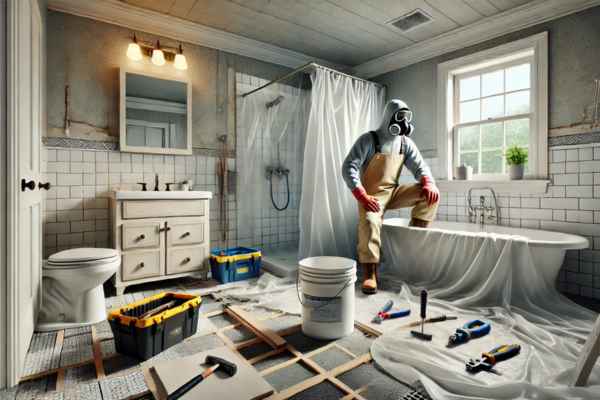
A well-prepared workspace is key to efficient tile removal. Start by clearing the bathroom of any furniture, fixtures, or removable elements. Cover sinks, tubs, and countertops with protective sheeting to prevent debris from causing damage. Wear safety gear, including gloves, safety goggles, and a dust mask, to protect yourself from sharp tile fragments and dust particles. If your bathroom has plumbing fixtures close to the floor, consider shutting off the water supply to avoid any unexpected mishaps.
How to Loosen and Remove Grout Like a Pro
Grout removal is a crucial first step in freeing tile from their adhesive bonds. Using a grout saw, oscillating tool, or utility knife, carefully cut along the grout lines, breaking the seal between tiles. Applying heat with a heat gun can soften stubborn grout, making it easier to scrape away. Take your time with this step, as excessive force can crack adjacent tile and create unnecessary complications.
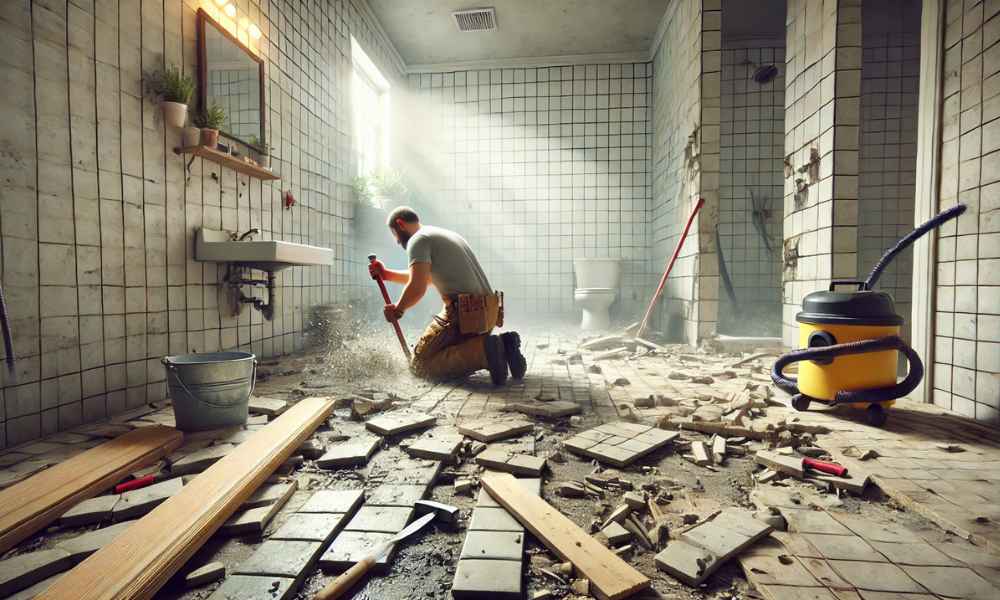
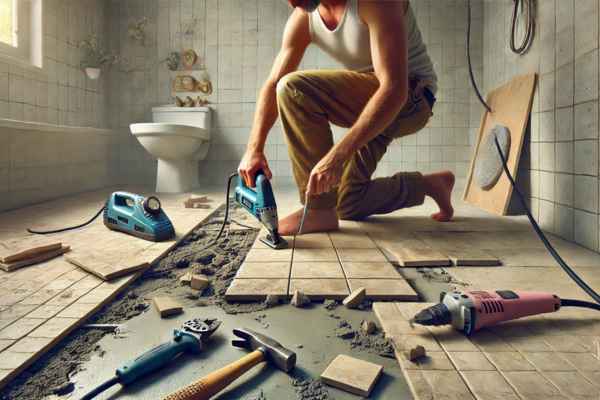
Breaking and Lifting Tiles Without Damaging the Subfloor
Once the grout is removed, it’s time to lift the tiles. Start by locating a loose or broken tile to gain leverage. If none are loose, use a hammer and chisel to break one tile, creating an access point for prying up the rest. Insert a pry bar or putty knife beneath the tile and gently lift it away. Work slowly to avoid gouging the subfloor. If using a hammer drill, set it to chisel mode for efficient removal of multiple tiles at once.
How to Handle Stubborn or Stuck Tiles
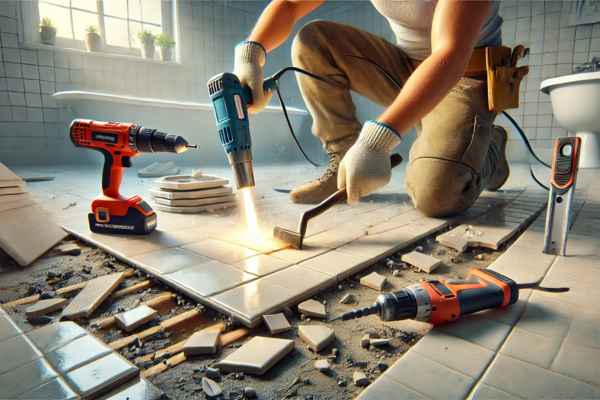
Some tiles may refuse to budge due to strong adhesive or improper installation. For these stubborn cases, applying heat with a heat gun can loosen the adhesive bond, making tile removal easier. If the tile remains unyielding, use a chisel at a shallow angle to avoid excessive damage to the subfloor. A hammer drill with a tile removal attachment can also be effective for breaking up particularly resistant tile.
Dealing With Leftover Adhesive and Mortar
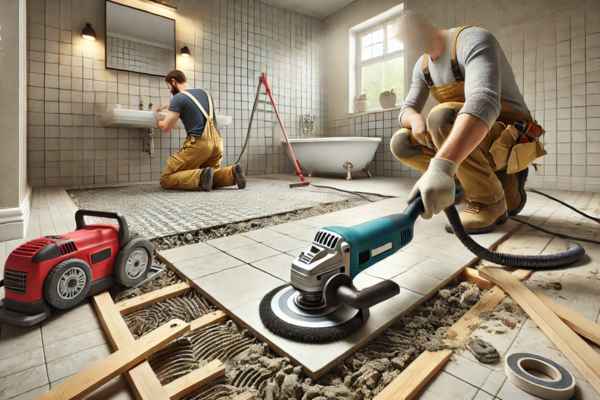
Once the tiles are removed, remnants of thinset mortar or adhesive will likely remain. A floor scraper or oscillating multi-tool can help remove hardened adhesive efficiently. For larger areas, an angle grinder with a diamond grinding wheel will smooth out stubborn mortar. Ensure that all residue is completely cleared before installing new flooring to create a level surface. Vacuuming up dust and debris is essential for preparing the subfloor for the next stage of renovation.
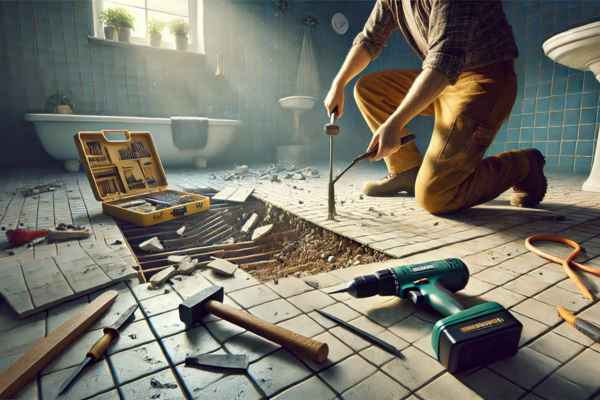
How to Remove Bathroom Floor Tile Without Damaging the Subfloor
One of the biggest concerns when removing bathroom floor tile is preventing damage to the subfloor. To achieve this, you should start by carefully removing the grout around each tile using a utility knife or oscillating tool. This helps loosen the tile and reduces the chances of chipping or cracking nearby tiles if you plan to reuse them. Next, use a hammer and chisel to gently pry up the tiles from underneath, working slowly to lift each one without applying too much force. For stubborn tiles, a heat gun or steam can help soften the adhesive, making removal easier. If the tiles are set in mortar, you may need a floor scraper or power tool to break them apart while ensuring the subfloor remains intact.
Disposing of Old Tiles and Debris Properly
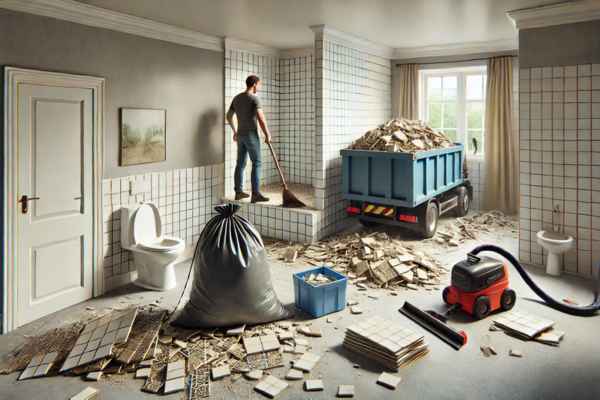
After removing the bathroom floor tiles, proper disposal is essential. Since tiles are heavy and not biodegradable, they should not be thrown into regular household trash. Instead, consider renting a dumpster or taking the debris to a designated construction waste disposal site. If the tiles are in good condition, you might donate them to a local reuse center or recycling facility. Additionally, vacuuming and sweeping up dust and small debris after tile removal will help keep the workspace clean and safe.
How Long Does It Take to Remove Bathroom Floor Tile?
The time required to remove bathroom floor tiles depends on factors like tile size, adhesive type, and the tools used. On average, a small bathroom (about 50 square feet) may take 4–6 hours to remove tiles manually, while larger bathrooms may require a full day or more. If the tiles are secured with thin-set mortar, removal can take longer than if they were simply adhered with glue. Using power tools such as an electric chisel or floor scraper can speed up the process significantly. However, rushing through tile removal without proper care can lead to accidental damage, increasing repair time.
Common Mistakes to Avoid When Removing Bathroom Floor Tile
Many DIYers make mistakes when removing bathroom floor tiles, leading to unnecessary damage or extra work. One of the most common mistakes is not wearing protective gear, as tile removal creates sharp debris and dust that can be hazardous. Another mistake is using excessive force, which can damage the subfloor and require costly repairs. Additionally, failing to remove grout properly before prying up tiles can make the job harder and increase the risk of breakage. Finally, neglecting proper cleanup and disposal can result in safety hazards and extra costs for waste removal. By avoiding these mistakes and following a step-by-step approach, you can efficiently remove bathroom floor tiles while keeping your subfloor intact.
What to Do After Removing Your Bathroom Floor Tile
Once you’ve successfully removed the bathroom floor tiles, the next step is preparing the space for the new flooring. Start by cleaning the area thoroughly, removing all dust, adhesive, and leftover grout. A vacuum and a damp mop can help get rid of fine debris. If the adhesive or mortar is still stuck on the subfloor, you may need a scraper or a grinder to create a smooth surface. Before installing new flooring, inspect the subfloor for any damage, such as rot or uneven spots. If necessary, repair or replace sections of the subfloor to ensure a sturdy foundation for your new flooring material.
Can I Remove Bathroom Floor Tile Without Professional Help?
Yes, you can remove bathroom floor tiles without professional help, as long as you have the right tools and follow safety precautions. DIY tile removal requires basic tools such as a hammer, chisel, pry bar, and safety gear like gloves and goggles. If your tiles are adhered with thin-set mortar, removal can be more challenging, but using a heat gun or power tools can make the job easier. While professionals can speed up the process, a patient DIY approach can save money, especially if you are comfortable with light demolition work. However, if your bathroom has delicate plumbing or electrical elements nearby, consulting a professional may be a safer choice.
What’s the Easiest Way to Remove Tile Without Making a Mess?
Tile removal can be a messy process, but you can reduce dust and debris with a few strategic steps. First, cover vents and doorways with plastic sheeting to prevent dust from spreading to other areas of your home. Using a utility knife to remove grout first can help loosen tiles, making them easier to lift with minimal breakage. A chisel and hammer can remove tiles one by one, but if you’re dealing with a large space, a power scraper can speed up the process. A shop vacuum is useful for immediately cleaning up dust and small debris as you work. If possible, work in small sections to control the mess and keep cleanup manageable.
How Do I Know If My Subfloor Needs Repairs After Tile Removal?
After removing the tiles, it’s crucial to inspect the subfloor for any signs of damage. If you notice soft spots, cracks, or visible water damage, your subfloor likely needs repairs before installing new flooring. A moisture meter can help detect hidden water damage that could lead to mold or structural issues. If the subfloor feels uneven or has large gaps, adding a self-leveling compound or replacing damaged sections may be necessary. Addressing these issues before installing new tiles or flooring will ensure a smooth and durable surface that lasts for years.
Conclusion
Removing bathroom floor tiles is a task that can be done without professional help if approached correctly. By taking the necessary precautions, using the right tools, and managing debris efficiently, you can complete the process with minimal mess and damage. After tile removal, it’s essential to inspect and prepare the subfloor to ensure your new flooring is installed on a solid foundation. Whether you’re renovating or simply replacing old tiles, following these steps will help make your project successful and hassle-free.

