Yes, you can absolutely spray paint wood chairs! Spray painting is a versatile and efficient method to refresh outdated or worn furniture. It provides a smooth, even finish that can elevate the look of your chairs, making them appear brand new. Whether you want to add a pop of color, achieve a modern matte look, or maintain a classic glossy finish, spray painting allows for a wide range of creative possibilities. The process is faster than traditional brush painting, and with the right preparation, it ensures long-lasting and professional results.
To get started, it’s crucial to prepare your chairs properly. Begin by cleaning the surface to remove any dirt, grease, or old finish that might interfere with the paint. Sand the wood lightly to create a smooth surface that helps the primer and paint adhere better. Always use a primer designed for wood to ensure an even base coat and reduce the risk of peeling or chipping. When spray painting, work in a well-ventilated area and apply multiple thin coats, allowing each coat to dry before adding the next. This approach prevents drips and ensures a polished finish. With a little effort and patience, you can transform your wood chairs into beautiful, customized pieces that complement your decor perfectly!
Why Choose Spray Paint For Wood Chairs?
Spray paint is an excellent choice for transforming wood chairs because of its ability to provide a flawless, smooth finish. Unlike traditional brush painting, which can leave visible strokes or uneven layers, spray paint ensures a streak-free, professional look. This is especially beneficial for chairs with intricate designs, carvings, or curved surfaces, where a brush might struggle to reach every corner evenly. Additionally, the quick application of spray paint saves time and effort, making it a go-to option for DIY enthusiasts who want fast yet stunning results.
Another advantage of spray painting is the variety it offers. With a vast selection of colors and finishes, you can easily customize your chairs to match your personal style or home décor. Whether you’re aiming for a sleek matte look, a modern satin finish, or even a bold metallic shine, spray draw has got you covered. Plus, high-quality spray paints designed for wood are durable and resistant to daily wear and tear, ensuring your revamped chairs stay vibrant and fresh-looking for years. With its blend of convenience, efficiency, and versatility, spray painting is a fantastic choice for breathing new life into wood furniture.
Step-By-Step Guide To Spray Painting Wood Chairs
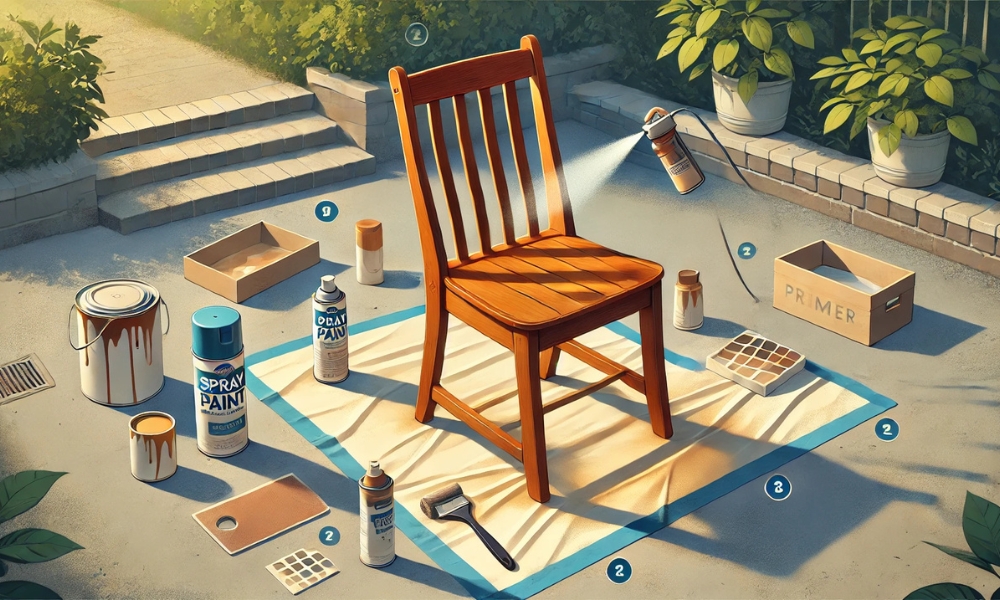
1. Gather Your Supplies
Before starting your project, ensure you have all the necessary materials:
- Spray paint (preferably designed for wood)
- Sandpaper (120-220 grit)
- Primer (optional but recommended)
- Drop cloth or tarp
- Painter’s tape
- Cleaning cloths
- Safety gear (mask, gloves, and goggles)
2. Choose The Right Spray Paint

Choosing the right spray paint is essential for achieving the best results when transforming your wood chairs. Not all spray paints are suitable for wood, so it’s important to select ones labeled specifically for wood surfaces. All-purpose spray paints are a versatile option, working well on a variety of materials, including wood. They are readily available and come in many colors, making them a convenient choice for most DIY projects. For those looking to save time, paint-and-primer-in-one products are a game changer. These combine the priming and painting steps, providing excellent adhesion and coverage while reducing the need for multiple layers.
If you’re looking for something beyond the ordinary, specialty spray paints can help you achieve a truly unique finish. Chalk spray draw offers a soft, matte look that’s perfect for vintage or farmhouse-style furniture, while metallic finishes can add a touch of glamour or modernity to your chairs. Before making your choice, consider the overall aesthetic you want to achieve and ensure the paint is durable enough to handle daily use. Investing in high-quality spray paint ensures your project not only looks great but also stands the test of time.
3. Prepare Your Workspace
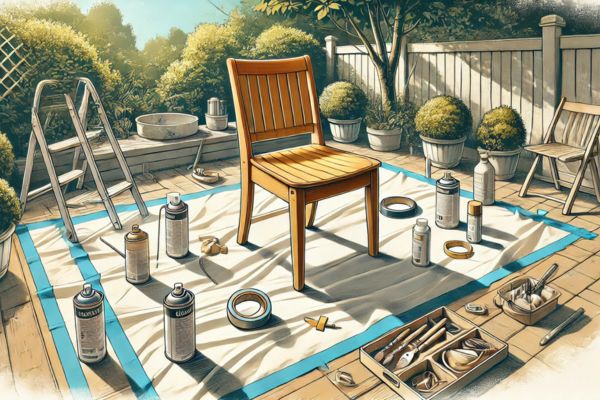
Preparing your workspace is a critical step to ensure a smooth and hassle-free spray painting experience. Since spray painting can be messy and emit fumes, it’s important to work in a well-ventilated area. Ideally, set up your project outdoors or in a garage with the doors open to allow proper airflow. This not only protects your health but also helps the paint dry more evenly. Make sure the weather is favorable—avoid windy or excessively humid days, as these can interfere with the paint’s application and drying process.
To protect your surroundings from overspray, lay down a drop cloth or tarp over the ground and nearby surfaces. Secure the edges to prevent it from shifting during your project. Additionally, use painter’s tape to mask off areas of the chair you don’t want to paint, such as hardware or specific design elements. Taking these precautions will not only keep your workspace tidy but also help achieve clean, professional-looking results on your chairs. Proper preparation makes all the difference in ensuring your spray painting project goes smoothly from start to finish!
4. Prepare The Wood Chairs
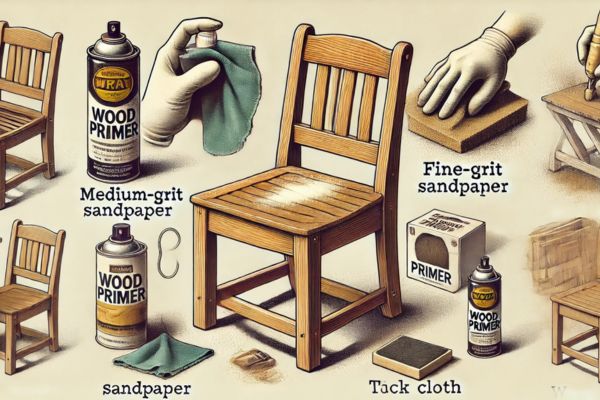
Properly preparing your wood chairs is essential to achieving a flawless, long-lasting finish. Start by thoroughly cleaning the chairs to remove any dirt, dust, or grease. Use a damp cloth and mild detergent, then allow the chairs to dry completely before moving on to the next step. This ensures a clean surface for the paint to adhere to. Next, sand the surface using medium-grit sandpaper to remove old paint, varnish, or rough spots. If the chairs are already smooth or you want an ultra-polished finish, follow up with fine-grit sandpaper to refine the surface further.
Once sanding is complete, wipe away all sanding residue with a tack cloth or a damp microfiber cloth to prevent dust from interfering with the paint. If your chairs have a dark stain, or you’re planning to use light-colored spray draw, applying a primer is highly recommended. Primer not only improves paint adhesion but also prevents any stains or wood tannins from bleeding through. By taking the time to clean, sand, and prime your chairs, you’ll create the perfect foundation for a smooth and professional-looking paint job.
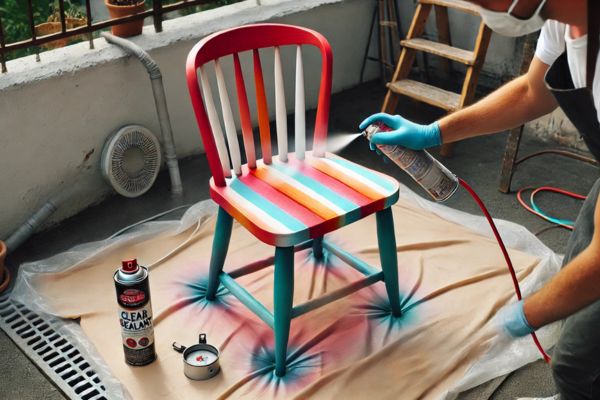
5. Apply The Spray Paint
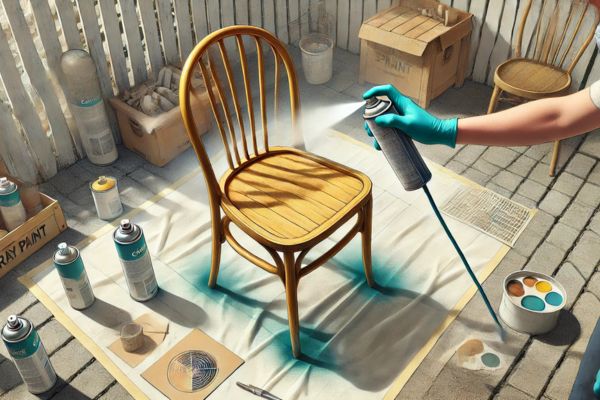
Applying spray paint is where your wood chair transformation truly comes to life. Start by shaking the spray paint vigorously for about 1-2 minutes to ensure the paint is thoroughly mixed. This step is essential for an even color and smooth application. Before you begin painting your chair, test the spray on a piece of cardboard or scrap material to check the flow, color, and pressure. This will help you get a feel for the application and avoid surprises when painting the actual chair.
When spraying, hold the can 8-12 inches away from the surface and use smooth, sweeping motions. Avoid holding the can too close, as this can cause drips and uneven application. Apply thin, even coats rather than one thick coat; this reduces the risk of drips and ensures a polished finish. Allow each coat to dry according to the manufacturer’s instructions, typically 15-30 minutes, before applying the next one. Repeat this process for 2-3 coats to achieve full, even coverage. By being patient and methodical, you’ll create a professional and durable finish that makes your chairs look brand new.
6. Seal The Paint (Optional)
Sealing your spray paint on wood chairs is an optional but highly recommended step, especially if they will endure heavy use or exposure to wear and tear. A clear topcoat not only enhances the durability of the paint but also protects it from scratches, moisture, and fading over time. Choose a sealant specifically designed for painted surfaces, such as a polyurethane or clear spray sealant. These products are available in various finishes, including matte, satin, and gloss, allowing you to customize the final look of your chairs.
When applying the sealant, use the same technique as with the spray draw. Apply thin, even layers while holding the can 8-12 inches away from the surface to prevent drips. Allow each coat to dry according to the manufacturer’s instructions before adding another layer if needed. Once the final coat is applied, let the chairs cure completely for 24-48 hours to ensure the sealant hardens fully. This curing time will help your revamped chairs withstand everyday use while maintaining their fresh, polished appearance for years to come.
Tips For Success
- Practice First: If you’re new to spray painting, practice on a scrap piece of wood or cardboard.
- Mind the Weather: Avoid painting on windy or rainy days. Ideal conditions are mild temperatures with low humidity.
- Avoid Overspraying: Move the can in a continuous motion to prevent uneven buildup.
- Inspect Between Coats: Lightly sand any imperfections between coats for a flawless finish.
Common Mistakes To Avoid
When spray paint wood chairs, avoiding common mistakes can save you time and ensure professional results. One major pitfall is skipping prep work—neglecting to clean or sand the wood chairs into upholstered chairs can lead to poor paint adhesion, resulting in an uneven finish or flaking over time. Proper preparation, including cleaning, sanding, and priming, is essential for a smooth, long-lasting paint job.
Another frequent error is applying thick coats of paint. While it may seem faster, heavy coats increase the risk of drips, runs, and uneven drying. Instead, focus on thin, even coats, allowing each layer to dry completely before applying the next. Ignoring drying time is another mistake that can lead to smudges, peeling, or tacky surfaces. Rushing through the process can undo your hard work, so be patient and follow the manufacturer’s recommendations. Lastly, choosing the wrong paint can compromise both the durability and appearance of your project. Always select spray paint specifically designed for wood to ensure a lasting and beautiful finish. By steering clear of these missteps, you’ll achieve stunning results with your wood chair makeover.
Frequently Asked Questions
1. Do I Need To Sand Wood Chairs Before Spray Painting?
Yes, sanding is a crucial step before spray painting wood chairs. It helps remove old finishes, rough spots, and imperfections, creating a smooth surface for better paint adhesion. Without sanding, the new paint may not bond properly, increasing the likelihood of peeling or uneven coverage. Use medium-grit sandpaper to remove old paint or varnish, and follow up with fine-grit sandpaper for an even smoother finish. Proper sanding ensures your spray draw job looks professional and lasts longer.
2. Can I Use Spray Paint Indoors?
Yes, you can use spray paint indoors, but it’s not ideal due to the fumes and overspray. If you must spray paint indoors, take proper precautions to ensure safety and minimize mess. Work in a well-ventilated area, such as a room with open windows and doors, and use fans to improve airflow. Wearing a mask or respirator designed for paint fumes is essential to protect your lungs from harmful chemicals. Additionally, cover surrounding surfaces with drop cloths or plastic sheets to contain overspray. While it’s possible, painting outdoors or in a ventilated garage is a safer and more practical option.
3. How Long Does Spray Paint Take To Cure On Wood?
Spray paint typically takes 24-48 hours to fully cure on wood, depending on the type of paint, humidity, and temperature. While the surface may feel dry to the touch within 15-30 minutes, curing refers to the paint hardening completely, making it more durable and resistant to scratches or wear. To ensure the best results, avoid using or placing heavy objects on the chairs until the paint has fully cured. Always check the manufacturer’s instructions for specific drying and curing times for your chosen spray draw.
4. Can I Spray Paint Varnished Wood?
Yes, you can spray paint varnished wood, but preparation is key. The glossy surface of varnish can prevent paint from adhering properly, so you’ll need to sand it first. Use medium-grit sandpaper to scuff up the varnish, creating a rougher surface for the paint to bond to. After sanding, wipe away any dust with a tack cloth or damp microfiber cloth. Applying a primer designed for wood surfaces is also recommended for better adhesion and a more even finish. With proper prep, you can successfully spray paint varnished wood for a fresh, new look.
5. How Do I Prevent Drips While Spray Painting?
To prevent drips while spray painting, apply thin, even coats and avoid spraying too close to the surface. Hold the spray paint 8-12 inches away and use smooth, sweeping motions to distribute the paint evenly. Resist the urge to apply thick coats for faster coverage, as this increases the risk of drips. Instead, build up the color gradually with multiple thin layers, allowing each coat to dry according to the manufacturer’s instructions before applying the next. Proper technique and patience are key to achieving a smooth, drip-free finish.
Final Thoughts
Spray painting wood chairs is a fantastic way to breathe new life into your furniture and showcase your creativity. With proper preparation, the right tools, and careful application, you can achieve a smooth, professional finish that enhances the beauty and durability of your chairs. Whether you’re revamping a complete dining set or adding a pop of color to a single accent chair, spray paint provides an affordable and versatile solution to transform your space.
Now that you know the steps, it’s time to gather your supplies, pick the perfect color, and start your DIY project. Remember to be patient, follow the techniques outlined in this guide, and enjoy the process. With a little effort, your old wood chairs can become stunning, custom pieces that elevate your home’s style. Happy painting!

