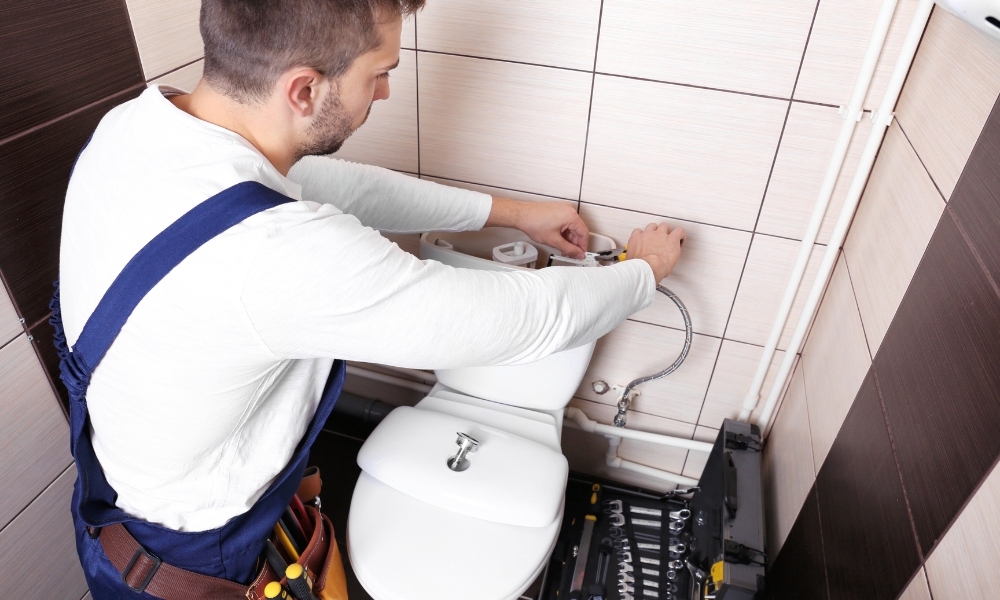
Accessing the toilet cistern in a vanity unit can seem like a daunting task, but with the right approach, it can be straightforward and hassle-free. This guide on “How To Access Toilet Cistern In Vanity Unit” will walk you through the essential steps needed to reach the cistern for maintenance or repairs. Whether you’re a DIY enthusiast or a homeowner looking to understand your bathroom fixtures better, learning to access the toilet cistern in a vanity unit can save you time and money. Follow these instructions to ensure your bathroom stays in top condition without the need for professional intervention.
What Type Of Sealant Should I Use?
The type of sealant you should use depends on the specific application and the materials you are sealing. For general bathroom applications, such as sealing around the vanity unit or toilet fixtures, a silicone-based sealant is typically recommended. Silicone sealants are flexible, waterproof, and resistant to mold and mildew, making them ideal for use in wet environments like bathrooms. Look for a high-quality silicone sealant that is labeled for bathroom or kitchen use to ensure durability and long-lasting performance. Additionally, consider factors such as color, cure time, and ease of application when choosing a sealant for your project. If you have specific requirements or are sealing unconventional materials, such as natural stone or metal, consult with a hardware store expert or professional contractor for personalized recommendations.
Tools You May Need:
- Screwdriver (Phillips Or Flat-Head, Depending On The Screws Used)
- Adjustable Wrench Or Pliers
- Flashlight (Optional, For Better Visibility)
- Bucket Or Towel (In Case Of Water Spillage)
Steps To Steps Guide:
1. Turn Off the Water Supply
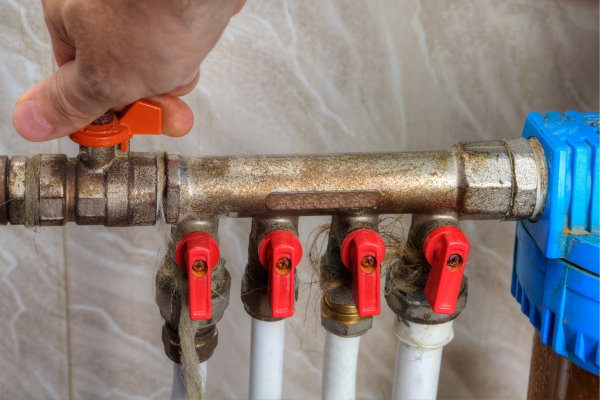
Before you begin any work, it’s crucial to turn off the water supply to the toilet. Locate the shut-off valve usually situated behind or near the toilet and turn it clockwise until it’s fully closed. This step prevents any water from flowing into the cistern during your maintenance or repair tasks.
2. Empty the Cistern
Flush the toilet to empty the cistern of any remaining water. This step ensures that you’re working with a dry environment, reducing the risk of water damage and making it easier to access and work within the cistern.
3. Locate the Access Points

Examine the vanity unit to identify the access points to the toilet cistern. These access points may vary depending on the design of the vanity unit but are typically located either behind a removable panel or underneath the unit itself. Take note of any screws, bolts, or fasteners securing these access points in place.
4. Remove the Vanity Unit Panel
If the access point is behind a removable panel, use a screwdriver or appropriate tool to carefully remove the screws or fasteners holding it in place. Once the panel is removed, set it aside in a safe location. Be cautious not to damage the panel or surrounding surfaces during this process.
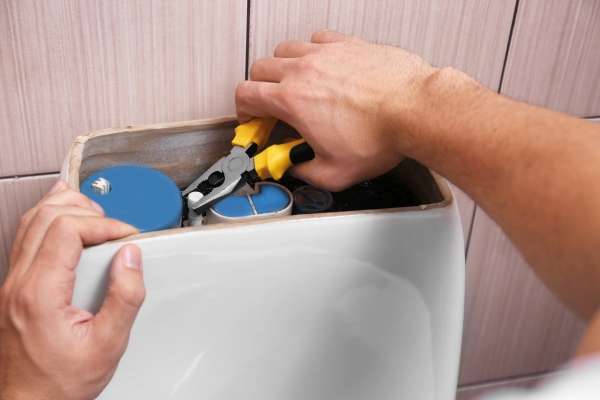
5. Access the Cistern
With the access point open, you should now have clear visibility and access to the toilet cistern within the vanity unit. Take the necessary precautions to avoid any damage to the cistern or its components as you perform maintenance or repairs. Once your tasks are complete, securely reattach the panel or cover and turn the water supply back on.
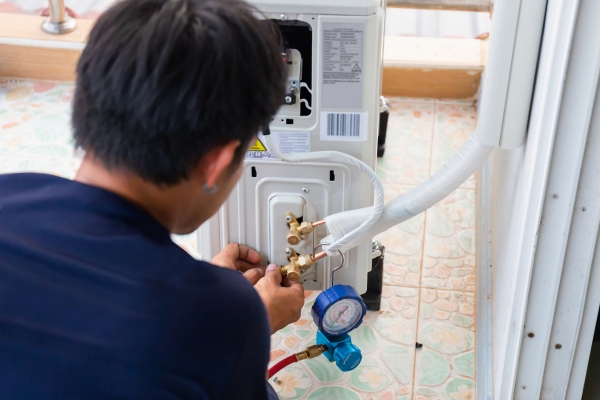
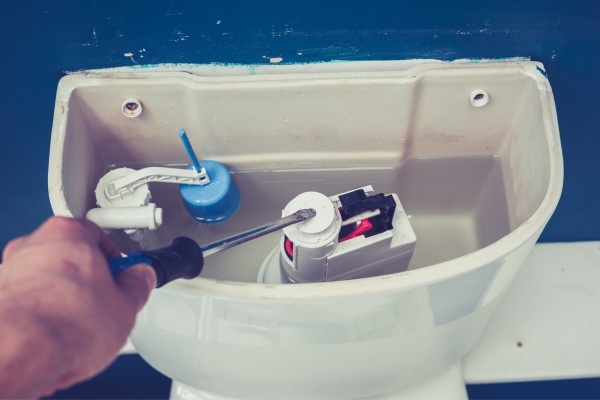
6. Perform Necessary Maintenance
With access to the toilet cistern, take the opportunity to perform any necessary maintenance tasks. This could include inspecting and cleaning the inside of the cistern, checking for leaks or damaged components, and replacing any worn-out parts as needed. Addressing maintenance issues promptly can help prevent more significant problems down the line and ensure the optimal functioning of your toilet.
7. Reassemble the Vanity Unit
Once you’ve completed the maintenance tasks, carefully reassemble the vanity unit. Make sure all panels, covers, and fasteners are securely in place to maintain the unit’s structural integrity and aesthetic appeal. Take your time to ensure everything is properly aligned and tightened to avoid any issues in the future.
8. Turn the Water Supply Back On
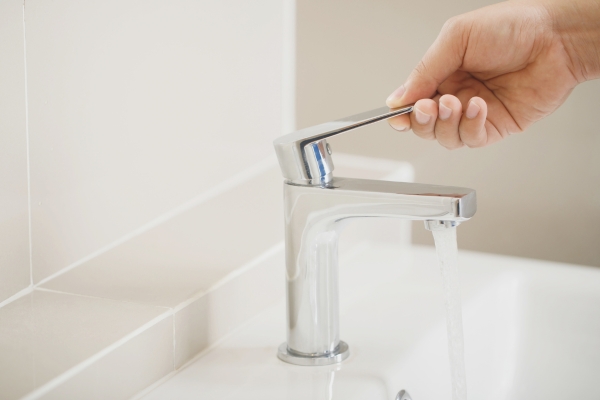
Before testing the toilet, remember to turn the water supply back on. Locate the shut-off valve that you previously closed and turn it counterclockwise to restore the flow of water to the toilet cistern. Check for any leaks around the valve or connections and tighten them if necessary before proceeding.
9. Test the Toilet
With the water supply restored, test the toilet to ensure everything is functioning correctly. Flush the toilet several times to check for proper water flow and drainage. Listen for any unusual noises or observe any signs of leakage around the cistern or toilet bowl. If everything appears to be in working order, your maintenance and reassembly efforts have been successful.
Conclusion
Accessing the toilet cistern within a What Is A Vanity Unit may initially seem daunting, but by following these step-by-step guidelines, you can navigate the process with confidence and ease. From turning off the water supply to performing necessary maintenance and testing the toilet, each step plays a crucial role in ensuring the proper functioning of your bathroom fixtures. By incorporating regular maintenance into your home care routine, you can prolong the lifespan of your toilet and prevent costly repairs in the future.

