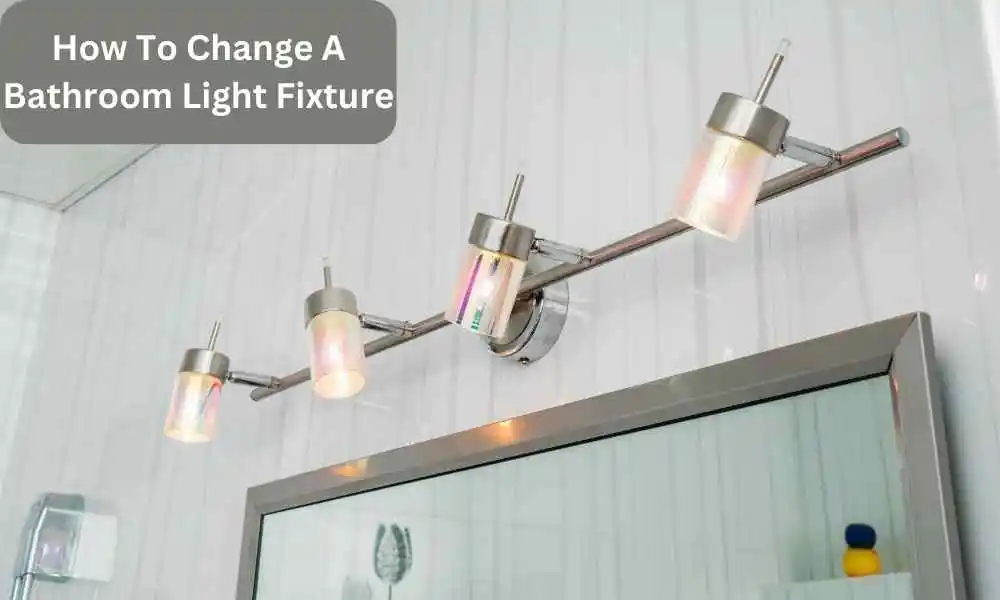
Changing a bathroom light fixture may seem like a daunting task for some, But with the right tools And guidance, It can be a straightforward And satisfying DIY project. Whether You are looking to update the aesthetic of Your bathroom Or simply replace an old, Malfunctioning fixture, This step-by-step guide will walk You through the process. In this article, We will provide You with easy-to-follow instructions on how to change a Bathroom light fixture, Ensuring that you have a well-lit And visually appealing space in no time.
Importance Of Changing A Washroom Light Fixture

Before delving into the practical steps, it is crucial to understand why change a bathroom light fixture is essential. Beyond the obvious aesthetic appeal, replacing outdated or inefficient fixtures can significantly improve the functionality of the bathroom. Upgrading to modern, energy-efficient fixtures can reduce electricity consumption, lowering utility bills in the long run. Moreover, proper lighting can contribute to a safer environment, reducing the risk of accidents and enhancing visibility during daily tasks like shaving, applying makeup, or showering. A new light fitting can also be an opportunity to incorporate the latest lighting technology, such as dimmable LEDs or smart lighting systems, to further enhance the bathroom’s atmosphere and convenience.
Switch Off The Power To The Bathroom

Safety should be the top priority When working with electrical components. Before attempting to change the Bathroom light fixture, It is imperative to cut off the power supply to the washroom. Locate the circuit breaker Or fuse box And switch off the circuit that controls the bathroom’s lighting. To be extra cautious, Place a piece of tape over the breaker to prevent accidental switching While You work. Use a voltage tester to verify that the power is indeed off before proceeding with the next steps.
Remove The Fixture Cover And Light Bulbs
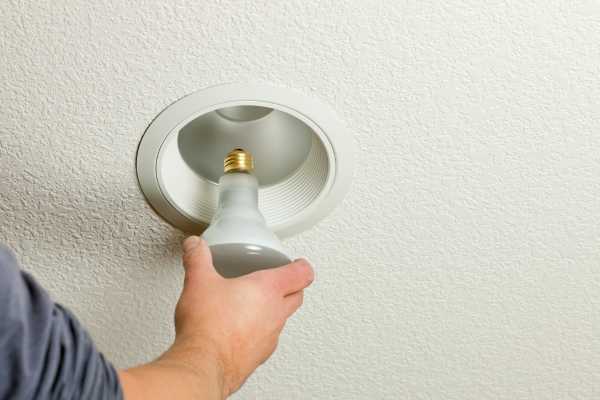
With the power disconnected, Remove the fixture cover And any light bulbs from the existing fixture. The cover may be secured with screws Or spring clips, So carefully undo these fasteners to avoid damage. If you are dealing with light bulbs that are difficult to remove, Use a pair of rubber gloves Or a cloth to provide a better grip.
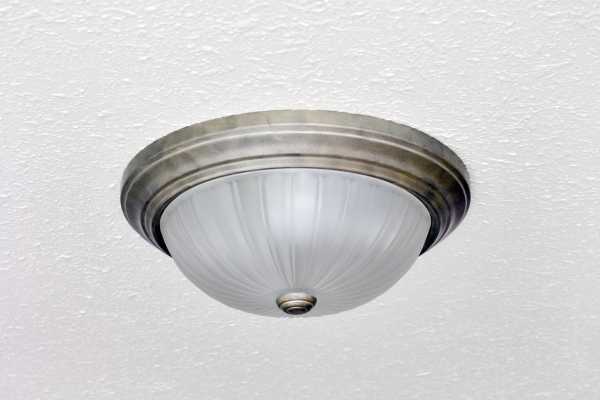
Detach The Fixture From The Wall Or Ceiling

Once the cover And bulbs are removed, Examine how the existing fixture is attached to the wall Or ceiling. Typically, Washroom light fixtures are held in place by screws Or mounting brackets. Carefully unscrew Or unclip the fixture from its mounting point. Keep one hand on the fixture while loosening it to prevent it from falling Or hanging by the electrical wires.
Attach The Mounting Bracket Or Plate

Before installing the new light fitting, check if it requires a new mounting bracket or plate. If the existing bracket or plate is in good condition and compatible with the new fixture, you can reuse it. However, if it is damaged or not suitable for the new fixture, follow the manufacturer’s instructions to attach the provided mounting bracket or plate securely to the wall or ceiling.
Connect The Electrical Wires

This step requires utmost attention and caution. First, carefully examine the electrical wires coming from the wall or ceiling and those attached to the new fixture. Typically, there will be a set of black (hot) and white (neutral) wires, along with a green or copper wire (ground). Gently strip the ends of the wires if necessary. Then, follow the manufacturer’s instructions to connect the wires securely. Most fixtures use wire nuts to join the wires, ensuring a tight and safe connection. Double-check that the wires are correctly matched, and there are no exposed wires or loose connections.
Install The New Light Fixture

With the electrical wires securely connected, carefully position the new light fitting over the mounting bracket or plate. Secure the Installation in place using screws or clips, depending on the design. Make sure the Installation is level and snugly fitted to the bracket.
Restore Power To The Bathroom

Once the new light fitting is securely installed, Go back to the circuit breaker Or fuse box And switch the power back on to the washroom. With the light switch turned on, verify that the Installation receives power And illuminates properly.
Test The Functionality Of The New Light Fixture
Before considering the job complete, test all the features of the new washroom light fitting. Check for proper lighting levels, and any dimming functionalities (if applicable), and ensure that all light bulbs are working correctly. Additionally, verify that the Installation is securely attached to the mounting bracket and there are no unusual sounds or vibrations.
The Final Thought
Changing a bathroom vanity light fitting is a relatively simple task that can be completed by most homeowners. By following the steps outlined in this article, You can safely And effectively replace your old Installation with a new one that better suits your style And needs. Remember to always turn off the power to the circuit before beginning any electrical work, And consult an electrician if you are unsure about any aspect of the installation process. With just a few tools And some basic knowledge, You can successfully update your bathroom lighting and create a more functional And visually appealing space.

