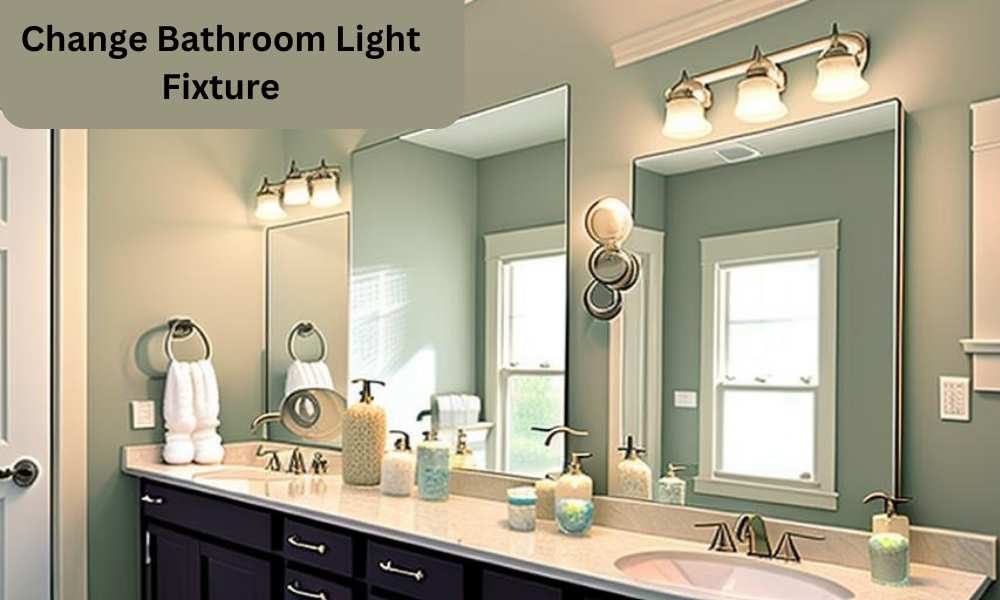
Changing A bathroom light fixture can seem like A daunting task for many homeowners. However, With the right tools And A little bit of know-how, It is actually quite simple to accomplish. Whether you are looking to update the Style of Your bathroom or simply need to replace an old fixture, This article will guide you through the step-by-step process of changing A bathroom light fitting. From gathering the necessary materials to safely removing the old fixture And installing the new one, We will provide detailed instructions and helpful tips along the way. By following these instructions, You will be able to confidently change your bathroom light fixture And enhance both Its functionality And aesthetics in no time.
What tools will I need to change a bathroom light fixture?
To change a bathroom light fixture, you will need a few basic tools. Firstly, You will require A screwdriver, preferably one with both flathead and Phillips head options, as different fixtures may have different types of screws. Additionally, Having A pair of pliers can be useful for loosening or tightening nuts And bolts.
You may also need wire cutters or strippers if you are replacing the electrical wiring along with the fixture. It is important to turn off the power supply to the bathroom before starting any work, So having A voltage tester can help ensure safety. Finally, Having A step ladder or stool can provide you with the necessary height to access and install the new fixture. Remember to always follow proper safety precautions And consult an electrician if you are unsure about any aspect of changing the washroom light fitting.
Can I replace a bathroom light fixture myself?

Yes, You can replace A bathroom light fitting yourself, Given you have A basic understanding of electrical work, And you feel comfortable doing it. The process includes removing the old fixture, Installing A new one, And connecting It to your home’s electrical wiring. Always ensure you are taking necessary precautions while dealing with electricity. However, It’s crucial to remember that if you encounter any challenges or don’t feel confident, there’s no harm in calling A professional. An electrician has the skills And knowledge to ensure your new light fitting is installed safely And correctly.
Shut Off The Electricity To The Bathroom Circuit
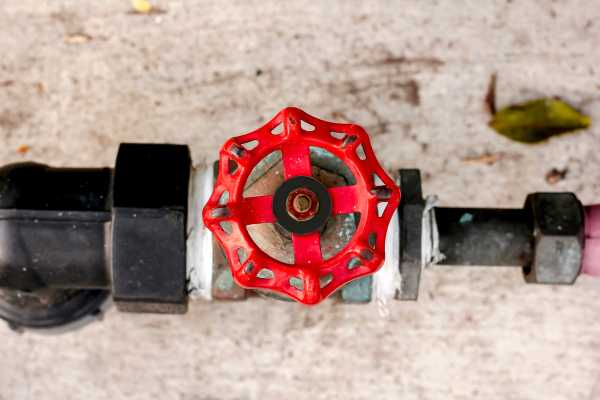
Before you start working on replacing your bathroom light fitting, It’s essential to prioritize safety. Start by shutting off the electricity to the bathroom circuit. This can typically be done from your home’s main electrical panel, Where you can find A switch labeled for your bathroom. Simply flip this switch to the “off” position to cut the power. It’s A necessary step to protect against electrical shocks when working with your light fitting. Make sure everyone in the house knows not to turn the power back on until your work is completed.
Use A Voltage Tester To Ensure The Power Is Off
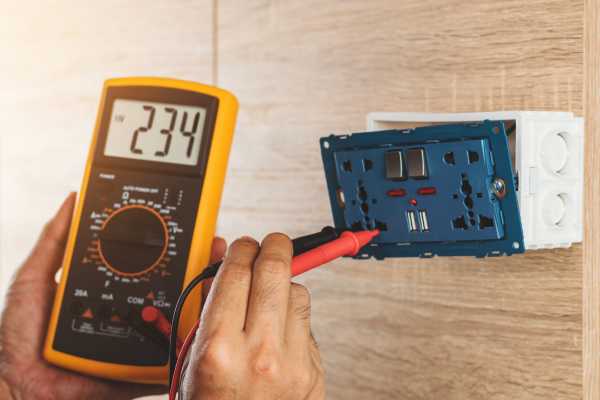
After turning off the circuit, The next step is to verify that the power is indeed off. A voltage tester is A handy tool that can help you ensure there is no live electricity flowing to the wires. Simply hold the voltage tester up to the wires of the existing light fitting. If the tester lights up or beeps, the circuit is still live, And it’s not safe to proceed. If the tester shows no sign of electricity, It’s safe to continue with your project. This double-check might seem like an extra step, But It’s A critical safety measure when working with electricity.
Remove The Light Bulb
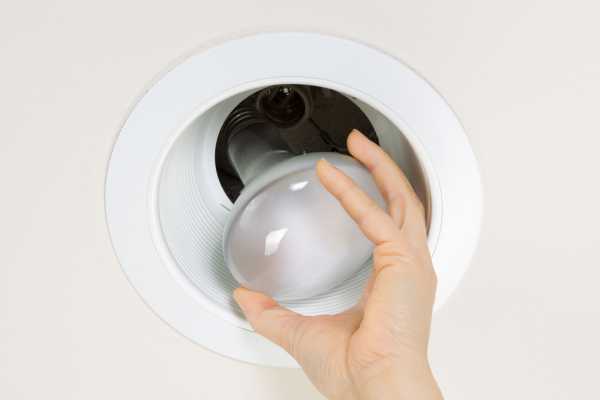
Let’s start simple: removing the light bulb. Firstly, Ensure the power is turned off. Safety is paramount when dealing with electrical items to prevent electrocution. Then, With A firm but gentle hand, Twist the light bulb counterclockwise to release it from the socket. Remember, Every light bulb type has A different removal method. For instance, Some may simply pop out, while others need to be unscrewed. Be careful not to apply excessive force as this might break the bulb, causing potential injury. Always allow the bulb to cool down if It was recently switched off. Keep in mind that compact fluorescent lamps (CFLs) And LEDs are sensitive, so handle them with care to prevent any damage.
Detach The Fixture From The Wall Or Ceiling
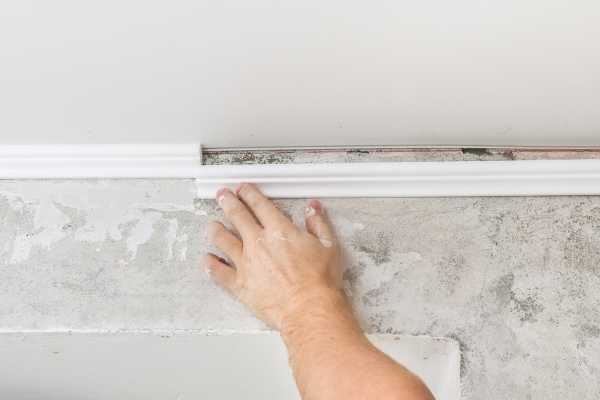
After the light bulb removal, The next step is detaching the fixture. Typically, Light fixtures are attached to A mounting bracket, Which is secured to the wall or ceiling with screws. Locate these screws and, using the appropriate screwdriver, Slowly unscrew them. Hold onto the fixture as you remove the last screw to prevent it from falling. It’s always best to have someone assist you with this task, As some fixtures can be heavy. Once the fixture is detached, place it carefully on A flat surface. Do not yank it off; this could damage the electrical wires connected to it. Also, take note of how the fixture was mounted. This information will be crucial when installing the new light fitting.
Disconnect Electrical Connections

The final step before installing your new light fitting is to disconnect the old one’s electrical connections. You will see A couple of wires – typically black (hot), White (neutral), and green or bare copper (ground). These should be connected to the house wiring with wire nuts. Unscrew these wire nuts by turning them counterclockwise. After the wire nuts are removed, untwist the connected wires. Always check the wires’ condition – If they seem worn out or frayed, It might be time to replace them. Remember, Before starting any electrical work, Make sure the power is off to avoid any accidents. After successfully disconnecting the wires, You can now remove the old fixture completely. You’re ready for the next phase – installing your new bathroom light fitting!
Safely Remove The Fixture From The Bathroom

After disconnecting the electrical connections, it’s now time to safely remove the old fixture from your bathroom. Exercise caution in this process to prevent any possible accidents. Hold the fixture firmly with both hands and move slowly to avoid knocking into other washroom fixtures. If your light fixture has any glass or fragile components, consider wrapping it in an old towel or bubble wrap to protect it from any damage during transportation. As you move through your home, keep your pathway clear of any tripping hazards. Once It’s out of the washroom, Decide whether it will be stored, Recycled, Or disposed of properly. Keep in mind that some parts of old light fixtures can be repurposed or recycled, promoting sustainability.
The Final Thought
Changing your bathroom light fixture is a straightforward task that can refresh the look of your fitting. But remember safety should always come first. Always turn off the power at the breaker before starting the process and use tools properly to avoid injury. If you feel uncomfortable or unsure at any point, Don’t hesitate to call in A professional. While It’s satisfying to complete A DIY project, sometimes getting help is the best course of action. Remember to dispose of or recycle your old fixtures responsibly. Lastly, take pride in your accomplishment. You’ve not only updated the aesthetic of your washroom, but you’ve also learned a valuable new skill. Here’s to many more successful DIY home improvement projects in your future!

