Changing the bathroom vanity light may seem like A daunting task, But with the right guidance And A few simple steps, It can be easily accomplished. Whether you are looking to update your bathroom’s aesthetic or simply replace A faulty fixture, Knowing how to change the bathroom vanity light is essential. This article will provide A comprehensive guide on how to successfully tackle this project, Ensuring that you achieve the desired illumination and ambiance in your bathroom space. From gathering the necessary tools to safely disconnecting old fixtures And installing new ones, We will walk you through each step of the process. So grab your toolbox and let’s get started on transforming your bathroom’s lighting!
How do I remove the old vanity light fixture?

To remove an old vanity light fixture, start by turning off the power to the fixture at the breaker box. This is crucial for your safety. Next, remove any shades or bulbs from the fixture. Then, Using A screwdriver, Carefully unscrew And remove the mounting screws that hold the fixture in place. Once the screws are removed, gently pull the fixture away from the wall to expose the wiring.
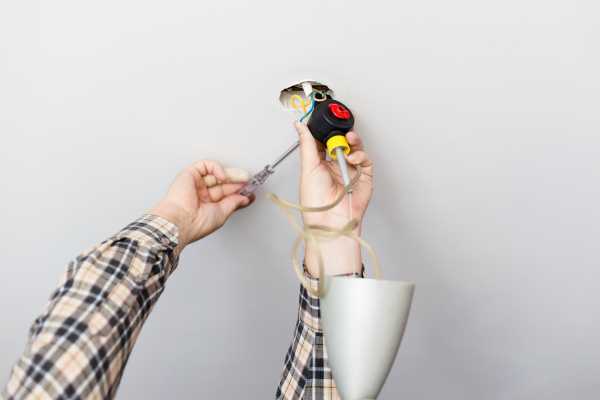
Before proceeding further, Use A voltage tester to ensure that there is no electricity flowing through the wires. If It’s safe to proceed, Disconnect the wires by unscrewing or unclipping them from their connectors. Take note of which wire is connected to which so you can properly connect the new fixture later on. Finally, remove any remaining mounting hardware and clean up any debris before installing your new vanity light fixture.
What tools do I need to change a bathroom vanity light?

To change A bathroom vanity light, You will need A few basic tools. Firstly, You will need A screwdriver, preferably one with both flathead and Phillips head attachments, as different fixtures may use different types of screws. Additionally, you may need a pair of pliers to disconnect any wiring connections. It is also advisable to have a voltage tester to ensure the power is off before beginning any work.
In terms of safety precautions, It would be wise to wear protective gloves And eyewear while working with electrical components. It’s also important to turn off the power supply to the light fixture at the circuit breaker before starting any work. By having these tools on hand and taking necessary safety measures, you should be able to successfully change your bathroom vanity light.
Turn Off The Power To The Existing Fixture

Changing the bathroom vanity lamp may seem like A daunting task, But It’s actually quite simple if you follow the right steps. One of the crucial first steps is turning off the power to the existing fixture. This ensures your safety and prevents any potential accidents or electric shocks. To do this, locate your home’s electrical panel and find the circuit breaker that controls the bathroom’s lighting.
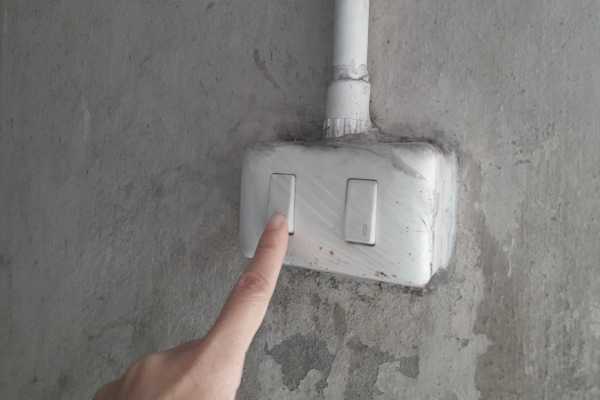
Once you’ve identified the correct circuit breaker, flip it to the off position. It’s important to double-check that the power is truly off by testing the light switch in your bathroom. If there’s no illumination when you flick it on, then you can proceed confidently with changing the vanity lamp. Remember, safety should always be a priority when working with electricity, so never skip this vital step.
Remove The Light Bulb Covers And Bulbs

Changing the bathroom vanity lamp can be A simple And cost-effective way to update the look of your bathroom. One of the first steps in this process is removing the light bulb covers and bulbs. To begin, make sure that the power to the vanity lamp is turned off at the circuit breaker box for safety precautions. Once you have done that, gently remove the light bulb covers by unscrewing or unclipping them from their holders.
After removing the covers, It’s time to deal with the bulbs themselves. Start by carefully unscrewing each bulb counterclockwise until they come loose from their sockets. Be cautious not to twist too hard or apply too much pressure, As this may cause them to break or shatter. If any bulbs are difficult to remove, You can use A pair of rubber gloves for better grip and stability while twisting them out.
Unscrew Or Unclipping The Existing Fixture From The Wall

One of the first things You need to do is unscrew or unclip The existing fixture from the wall. Start by turning off the power to your bathroom lights at the circuit breaker. This will ensure your safety as you work on removing the old fixture. Next, Remove any screws or clips that are securing the fixture in place. Gently pull It away from the wall, Being careful not to damage any wires in the process. Once you have successfully removed the old fixture, inspect It for any damage or wear and tear. This is also A good time to clean It thoroughly before installing A new one. If you are replacing an outdated or broken fixture, Take this opportunity to choose A new vanity lamp that suits your bathroom’s style and decor.
Disconnect The Wiring Safely And Label The Wires

Replacing the bathroom vanity light may seem like A daunting task, But with the right guidance, It can be A breeze. One of the crucial steps in this process is disconnecting the wiring safely and labeling the wires. This step ensures that you can easily reconnect the new light fixture without any confusion or potential hazards. To begin, turn off the power to your bathroom by flipping the corresponding circuit breaker in your electrical panel. This precautionary measure prevents any electrical shocks while working with exposed wires. Next, remove the cover plate of your existing light fixture to access the wiring behind it. Before disconnecting any wires, take a picture or make a note of how they are connected for reference later on.
Prepare The Mounting Area And Ensure Proper Alignment

Preparing the mounting area and ensuring proper alignment are crucial steps when it comes to changing your bathroom vanity lamp. Before you begin, Gather all the necessary tools such as A screwdriver, Wire stripper, And voltage tester. Start by turning off the power supply to the existing light fixture at the circuit breaker. Use A voltage tester to double-check that there is no electricity running through the wires.
Remove the old light fixture by unscrewing any mounting screws or brackets that are holding It in place. Carefully disconnect the wiring from the electrical box, making sure to note which wires are connected together for future reference. Once you have removed the old fixture, take this opportunity to clean and inspect the mounting area for any damage or loose screws.
Connect The New Fixture’s Wires To The Existing Wiring

The first step in the installation process involves connecting the new vanity lamp fixture’s wires to the existing wiring in your bathroom. Typically, you’ll connect black wires to black, White to white, And green or bare copper wires to the ground wire. Ensure each connection is securely tightened with wire nuts. If you’re unsure, Consult the manufacturer’s instructions or seek professional assistance. A secure and proper connection is paramount for the safety And functionality of the light fixture.
Secure The New Vanity Light To The Wall Or Mirror

Once you have removed the old fixture And connected the new fixture’s wires to the existing wiring, It’s time to secure your new vanity lamp. First, Position your light fixture at the desired height on the wall or directly above the mirror. Using the screws provided with the light fixture, Secure It into the wall or mirror. Remember to tighten the screws evenly and check the fixture’s alignment with a level to ensure it’s straight.
Turn The Power Back On And Test The New Vanity Light

After your new light fixture is securely installed, it’s time to restore power and test it. Return to the circuit breaker and turn the power back on for your bathroom. Head back into the bathroom And turn on the light switch. Your new vanity lamp should now illuminate the space. If it doesn’t light up or if it flickers, it’s advisable to recheck your wire connections or the bulbs you’ve installed.
The Final Thought
Changing your bathroom vanity lamp is an effective And manageable DIY project that can significantly enhance the overall aesthetic of your bathroom. This process not only allows you to express your personal style but also improves the lighting in your bathroom, Making tasks like applying makeup or shaving much easier. As always, Safety Should be your top priority during installation, And don’t hesitate to Seek professional help if you run into any issues. With patience And careful execution, You’ll soon enjoy A refreshed, Well-Lit bathroom vanity area.


