
When It comes to updating the look and functionality of your bathroom, Replacing an old or outdated vanity light can make A significant difference. Not only does a new vanity lamp fixture enhance the overall aesthetic appeal of your space, but it also provides improved lighting for grooming tasks and creates a more pleasant atmosphere. However, many homeowners are intimidated by the idea of replacing A bathroom vanity light on their own. With this step-by-step guide, You’ll learn exactly how to replace A bathroom vanity light easily And successfully without the need for professional assistance. So gather your tools and get ready to transform your bathroom with A stylish new lighting fixture!
Turn Off The Power Supply
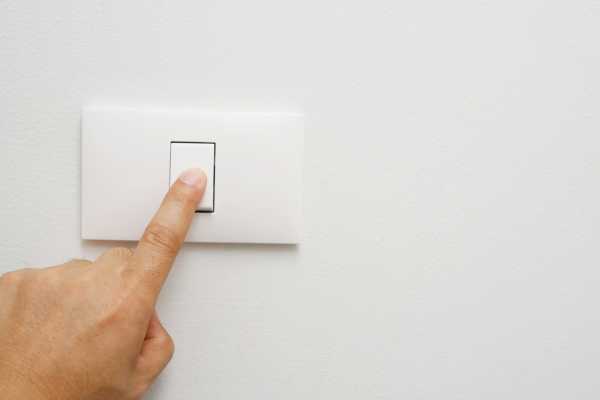
The first And foremost step while replacing A bathroom vanity lamp, Or any electrical fixture for that matter, is ensuring that the power supply is turned off. This is an imperative safety measure to prevent electrical shocks. Locate the circuit breaker in your home and turn off the switch corresponding to the bathroom. Always double-check that the power is off by trying to turn on the light switch in the bathroom. Remember, No task is so urgent that It should bypass this critical step; Safety should always be your first priority.
Remove The Lightbulbs And Shades

Once you’ve confirmed that the power is off, The next step is to remove the lightbulbs And shades from the existing fixture. You’ll want to do this with care to avoid breaking the bulbs or damaging the shades, Especially if you’re planning to reuse them. Hold the bulb gently, Twist counter-clockwise until It’s loose, Then pull It out. The shades can usually be unscrewed or simply lifted off, depending on the design of your fixture. It’s A good idea to place these items in A safe place so they won’t be knocked over or stepped on while you’re working.
Detach The Fixture From The Wall

With the lightbulbs And shades out of the way, It’s time to detach the fixture from the wall. This is typically done by Unscrewing the mounting screws that secure the fixture to the wall. Keep A firm grip on the fixture as you unscrew the last few turns to prevent It from falling. Depending on the fixture, There might be some wires still attached at this stage. Identify the wire connections, typically color-coded as black (hot), white (neutral), and green or bare (ground). Use A screwdriver or wire cutters to loosen and separate the connections. Always keep in mind to stay organized, keeping screws and other small parts in A safe spot, As they will be needed when installing your new light fixture.
Disconnect Electrical Connections

Once the light fixture is free from the wall, the remaining step before complete removal is disconnecting the electrical connections. This involves wires typically color-coded – black for hot, white for neutral, and green or bare copper for the ground wire. To disconnect these wires, you’ll need to unscrew the wire nuts (the plastic connectors) that keep them together. Twist this counter-clock to loosen them, then carefully pull the wires apart. Always ensure your hands are dry when handling these wires, even when the power is off. Keep the wire nuts handy; you’ll need them to secure the wires of your new fixture.
Choose The New Vanity Lamp Fixture
Choosing a new vanity lamp fixture is an exciting step. It can transform the aesthetic of your bathroom. There are several factors to consider: The size And style of the fixture, The type of light bulbs It uses, And Its brightness levels. It’s also essential to ensure the fixture is rated for bathroom use due to the humidity and potential water exposure. You’ll want to choose A fixture that not only matches your personal taste but also complements the overall bathroom decor.
Install The New Vanity Light Fixture

Now comes the installation of your new vanity light fixture. Begin by connecting the wires from the new fixture to the corresponding wires in your wall, using the wire nuts to secure them. Typically, you’ll match color to color (black to black, white to white), and connect the green or bare wire to the ground screw. After the wires are secure, Align the fixture with the mounting bracket on the wall And screw It into place. Then, Add your shades and light bulbs. Finally, turn the power back on at the circuit breaker and test out your new vanity light. Voila! You’ve successfully replace your bathroom vanity light.
Wire The New Vanity Light Fixture

Having chosen your new vanity lamp fitting, you now have to connect it to the power source. The wiring may seem intimidating, but remember that you’re mostly matching colors. First, attach the fixture’s ground wire (typically green or bare) to the ground wire from the wall or the grounding screw on the mounting bracket. Then, connect the neutral wires (usually white) from the fitting and the wall using a wire nut. Repeat this process for the hot wires (typically black). Ensure all connections are secure, and no bare wire is visible outside the wire nuts. Wrapping the connections with electrical tape can provide additional safety. Remember, accuracy and safety should take precedence over speed in this process.
Attach Lightbulbs And Shades

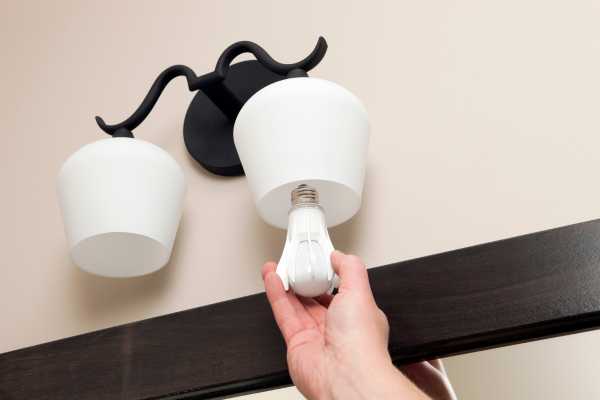
With the new vanity lamp fitting wired and secured to the wall, you’re almost done. It’s now time to install the lightbulbs and attach the shades. First, screw in the lightbulbs by turning them clockwise into the sockets until they’re firm. Then, depending on your fitting design, secure the shades over the lightbulbs. Be sure to handle these parts gently to avoid damaging them. Once everything is in place, Take A step back And admire your handiwork. In the final step, You’ll restore the power and enjoy the bright, new look of your bathroom vanity lamp.
Test The New Vanity Light

With everything installed And in place, It’s time for the most satisfying step: testing your new vanity lamp. Go back to your home’s circuit breaker and restore power to the bathroom. Then, return to your bathroom and switch on the vanity lamp. If everything has been done correctly, you should be greeted by the pleasing illumination from your newly installed fitting. It’s essential to test each light bulb and ensure they all work correctly. If not, double-check your connections and try different bulbs if necessary. If you experience any trouble, remember that professional electricians are just a call away.
The Final Thought
Congratulations! You’ve successfully replace your bathroom vanity light. This task, while seemingly daunting, has been achieved with careful preparation and methodical execution. You’ve not only updated a functional aspect of your bathroom, but you’ve also potentially transformed the room’s aesthetic. Remember, As A homeowner, Developing these skills can save you significant time And money. Yet, always prioritize safety over convenience, especially when working with electricity. Enjoy the new ambiance of your bathroom, and take pride in your accomplishment – you’ve earned it!

