Keeping Your Bathroom wall tiles clean is Essential for maintaining a fresh And Hygienic environment. Bathroom Wall tiles are notorious for accumulating grime, Soap scum, And even mold over time. Not only do They lose their Shine And vibrance, But they can also become a breeding ground for bacteria if left unattended. However, With the right techniques And products, You can easily restore the shine to Your bathroom wall tiles. In this article, We will explore effective methods to clean Bathroom wall tiles thoroughly And efficiently.
What Liquid Makes Tiles Shine?

Commercial tile cleaners often contain ingredients that lift dirt and grime while adding a high gloss to your tiles. Products like Rejuvenate or Bona Stone are popular, though it’s important to follow the manufacturer’s directions precisely to ensure a beautiful, safe finish.
However, if you prefer a more natural approach, distilled white vinegar is a time-tested favorite. A one-to-one mixture of vinegar and water applied with a soft cloth can work wonders on your tiles. Not only does vinegar cut through the dirt and grime, but it leaves your slab shining without harsh chemicals. To enhance the shine, you can buff your tiles dry with a microfiber cloth.
How Do I Keep My Bathroom Tiles Shiny?
Maintaining the gleam on your bathroom tiles is an ongoing process, but with the right routine, it needn’t be a chore. Consistency is key to retaining that fresh, clean, and sparkling appearance. After the initial deep clean, regular, light cleanings are critical to keep your slab shiny. This might be a quick wipe-down after a shower to remove soap scum, or a more thorough weekly clean with your chosen tile cleaner or vinegar solution.
Using a squeegee to remove excess water after each shower can significantly reduce the buildup of minerals and soap scum that dull your slab. Also, ensuring your bathroom is well-ventilated can help minimize the mildew that thrives in damp conditions.
Dust And Sweep The Tiles

Before you initiate a deep cleaning process, It’s vital to dust And sweeps the tiles. This first step removes loose dirt, dust, hair, And other particles that may hinder the cleaning process. Use a soft broom Or a vacuum cleaner with a brush attachment to sweep off the dust. Be gentle to avoid scratching your tiles. Regular dusting And sweeping are essential preventive measures to maintain the original shine of your bathroom tiles And prevent the accumulation of grime. This step also offers a chance to inspect your slab And grout for any signs of damage Or mold. Remember, Keeping your bathroom well-ventilated helps reduce the build-up of dust And mold.
Pre-Treating Stains And Spots

The next step involves pre-treating stains and spots. These blemishes could be the result of soap scum, hard water, mold, or mildew. You’ll need to spray a generous amount of a non-abrasive bathroom cleaner on the stains and let it sit for about 15-20 minutes to loosen them. For stubborn spots, a paste made from baking soda and water can be an effective, gentle abrasive. Apply the paste to the stain and let it sit before scrubbing. Always remember to spot test any cleaner you use to avoid damaging your slab. This process will not only make the main cleaning task easier but also help to restore the bright, clean look of your tiles.
Select The Appropriate Cleaning Solution

Selection of the right cleaning solution is crucial in maintaining the longevity and shine of your bathroom tiles. You can either choose commercial cleaners or make your own using common household items like vinegar, baking soda, and dish soap. If you opt for commercial cleaners, make sure they’re designed for bathroom slab, non-abrasive, and safe for your tile material. On the other hand, a homemade cleaner made from equal parts vinegar and water can be just as effective. For a deeper clean, a paste made from baking soda and a little water can be applied to tougher stains. Regardless of your choice, always make sure to spot test a small, inconspicuous area first to ensure the cleaner won’t discolor or damage your tiles.
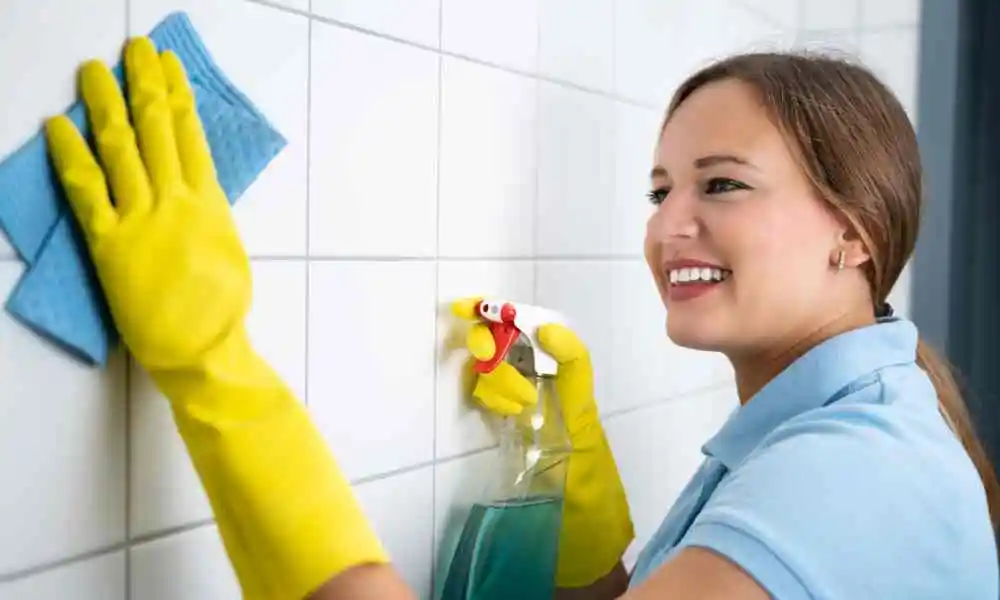
Apply The Cleaning Solution Evenly

After choosing the cleaning solution, it’s time to apply it evenly on your tiles. Start from the top and work your way down to prevent dirty water from dripping onto already cleaned surfaces. You can use a spray bottle to evenly distribute the solution or cloth for a more direct application. Leave the solution to sit for a few minutes, but don’t let it dry out. The sitting time allows the cleaner to penetrate grime and stains, making them easier to wipe away. This process will ensure your slab get thoroughly cleaned, leaving no room for uneven patches. If your bathroom is poorly ventilated, consider wearing a mask during this process to avoid inhaling potentially harmful fumes.
Use A Soft-Bristled Brush Or Sponge To Scrub
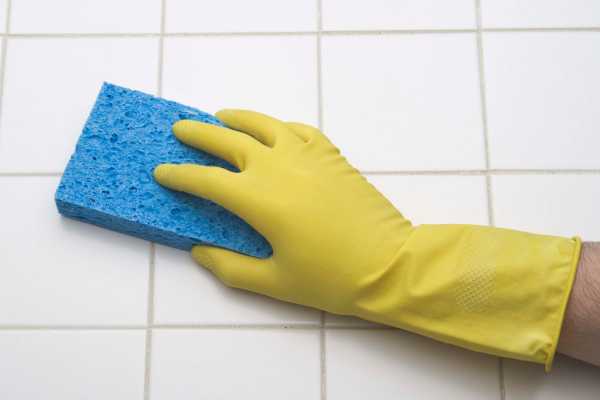
Once the cleaning solution has done its job, use a soft-bristled brush or a non-abrasive sponge to scrub the tiles. Scrub in a circular motion, applying consistent pressure. For smaller or harder-to-reach areas, an old toothbrush works wonders. Pay special attention to stubborn stains and spots – some may require a little extra elbow grease. Remember, the goal is to dislodge dirt and grime without scratching or damaging the slab. After scrubbing, rinse the slab with warm water. If necessary, repeat the process until your tiles are squeaky clean.
Pay Attention To Grout Lines And Corners

Grout lines and corners often harbor stubborn dirt and mold. These areas require special attention. Use a grout brush or old toothbrush to scrub them with a mixture of baking soda and water. Remember to rinse thoroughly afterward to prevent a grimy residue. If your grout remains discolored despite cleaning, consider using a grout pen to restore its original color. For persistent mold problems, a mixture of bleach and water can be effective, but remember to wear gloves and maintain proper ventilation. Regularly cleaning grout lines and corners will help maintain the overall aesthetic of your bathroom tiles and prevent mold and mildew build-up.
Avoid Abrasive Cleaners On Delicate Surfaces
While a deep clean is important, It’s essential to avoid abrasive cleaners on delicate surfaces. Abrasives can scratch And damage your tiles, Leaving them dull And prone to further staining. Always opt for non-abrasive cleaners And tools. Similarly, Avoid harsh chemicals like bleach on colored slab Or grout, As they can cause discoloration. In case of stubborn stains on a delicate slab, Try using a soft cloth dipped in a solution of dish soap And warm water, And gently rub the stain. It might take a little more time, But preserving the condition of your slab is worth it. Regular cleaning with appropriate products can keep your bathroom tiles sparkling clean, reducing the need for deep cleaning And maintaining the beauty of your slab for years to come.
The Final Thought
Cleaning bathroom wall tiles doesn’t have to be a daunting task. By following these simple steps and using the right techniques and products, you can restore the shine and cleanliness of your tiles in no time. Remember to regularly maintain your slab to prevent buildup and stains. With a little bit of effort and consistency, you can keep your bathroom wall tiles clean to look fresh and inviting.

