Clean your OXO toilet brush holder is a simple yet essential task to maintain hygiene and prolong the life of your bathroom accessories. Over time, the holder can accumulate grime, bacteria, and unpleasant odors, making regular cleaning crucial. To effectively clean your It, you’ll need a few household supplies and a bit of time. This guide will walk you through the steps to ensure your toilet brush holder remains spotless and sanitary, contributing to a healthier bathroom environment.
How Often Should I Clean My OXO Toilet Brush Holder?
Regular maintenance of It is essential to prevent the buildup of bacteria and grime. Ideally, you should clean your holder at least once a week. This frequent cleaning ensures that any harmful pathogens are promptly removed, maintaining a hygienic environment. Additionally, consider a thorough cleaning after any illness in the household to prevent the spread of germs. Consistent care will not only keep your bathroom clean but also extend the life of your holder.
Materials Needed:
- Rubber gloves
- Dish soap or antibacterial cleaner
- White vinegar (optional)
- Baking soda (optional)
- Scrub brush or sponge
- Old toothbrush (optional)
- Paper towels or a clean cloth
- Disinfectant spray (optional)
Preparation
Before you begin clean your OXO toilet brush holder, gather all necessary supplies to ensure an efficient process. You will need rubber gloves, a scrub brush or sponge, disinfectant spray or a mild cleaning solution, and a bucket of hot water. Having these items ready will streamline the cleaning process and ensure you can thoroughly sanitize the holder. Wearing rubber gloves is particularly important to protect your hands from harsh cleaning agents and to maintain hygiene throughout the task.
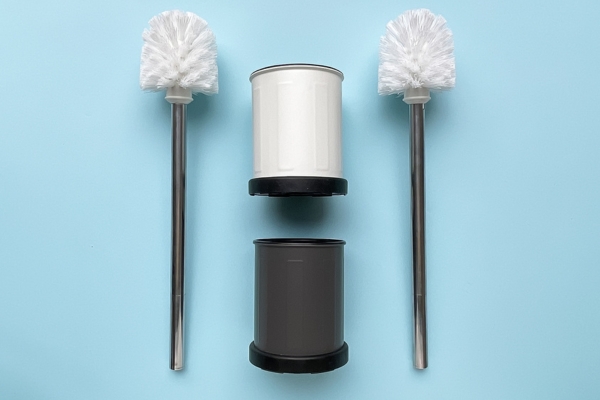
Disassembling the Holder
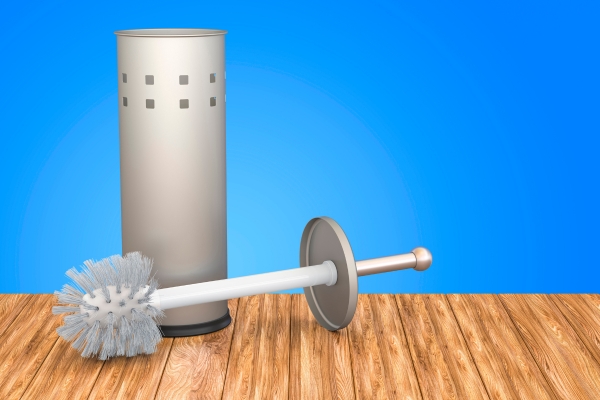
To clean It effectively, start by disassembling it. Remove the and set it aside. If your holder has removable parts, such as a drip tray or inner container, take these out as well. Disassembling the carrier allows you to clean each part individually, ensuring no area is overlooked. Carefully disassemble any parts that can be separated to access all nooks and crannies where dirt and bacteria may hide. This thorough approach guarantees a deep clean, leaving clean your toilet brush carrier spotless and sanitary.
Initial Rinse
Begin the cleaning process by giving your OXO holder an initial rinse. Hold each part under hot running water to remove any loose debris and grime. This step helps to soften any hardened residues, making the subsequent cleaning steps more effective. Be sure to rinse the inside and outside of the carrier, as well as any removable parts, to ensure all surfaces are prepped for a thorough clean.
Cleaning Solutions
Once the initial rinse is complete, it’s time to apply a cleaning solution. You can use a disinfectant spray, a mild detergent, or a mixture of vinegar and water. Spray or apply the cleaning solution generously to all parts of the holder, including the base, inner components, and the brush itself. Use a scrub brush or sponge to work the solution into the surfaces, focusing on any areas with visible stains or buildup. This step is crucial for killing bacteria and removing tough grime.
Soaking the Components
For a deeper clean, soak the disassembled components of your OXO toilet brush. Fill a bucket or sink with hot water and add a suitable cleaning agent, such as bleach or a specialized bathroom cleaner. Place the parts into the solution and let them soak for at least 15-20 minutes. This soaking process helps to dissolve any remaining dirt and disinfects the components thoroughly. After soaking, rinse each part with clean water to remove any residual cleaning solution and allow them to air dry completely before reassembling.
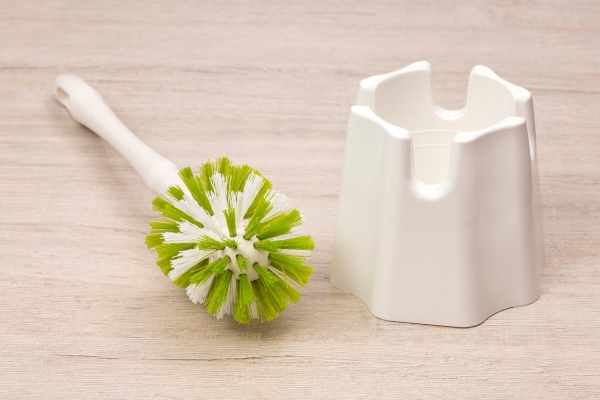
Scrubbing the Brush

To clean the brush itself, apply a generous amount of cleaning solution directly to the bristles. Use a scrub brush or an old toothbrush to thoroughly clean between the bristles, ensuring that any trapped debris and bacteria are removed. Pay special attention to the base of the brush where grime tends to accumulate. After scrubbing, rinse the brush thoroughly under hot running water to wash away the cleaning solution and loosened dirt.
Scrubbing the Holder
Next, focus on scrubbing the holder and its components. Use a scrub brush or sponge dipped in the cleaning solution to clean all surfaces, including the interior and exterior of the carrier. Make sure to reach into any crevices or hard-to-reach areas where dirt can hide. If your OXO holder has removable parts, scrub these separately to ensure a comprehensive clean. This step is crucial for removing any residual grime and disinfecting the carrier.
Rinsing After Scrubbing
Once you have thoroughly scrubbed both the brush and the carrier, it’s important to rinse all components to remove any remaining cleaning solution. Rinse each part under hot running water, ensuring all soap and disinfectant residues are washed away. This step is vital to prevent any chemical residue from being left behind, which could cause odors or damage over time. After rinsing, allow all parts to air dry completely before reassembling the toilet brush. This ensures that your OXO holder is clean, dry, and ready for use.
Disinfecting the Holder
After thoroughly scrubbing and rinsing your OXO holder, the next step is to disinfect it. Apply a disinfectant spray or a solution of diluted bleach to all parts of the carrier, including the brush. Ensure the disinfectant reaches all surfaces, focusing on areas that are prone to bacteria buildup. Allow the disinfectant to sit for the recommended amount of time as indicated on the product label, usually about 5-10 minutes, to effectively kill any remaining germs.
Drying the Components
Once the disinfection process is complete, it’s crucial to dry all components of your holder thoroughly. Shake off any excess water and place the parts on a clean, dry towel or drying rack. Ensure that each piece, especially the interior of the carrier and the brush, is completely dry to prevent mold and mildew growth. If necessary, use a clean cloth to wipe down the parts or let them air dry in a well-ventilated area. Proper drying is essential for maintaining a hygienic environment.
Reassembling the Holder
With all components clean and dry, you can now reassemble your OXO brush holder. Begin by placing any removable parts back into the carrier, ensuring they fit securely. Next, insert the into its designated spot. Make sure everything is properly aligned and stable. Once reassembled, your OXO holder is ready for use, looking fresh and sanitized. Regular cleaning and reassembly ensure that your bathroom stays clean and hygienic.
Routine Maintenance Tips
To keep your OXO toilet brush in top condition, incorporate routine maintenance into your cleaning schedule. Rinse the brush and carrier with hot water after each use to prevent the buildup of grime. Perform a quick clean with a disinfectant spray at least once a week to maintain hygiene. Additionally, periodically check for any signs of wear or damage to the brush or holder and replace them as needed. By following these simple steps, you can ensure your carrier remains clean and functional, extending its lifespan and maintaining a sanitary bathroom environment.
Conclusion
Cleaning your OXO holder is a straightforward but essential task that contributes significantly to overall bathroom hygiene. By regularly cleaning, disinfecting, and properly maintaining your toilet brush holder, you can prevent the buildup of bacteria and grime, ensuring a clean and healthy space. Following the steps outlined—from the initial rinse to the final reassembly—will help you keep your carrier in pristine condition. Consistent care and maintenance not only enhance the functionality of your bathroom accessories but also promote a more hygienic home environment.

